Aller au contenu principal
Xbox Series X (Digital Edition) Fan Replacement

Xbox Series X (Digital Edition) Fan Replacement

Spencer Day

Spencer Day et 2 autres contributeurs

Dernière mise à jour le December 5, 2024

15 - 30 minutes
Modérée
Tutoriel vedette

Use this guide to replace a faulty cooling fan in your Xbox Series X (Digital Edition) gaming console.

You can also follow this guide to remove a dusty or dirty fan to clean it out.

Before you begin, completely power down and unplug all cables from your console. Remember to follow general electrostatic discharge (ESD) safety procedures while repairing your console.

Ce dont vous avez besoin

Pièces

Outils

Afficher plus…

iFixit touche une commission lorsque vous achetez par l'intermédiaire de ces liens.
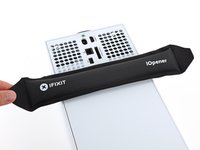
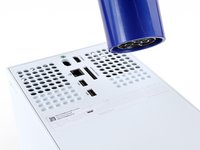
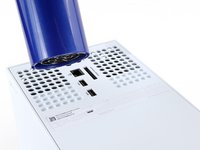
  1. Xbox Series X (Digital Edition) Fan Replacement, Uncover the back panel screws: étape 1, image 1 de 2 Xbox Series X (Digital Edition) Fan Replacement, Uncover the back panel screws: étape 1, image 2 de 2
    • Before you begin, completely power down and unplug all cables from your console.

    • Two stickers cover the back panel screws. You can remove the stickers without heating them, though it makes them much easier to remove cleanly.

    • Heat an iOpener and lay it on the smaller sticker near the bottom of the back panel for two minutes.

    • Alternatively, you can use a hair dryer to heat the sticker.

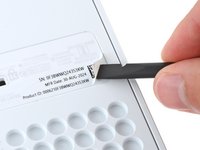
  2. Xbox Series X (Digital Edition) Fan Replacement: étape 2, image 1 de 3 Xbox Series X (Digital Edition) Fan Replacement: étape 2, image 2 de 3 Xbox Series X (Digital Edition) Fan Replacement: étape 2, image 3 de 3
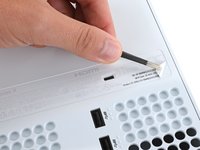
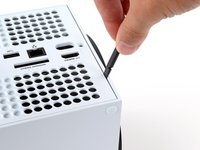
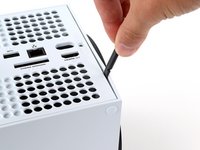
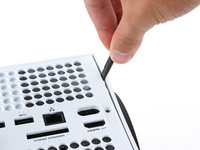
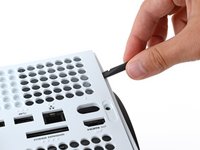
    • Use a pair of angled tweezers to remove the sticker hiding the first screw on the back panel, near the base.

  3. Xbox Series X (Digital Edition) Fan Replacement: étape 3, image 1 de 3 Xbox Series X (Digital Edition) Fan Replacement: étape 3, image 2 de 3 Xbox Series X (Digital Edition) Fan Replacement: étape 3, image 3 de 3
    • Use an iOpener or hair dryer to heat the larger sticker near the center of the back panel.

  4. Xbox Series X (Digital Edition) Fan Replacement: étape 4, image 1 de 3 Xbox Series X (Digital Edition) Fan Replacement: étape 4, image 2 de 3 Xbox Series X (Digital Edition) Fan Replacement: étape 4, image 3 de 3
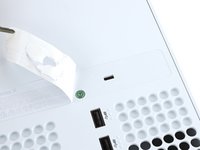
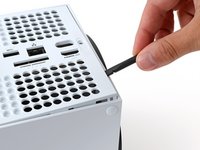
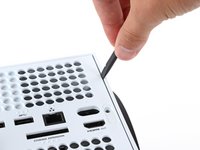
    • Use the flat end of a spudger to scrape up a corner of the larger sticker until you can grip it with a pair of blunt tweezers.

    • Use blunt tweezers to peel back the sticker to reveal the second screw.

    • You only need to peel this sticker to where you can access the hidden screw. You don't need to pull it completely off.

    • Technically, these are tamper-evident stickers, but don't worry—Microsoft can't legally void your warranty, as long as you don't damage anything. Have fun!

  5. Xbox Series X (Digital Edition) Fan Replacement, Remove the back panel screws: étape 5, image 1 de 2 Xbox Series X (Digital Edition) Fan Replacement, Remove the back panel screws: étape 5, image 2 de 2
    Outil utilisé dans cette étape :
    Magnetic Project Mat
    $19.95
    • Throughout this repair, keep track of each screw and make sure it goes back exactly where it came from to avoid damaging your console.

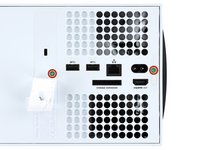
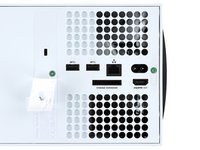
    • Use a T8 Torx driver to remove the two 7.4 mm‑long screws securing the back panel.

  6. Xbox Series X (Digital Edition) Fan Replacement, Unclip the back panel: étape 6, image 1 de 3 Xbox Series X (Digital Edition) Fan Replacement, Unclip the back panel: étape 6, image 2 de 3 Xbox Series X (Digital Edition) Fan Replacement, Unclip the back panel: étape 6, image 3 de 3
    • Insert the flat end of a spudger into the gap between the back panel and the shell, near the left side of the base.

    • Pry up the back panel to release it from the locking clips.

  7. Xbox Series X (Digital Edition) Fan Replacement: étape 7, image 1 de 3 Xbox Series X (Digital Edition) Fan Replacement: étape 7, image 2 de 3 Xbox Series X (Digital Edition) Fan Replacement: étape 7, image 3 de 3
    • Insert the flat end of a spudger into the gap between the back panel and the shell, near the right side of the base.

    • Pry up the back panel to release it from the locking clips.

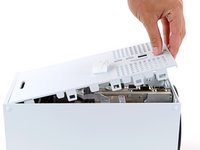
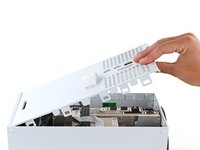
  8. Xbox Series X (Digital Edition) Fan Replacement, Remove the back panel: étape 8, image 1 de 3 Xbox Series X (Digital Edition) Fan Replacement, Remove the back panel: étape 8, image 2 de 3 Xbox Series X (Digital Edition) Fan Replacement, Remove the back panel: étape 8, image 3 de 3
    • Grip the back panel at the opening you just created and pull it up and away from the shell to unclip the long edges.

    • During reassembly, press along the edges of the back panel to snap it into place.

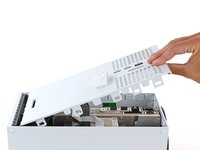
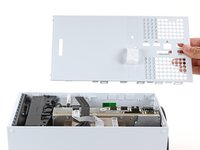
  9. Xbox Series X (Digital Edition) Fan Replacement: étape 9, image 1 de 3 Xbox Series X (Digital Edition) Fan Replacement: étape 9, image 2 de 3 Xbox Series X (Digital Edition) Fan Replacement: étape 9, image 3 de 3
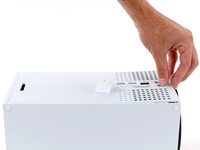
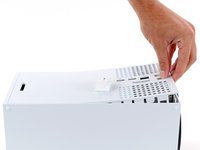
    • The back panel slots into a gap at the top of the shell.

    • Tilt the back panel up and pull it away from the top edge of the shell to release it from the gap.

    • Remove the back panel.

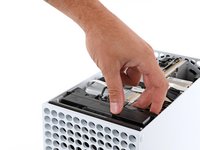
  10. Xbox Series X (Digital Edition) Fan Replacement, Remove the fan screws: étape 10, image 1 de 2 Xbox Series X (Digital Edition) Fan Replacement, Remove the fan screws: étape 10, image 2 de 2
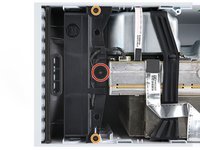
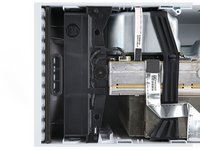
    • Use a T8 Torx driver to remove the three screws securing the fan to the center chassis:

    • One 10.3 mm‑long pancake screw

    • Two 9 mm‑long screws

  11. Xbox Series X (Digital Edition) Fan Replacement, Disconnect the fan cable: étape 11, image 1 de 3 Xbox Series X (Digital Edition) Fan Replacement, Disconnect the fan cable: étape 11, image 2 de 3 Xbox Series X (Digital Edition) Fan Replacement, Disconnect the fan cable: étape 11, image 3 de 3
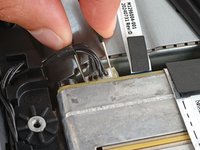
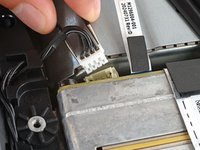
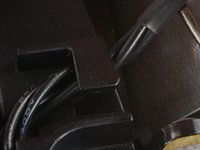
    • Use your fingernails or a pair of angled tweezers to firmly grip the edges of the fan cable connector.

    • Grip your tweezers close the connector to get a better grip.

    • Pull the connector straight out of the socket to disconnect it.

    • If you're having trouble, gently rock the connector side to side to loosen it.

    • Always pull cables by their connectors and not the wires themselves.

    • During reassembly, route the fan cable underneath its small cable guide on the fan housing so it doesn't interfere with the back panel.

  12. Xbox Series X (Digital Edition) Fan Replacement, Remove the fan: étape 12, image 1 de 3 Xbox Series X (Digital Edition) Fan Replacement, Remove the fan: étape 12, image 2 de 3 Xbox Series X (Digital Edition) Fan Replacement, Remove the fan: étape 12, image 3 de 3
    Outil utilisé dans cette étape :
    Dust Blower
    $18.99
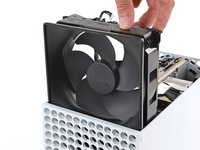
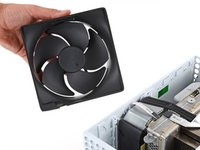
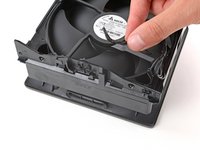
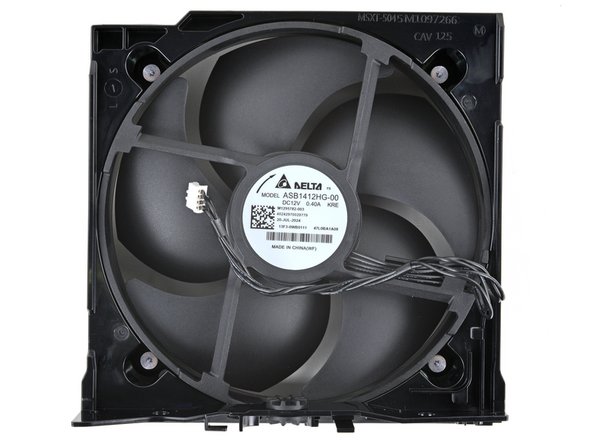
    • Slide the fan out of its slot to remove it.

    • During reassembly:

    • Before installing the fan, make sure it's clean! Use a dust blower or compressed air to blow off any dust or debris, and wipe the fan clean with a clean cloth.

    • Use a finger to keep the fan blades steady—it makes them easier to clean.

    • Note that the fan can only be installed one way—make sure Master Chief is facing you.

  13. Xbox Series X (Digital Edition) Fan Replacement, De‑route the fan cable: étape 13, image 1 de 3 Xbox Series X (Digital Edition) Fan Replacement, De‑route the fan cable: étape 13, image 2 de 3 Xbox Series X (Digital Edition) Fan Replacement, De‑route the fan cable: étape 13, image 3 de 3
    • Check if your replacement fan includes a plastic bracket. If it doesn't, follow the next three steps to remove and transfer it.

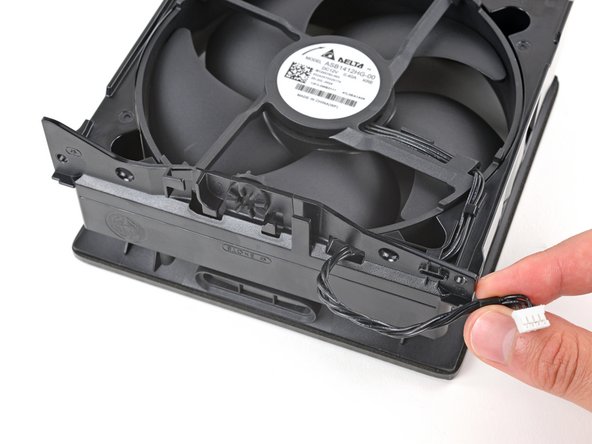
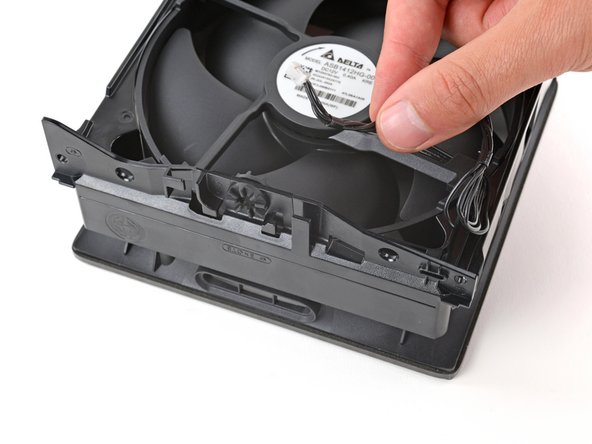
    • Use your fingers to completely de‑route the fan cable from its grooves on the bracket and pull the connector through its rectangular cutout.

  14. Xbox Series X (Digital Edition) Fan Replacement, Remove the fan bracket screws: étape 14, image 1 de 2 Xbox Series X (Digital Edition) Fan Replacement, Remove the fan bracket screws: étape 14, image 2 de 2
    • Use a T8 Torx driver to remove the four 9 mm‑long screws securing the bracket to the fan.

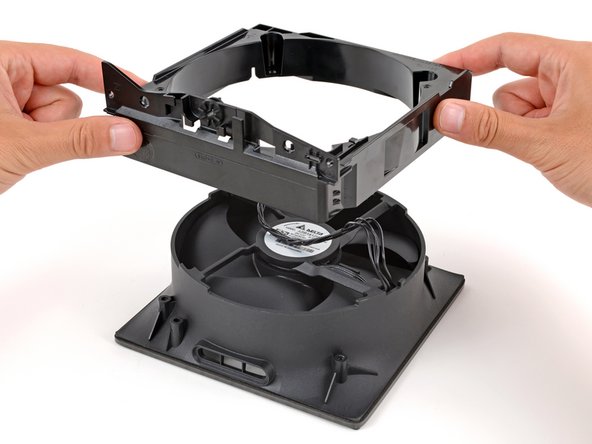
  15. Xbox Series X (Digital Edition) Fan Replacement, Remove the fan bracket: étape 15, image 1 de 2 Xbox Series X (Digital Edition) Fan Replacement, Remove the fan bracket: étape 15, image 2 de 2
    • Lift the bracket off the fan to remove it.

Conclusion

To reassemble your device, follow these instructions in reverse order.

Take your e-waste to an R2 or e-Stewards certified recycler.

Repair didn’t go as planned? Try some basic troubleshooting, or ask our Answers community for help.

Spencer Day

Membre depuis le 09/14/22

112 187 Réputation

811 tutoriels rédigés

Équipe

iFixit Membre de l'équipe iFixit

Staff

120 membres

20 083 tutoriels rédigés

0 commentaires de tutoriel

Ajouter un commentaire

Nombre de vues :

Dernières 24 heures : 10

7 derniers jours : 41

30 derniers jours : 118

Total : 549