Aller au contenu principal

Reemplazo del panel frontal del iPod Touch 7ma Generación

Info : Vous modifiez un tutoriel prérequis. Toutes les modifications apportées affecteront les 10 tutoriels qui comprennent cette étape.

Anglais
Espagnol

Traduction de l’étape 6

Étape 6
iPod Touch 7th Generation Front Panel Replacement: étape 0, image 1 de 2 iPod Touch 7th Generation Front Panel Replacement: étape 0, image 2 de 2
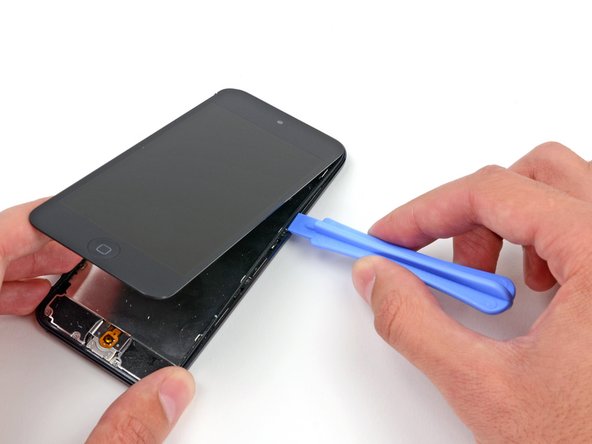
  • Insert the plastic opening tool between the frame and the rear case behind the first clip.

  • Rock the tool sideways, to spread the gap behind the clip and separate it from the rear case.

  • This may not free the clip initially, but repeating the procedure for each clip will begin to loosen the piece.

Inserta la herramienta de apertura de plástico entre el marco y la caja trasera detrás del primer clip.

Mueve la herramienta hacia los lados, para separar el espacio detrás del clip y separarlo de la caja trasera.

Puede que esto no libere el clip inicialmente, pero al repetir el procedimiento para cada clip comenzará a aflojar la pieza.

Vos contributions sont faites dans le cadre de la licence open source Creative Commons.