
ASUS D550MA-DS01 Screen Replacement
Introduction
Passez à l'étape 1Many people will dump a laptop if the screen is broken, but this laptop's screen is replaceable! This guide will walk you through how to remove your screen module so that it may be replaced.
Ce dont vous avez besoin


-
-
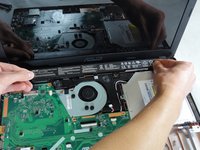
Use a Philips #1 screwdriver to remove the nine screws from the back cover.
-
-
-
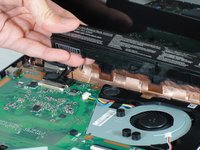
Remove the two screws securing the battery to the laptop case with a Phillips #1 screwdriver.
-
-
-
-
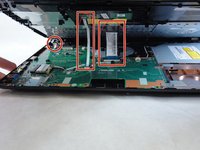
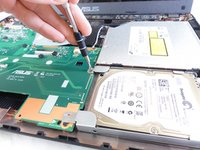
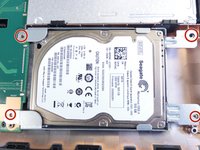
Remove the four screws that hold the hard drive in place with the Philips #1 screwdriver.
-
-
-
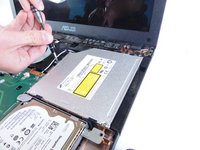
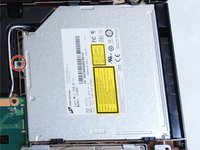
Remove the single screw that is holding the drive in place using the Phillips #1 Screwdriver.
-
-
Outil utilisé dans cette étape :Tweezers$4.99
-
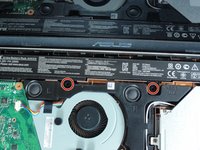
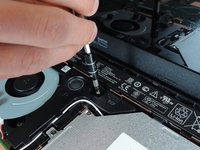
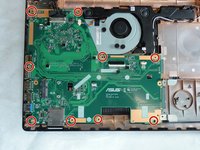
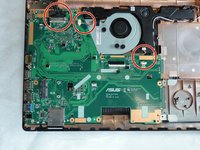
Remove the 9 screws from the motherboard using the Philips #1 screwdriver.
-
-
-
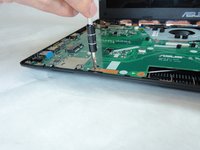
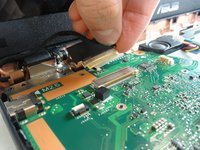
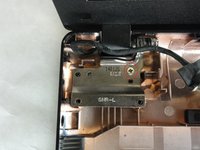
Disconnect the three cables attached to the motherboard.
-
The large, black cable is connected to the screen. Carefully wiggle the cable out by gripping the black tape with your fingers.
-
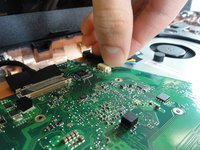
The cable for the fan and speaker use similar connectors. Use the black spudger or carefully grip the sides of each connector with your fingers to slowly pull them out.
-
-
-
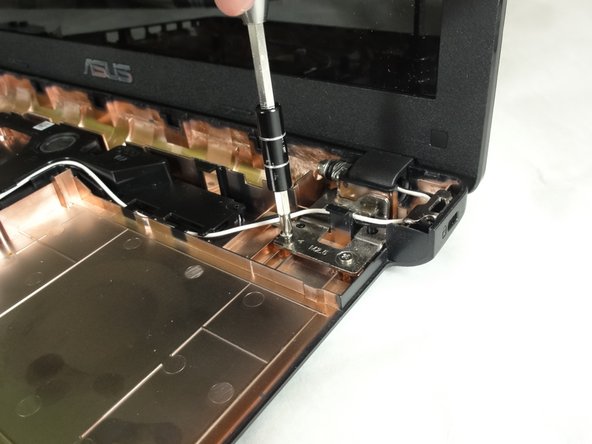
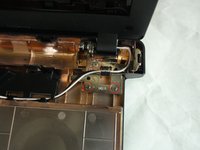
Carefully free up the black and white RF cables that are running along the laptop casing and speaker housing.
-


To reassemble your device, follow these instructions in reverse order.
To reassemble your device, follow these instructions in reverse order.
Équipe

IUPUI, Team 1-2, Baechle Fall 2015 Membre de l'équipe IUPUI, Team 1-2, Baechle Fall 2015
IUPUI-BAECHLE-F15S1G2
3 membres
8 tutoriels rédigés