
Asus Chromebook C523N Motherboard Replacement
Introduction
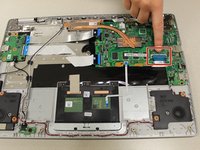
Passez à l'étape 1The motherboard is extremely important to the overall function of your Asus Chromebook C523N. It is a printed circuit board that allows for the overall communication between many of the components, including the CPU, RAM, and many other hardwares.
Usually, the only other solution to an unresponsive motherboard is to buy an entirely new laptop. Without the hub of your laptop, most functions are nearly impossible.
Ce dont vous avez besoin


-
-
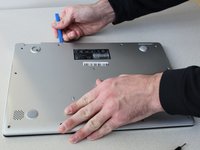
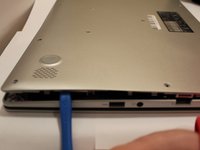
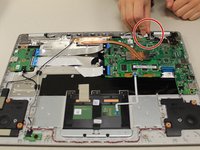
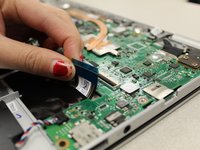
Remove the four 0.5mm JIS #00 screws from the bottom edge of the Chromebook and one in the center.
-
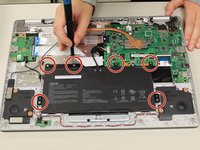
Remove the six 1.7mm JIS #00 screws from the sides and top edge of the Chromebook.
-
-
-
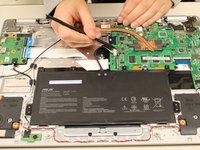
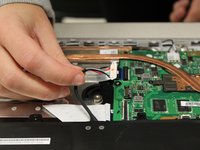
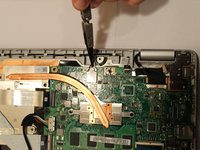
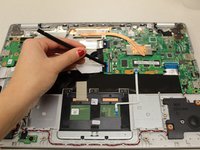
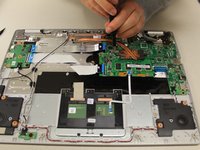
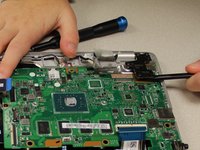
To disconnect the cable, use the tip of a spudger or your fingernail to flip up the small locking flap.
-
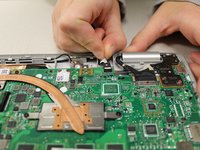
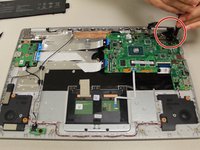
Gently disconnect the battery cable from the motherboard.
-
-
-
Outil utilisé dans cette étape :Tweezers$4.99
-
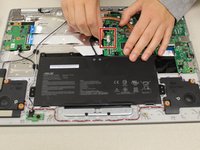
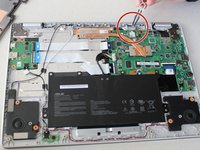
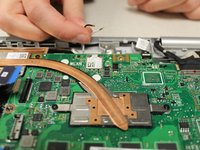
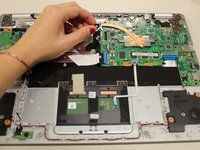
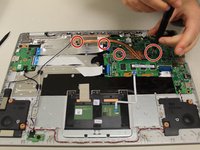
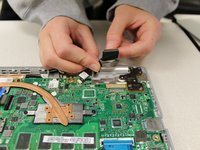
Using tweezers, gently pry the black and white wires from the wireless card and lift.
-


To reassemble your device, follow these instructions in reverse order.
To reassemble your device, follow these instructions in reverse order.
Annulation : je n'ai pas terminé ce tutoriel.
4 autres ont terminé cette réparation.
Équipe

Grand Valley State University, Team S4-G2, DeVasto Fall 2019 Membre de l'équipe Grand Valley State University, Team S4-G2, DeVasto Fall 2019
GVSU-DEVASTO-F19S4G2
4 membres
6 tutoriels rédigés
2 commentaires de tutoriel
I was following this guide and I found there were actually four screws holding the MB down. The red/blue/white/black speaker cable must also be disconnected to get the board out entirely.