Aller au contenu principal
Dell Precision 7560 Touchpad Replacement

Dell Precision 7560 Touchpad Replacement

Ruby Nsah

Ruby Nsah et 3 autres contributeurs

Dernière mise à jour le June 19, 2024

35 minutes
Modérée
Images incohérentes

Use this guide to replace a malfunctioning or broken touchpad on your Dell Precision 7560 laptop.

The touchpad is a pointing device on a laptop that helps to move the mouse icon. It detects the motion of a person's fingers and translates it onto the screen.

Your touchpad may need to be replaced if the driver is missing or out of place, if it gets worn out, or if it stops working the way it should.

In step 14 of this guide you will need to use an iOpener, which is a microwavable heating tool used to loosen the glue attaching the touchpad down.

Make sure to power off your laptop completely and disconnect from any external power source prior to beginning this guide.

Ce dont vous avez besoin

Outils

Afficher plus…

  1. Dell Precision 7560 Touchpad Replacement, Battery: étape 1, image 1 de 3 Dell Precision 7560 Touchpad Replacement, Battery: étape 1, image 2 de 3 Dell Precision 7560 Touchpad Replacement, Battery: étape 1, image 3 de 3
    • The screws holding the back cover in place can not be removed.

    • Use a Phillips #0 screwdriver to loosen the the eight 5 mm captive screws in the bottom cover.

    • Remove the back cover by lifting at the corners.

  2. Dell Precision 7560 Touchpad Replacement: étape 2, image 1 de 3 Dell Precision 7560 Touchpad Replacement: étape 2, image 2 de 3 Dell Precision 7560 Touchpad Replacement: étape 2, image 3 de 3
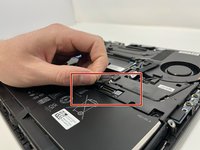
    • Unscrew and remove the five 2 mm screws that secure the battery.

    • Locate the battery connector.

  3. Dell Precision 7560 Touchpad Replacement: étape 3, image 1 de 3 Dell Precision 7560 Touchpad Replacement: étape 3, image 2 de 3 Dell Precision 7560 Touchpad Replacement: étape 3, image 3 de 3
    • Pull the connector towards you to disconnect it.

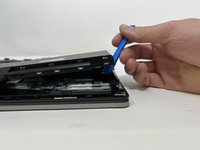
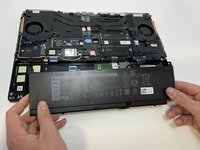
    • Use your fingers or a plastic opening tool to pry the battery up and remove it from the laptop.

  4. Dell Precision 7560 Touchpad Replacement, Speaker: étape 4, image 1 de 3 Dell Precision 7560 Touchpad Replacement, Speaker: étape 4, image 2 de 3 Dell Precision 7560 Touchpad Replacement, Speaker: étape 4, image 3 de 3
    • Loosen the eight captive screws that secure the fan assembly using a Phillips #0 screwdriver.

    • Lifting from the bottom, carefully remove the fan.

  5. Dell Precision 7560 Touchpad Replacement: étape 5, image 1 de 3 Dell Precision 7560 Touchpad Replacement: étape 5, image 2 de 3 Dell Precision 7560 Touchpad Replacement: étape 5, image 3 de 3
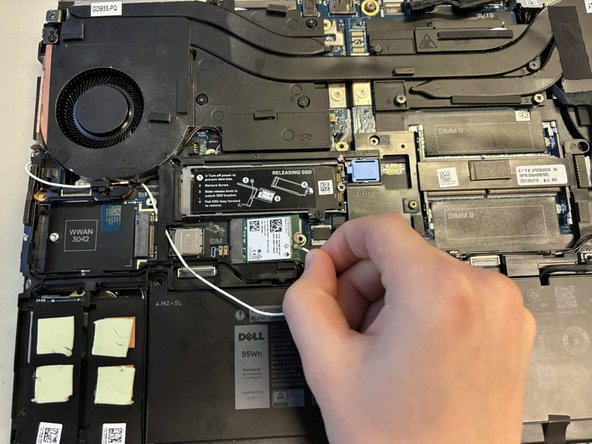
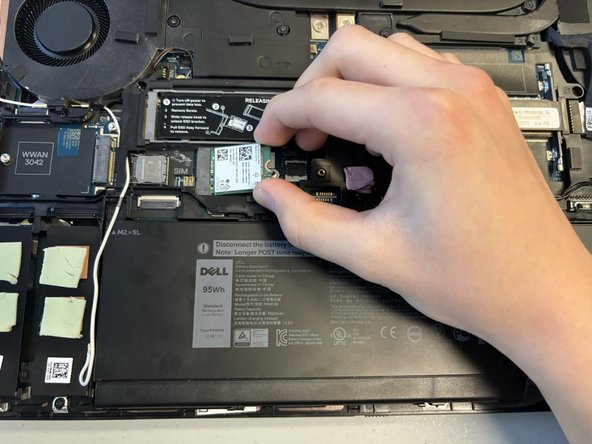
    • Remove the 5 mm screw holding the Wi-Fi card in place using a Phillips #0 screwdriver.

    • Remove the metal overlay.

    • Disconnect the wires attached to the Wi-Fi card.

    • Remove the Wi-Fi card.

  6. Dell Precision 7560 Touchpad Replacement: étape 6, image 1 de 2 Dell Precision 7560 Touchpad Replacement: étape 6, image 2 de 2
    • Remove the 2 mm screws holding the metal frame in place using a Phillips #0 screwdriver.

    • Remove, carefully and completely, any wires running over the frame.

    • Lift the metal frame.

  7. Dell Precision 7560 Touchpad Replacement: étape 7, image 1 de 2 Dell Precision 7560 Touchpad Replacement: étape 7, image 2 de 2
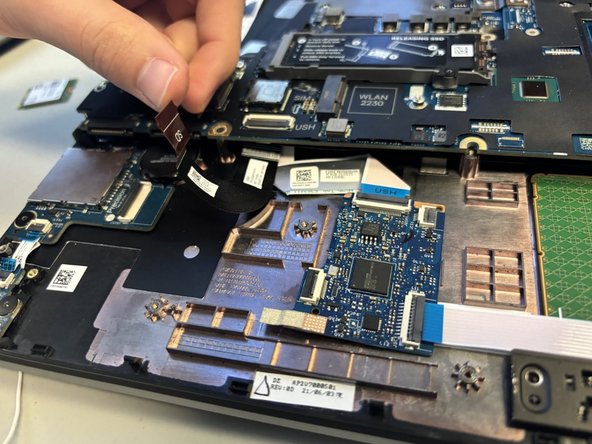
    • Flip up the metal edge holding down the SD connection.

    • Gently pull to disconnect the metal connecting wire.

  8. Dell Precision 7560 Touchpad Replacement: étape 8, image 1 de 3 Dell Precision 7560 Touchpad Replacement: étape 8, image 2 de 3 Dell Precision 7560 Touchpad Replacement: étape 8, image 3 de 3
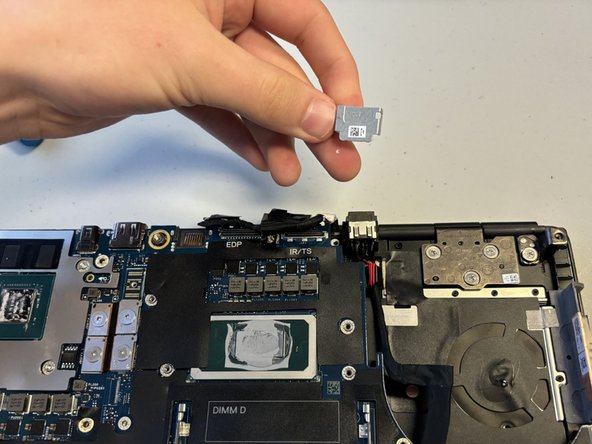
    • Remove the 5 mm screw holding the metal cap over the wire connection using a Phillips #0 screwdriver.

    • Remove the metal cap.

    • Disconnect the wire bundle.

  9. Dell Precision 7560 Touchpad Replacement: étape 9, image 1 de 3 Dell Precision 7560 Touchpad Replacement: étape 9, image 2 de 3 Dell Precision 7560 Touchpad Replacement: étape 9, image 3 de 3
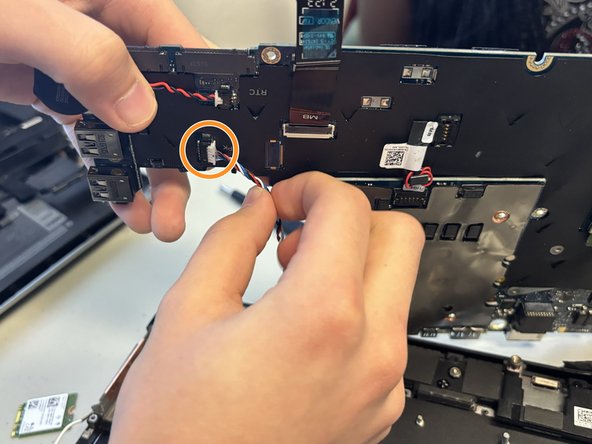
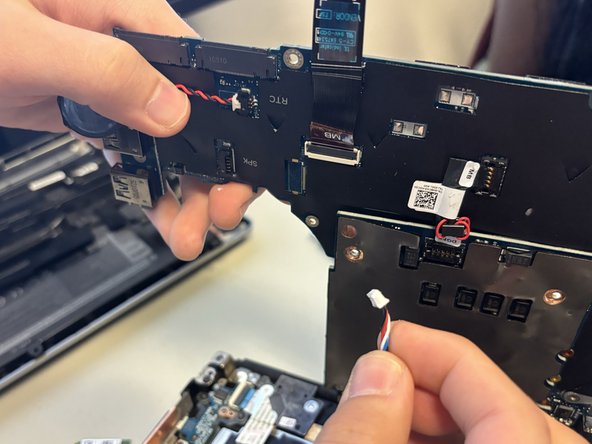
    • Using a Phillips #0 screwdriver, remove the eight 2 mm screws holding the motherboard.

    • Carefully remove the speaker wire from the motherboard.

  10. Dell Precision 7560 Touchpad Replacement: étape 10, image 1 de 2 Dell Precision 7560 Touchpad Replacement: étape 10, image 2 de 2
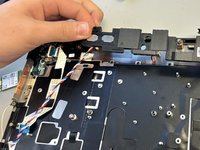
    • Using both hands, carefully lift and remove the speaker.

  11. Dell Precision 7560 Touchpad Replacement, Touchpad: étape 11, image 1 de 2 Dell Precision 7560 Touchpad Replacement, Touchpad: étape 11, image 2 de 2
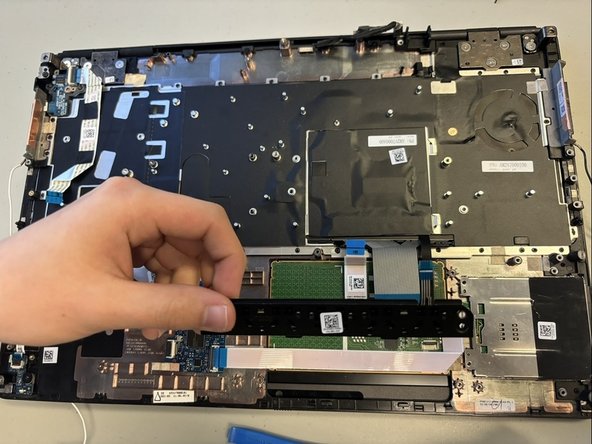
    • Gently remove and disconnect the connecting strip from the touchpad.

    • Remove the two 2 mm screws using a Phillips #0 screwdriver.

    • Remove the black tab from the bottom of the touchpad.

  12. Dell Precision 7560 Touchpad Replacement: étape 12, image 1 de 3 Dell Precision 7560 Touchpad Replacement: étape 12, image 2 de 3 Dell Precision 7560 Touchpad Replacement: étape 12, image 3 de 3
    • Lift up the white connecting strip with your finger.

    • Using a Phillips #0 screwdriver, remove the two 2 mm screws.

    • Remove the metal bracket.

  13. Dell Precision 7560 Touchpad Replacement: étape 13, image 1 de 2 Dell Precision 7560 Touchpad Replacement: étape 13, image 2 de 2
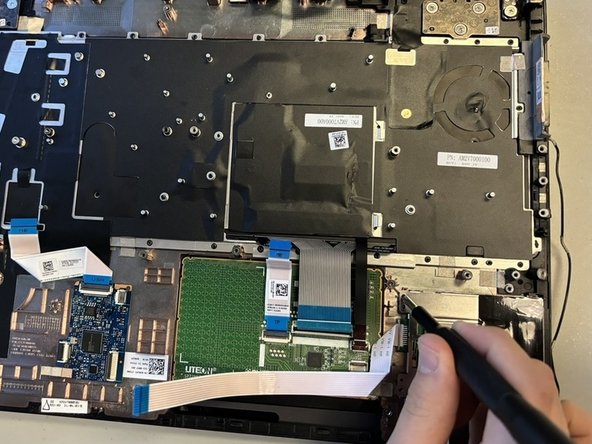
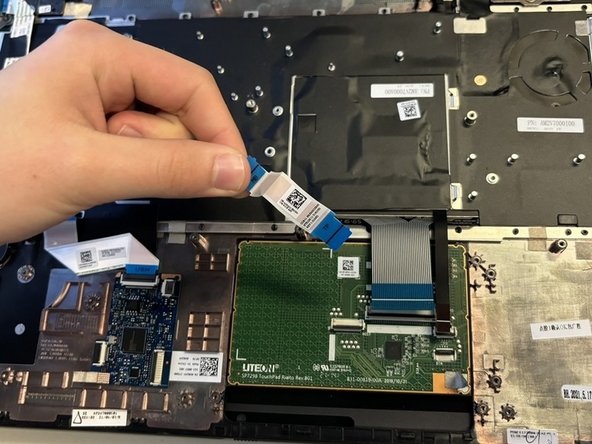
    • Detach the blue and white connecting tab using an opening tool.

  14. Dell Precision 7560 Touchpad Replacement: étape 14, image 1 de 3 Dell Precision 7560 Touchpad Replacement: étape 14, image 2 de 3 Dell Precision 7560 Touchpad Replacement: étape 14, image 3 de 3
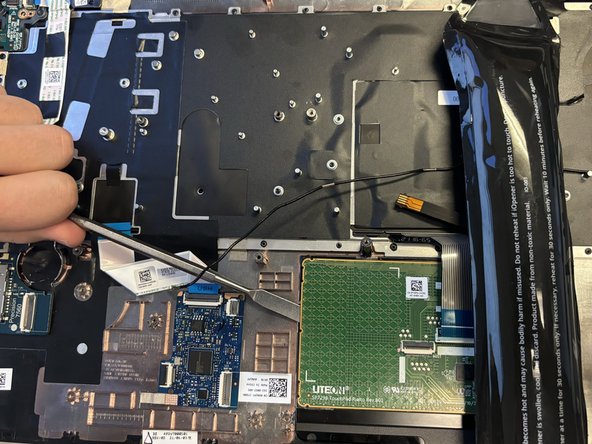
    • Warm all sides of the touch pad using an iOpener to loosen the glue.

    • Lift the warmed up sides with a metal spudger.

  15. Dell Precision 7560 Touchpad Replacement: étape 15, image 1 de 2 Dell Precision 7560 Touchpad Replacement: étape 15, image 2 de 2
    • Use your fingers to take out the touchpad.

Conclusion

To reassemble your device, follow these instructions in reverse order.

Une autre personne a terminé cette réparation.

Ruby Nsah

Membre depuis le 02/13/24

121 Réputation

1 tutoriel rédigé

Équipe

0 commentaires

Ajouter un commentaire

Nombre de vues :

Dernières 24 heures : 0

7 derniers jours : 4

30 derniers jours : 26

Total : 206