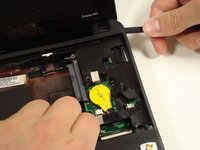
Disassembling Compaq Mini 110 Power Pass-Through Board
Introduction
Passez à l'étape 1You may need to replace this board if there is something wrong when charging your device.
Ce dont vous avez besoin
-
-
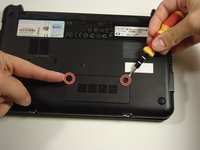
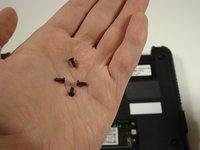
Use a Philips #0 screwdriver to unscrew the two screws covering the memory compartment on the bottom of the laptop and remove the cover.
-
-
-
-
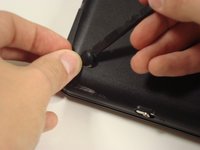
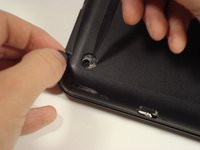
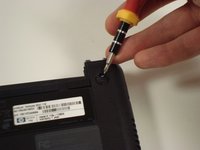
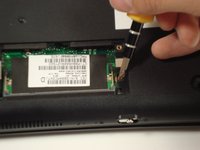
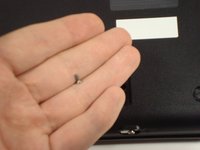
Unscrew the screw for the bottom case located in the RAM compartment.
Falta um passo, pois nos modelos COMPAQ MINI 110, existe um parafuso que segura o teclado, que se encontra bem escondido dentro da cavidade que encaixa a bateria.
-
-
-
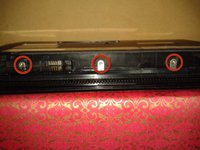
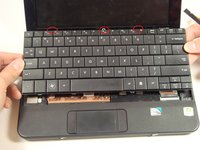
Remove the three screws in the silver tabs at the back of the keyboard.
-
Lift the keyboard away from the laptop.
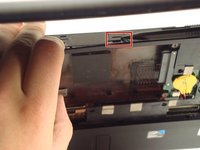
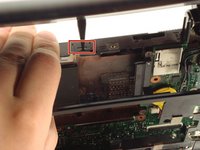
3 screws in red circles are actually on metal tabs in the battery compartment, 1 deeper than the other 2. There is a keyboard symbol for each of the 3 screws.
Step 8B: Lift out keyboard by pushing upwards on the 2 accessible metal tabs. This is the most difficult step. Lack of Quality Control during assembly may prevent the kevboard from lifting out without breaking!!
-
To reassemble your device, follow these instructions in reverse order.
To reassemble your device, follow these instructions in reverse order.
Annulation : je n'ai pas terminé ce tutoriel.
3 autres ont terminé cette réparation.
1 commentaire de tutoriel
I am so glad I found your website. I took my netbook in to a computer shop and told it would cost me $122 dollars to fix this power board piece. My AC Adapter socket is loose and wont hold the ac adapter plug anymore. To say the least, I was quite unhappy with that expense, as I only paid a couple of hundred dollars for this new. So, I bought the replacement piece on eBay for 12 dollars and will use this wonderful guide to fix this on my own. Even though I have done minor drive and cable changes in larger computers, I feel that your instructions are super easy and even an amateur like myself should be able to accomplish good results. Thank you.


