
HP Envy TouchSmart 4-1215dx Display Replacement
Introduction
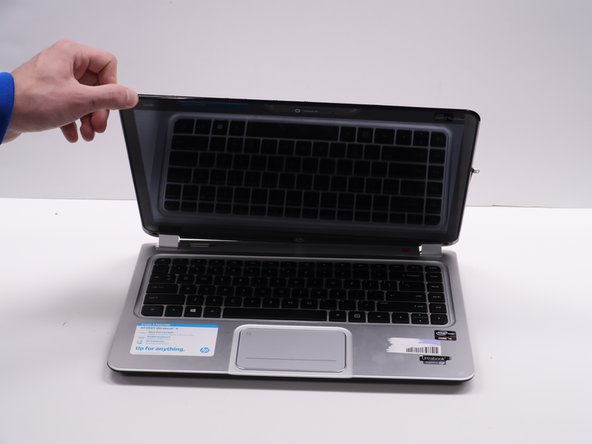
Passez à l'étape 1This is a guide for replacing the display on an HP Envy TouchSmart 4-1215dx. The display outputs text and graphics that the computer makes. If you are experiencing distorted images, you may want to replace your display. Before replacing, look at the troubleshooting page to see if your problem can be fixed without replacing: HP Envy Touchsmart 4-1215dx Troubleshooting. If your display is shattered, you should cover it with tape before removing it.
Ce dont vous avez besoin


-
-
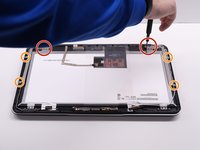
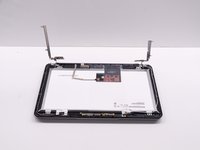
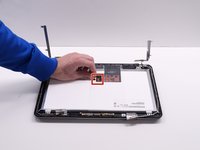
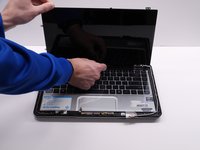
Remove both 3 mm screws at the bottom of the display using a Phillips #0 screwdriver.
-
-


To reassemble your device, follow these instructions in reverse order.
To reassemble your device, follow these instructions in reverse order.
Équipe

University of Kentucky, Team 1-2, Kaufmann Spring 2022 Membre de l'équipe University of Kentucky, Team 1-2, Kaufmann Spring 2022
UKY-KAUFMANN-S22S1G2
4 membres
4 tutoriels rédigés