Aller au contenu principal
Lenovo ThinkPad T480s LCD Bezel Replacement

Lenovo ThinkPad T480s LCD Bezel Replacement

Sarah Westberg

Sarah Westberg et un autre contributeur

Dernière mise à jour le April 23, 2024

1 - 2 heures
Modérée

Use this guide to replace the screen bezel on your Lenovo ThinkPad T470 laptop.

The screen bezel is a plastic border that covers the internal components within the screen assembly including the WLAN and WWAN antennas and camera. You may need to replace your screen bezel if it is cracked or damaged. Be sure to clean any remaining adhesive on the display assembly and reapply fresh adhesive when installing a new display bezel for best results.

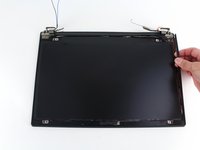
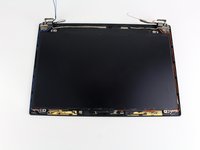
Make sure to disable the internal battery, power down your device, and disconnect from any external power sources before you begin.

Ce dont vous avez besoin

Pièces

Outils

Afficher plus…

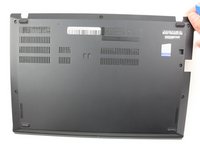
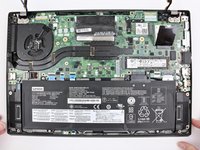
  1. Lenovo ThinkPad T480s LCD Bezel Replacement, Bottom Cover: étape 1, image 1 de 2 Lenovo ThinkPad T480s LCD Bezel Replacement, Bottom Cover: étape 1, image 2 de 2
    • Disable the battery, power down the device, and unplug the power adapter from your device before proceeding/beginning the guide.

    • Loosen the six captive screws with a Phillips #1 screwdriver.

  2. Lenovo ThinkPad T480s LCD Bezel Replacement: étape 2, image 1 de 3 Lenovo ThinkPad T480s LCD Bezel Replacement: étape 2, image 2 de 3 Lenovo ThinkPad T480s LCD Bezel Replacement: étape 2, image 3 de 3
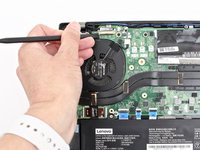
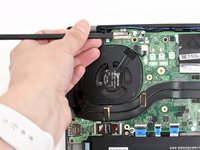
    • Remove the bottom cover with an opening tool.

    • Start from the top edge near the hinge and work your way along the edge until all of the clips are unsnapped.

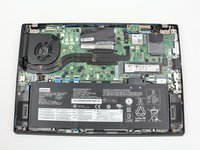
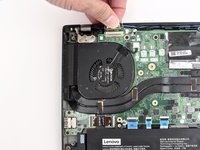
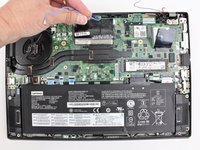
  3. Lenovo ThinkPad T480s LCD Bezel Replacement: étape 3, image 1 de 2 Lenovo ThinkPad T480s LCD Bezel Replacement: étape 3, image 2 de 2
    • Lift the bottom cover off.

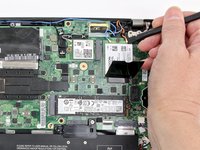
  4. Lenovo ThinkPad T480s LCD Bezel Replacement, LCD Assembly: étape 4, image 1 de 3 Lenovo ThinkPad T480s LCD Bezel Replacement, LCD Assembly: étape 4, image 2 de 3 Lenovo ThinkPad T480s LCD Bezel Replacement, LCD Assembly: étape 4, image 3 de 3
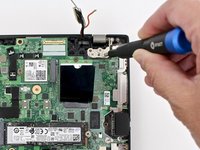
    • Use the spudger to disconnect the coaxial cables from the Wi-Fi card and WWAN card.

    • When reassembling the Wi-Fi card, reattach the black wire closest to the screw and the gray wire on the other side of the black wire. With the WWAN card, reattach the blue wire on the left and the orange wire on the right.

    • There are also small color coded arrows on each card that match the corresponding wires, to make sure you connect to the correct spot.

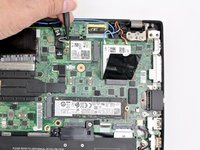
  5. Lenovo ThinkPad T480s LCD Bezel Replacement: étape 5, image 1 de 3 Lenovo ThinkPad T480s LCD Bezel Replacement: étape 5, image 2 de 3 Lenovo ThinkPad T480s LCD Bezel Replacement: étape 5, image 3 de 3
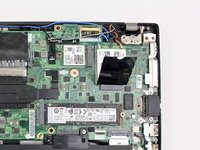
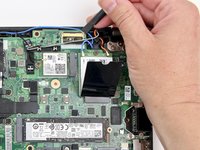
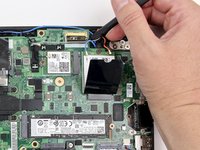
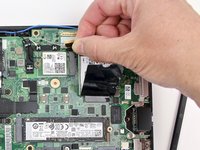
    • Use the spudger to disconnect the LCD cable from the motherboard.

  6. Lenovo ThinkPad T480s LCD Bezel Replacement: étape 6, image 1 de 3 Lenovo ThinkPad T480s LCD Bezel Replacement: étape 6, image 2 de 3 Lenovo ThinkPad T480s LCD Bezel Replacement: étape 6, image 3 de 3
    • Disconnect the camera cable from the motherboard using a spudger.

  7. Lenovo ThinkPad T480s LCD Bezel Replacement: étape 7, image 1 de 2 Lenovo ThinkPad T480s LCD Bezel Replacement: étape 7, image 2 de 2
    • Remove all antenna cables from their routing.

  8. Lenovo ThinkPad T480s LCD Bezel Replacement: étape 8, image 1 de 3 Lenovo ThinkPad T480s LCD Bezel Replacement: étape 8, image 2 de 3 Lenovo ThinkPad T480s LCD Bezel Replacement: étape 8, image 3 de 3
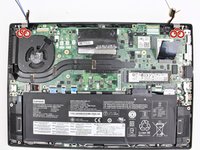
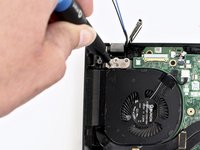
    • Using the Phillips #1 screwdriver, remove three 5 mm screws from the left hinge and three 5 mm screws from the right hinge.

  9. Lenovo ThinkPad T480s LCD Bezel Replacement: étape 9, image 1 de 3 Lenovo ThinkPad T480s LCD Bezel Replacement: étape 9, image 2 de 3 Lenovo ThinkPad T480s LCD Bezel Replacement: étape 9, image 3 de 3
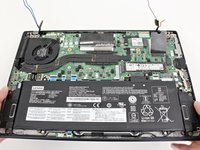
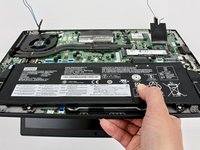
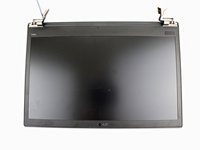
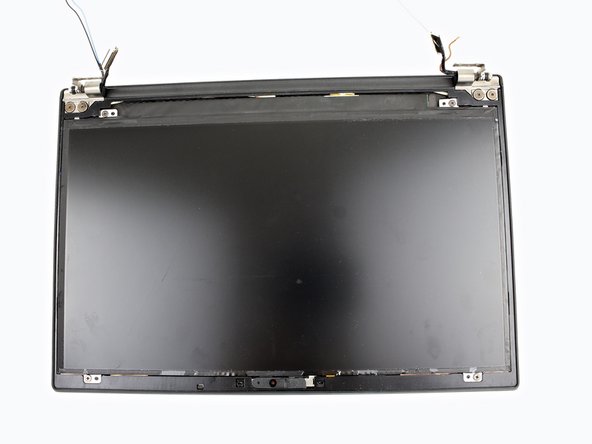
    • Carefully rotate the hinges upward and remove the bottom of the machine from the LCD unit.

  10. Lenovo ThinkPad T480s LCD Bezel Replacement, LCD Bezel: étape 10, image 1 de 3 Lenovo ThinkPad T480s LCD Bezel Replacement, LCD Bezel: étape 10, image 2 de 3 Lenovo ThinkPad T480s LCD Bezel Replacement, LCD Bezel: étape 10, image 3 de 3
    • Using the spudger, pry the LCD bezel up from the edges starting near the hinges.

    • It is attached by adhesive so be careful not to break it. You may hear loud snaps when detaching the clips; this is normal.

  11. Lenovo ThinkPad T480s LCD Bezel Replacement: étape 11, image 1 de 3 Lenovo ThinkPad T480s LCD Bezel Replacement: étape 11, image 2 de 3 Lenovo ThinkPad T480s LCD Bezel Replacement: étape 11, image 3 de 3
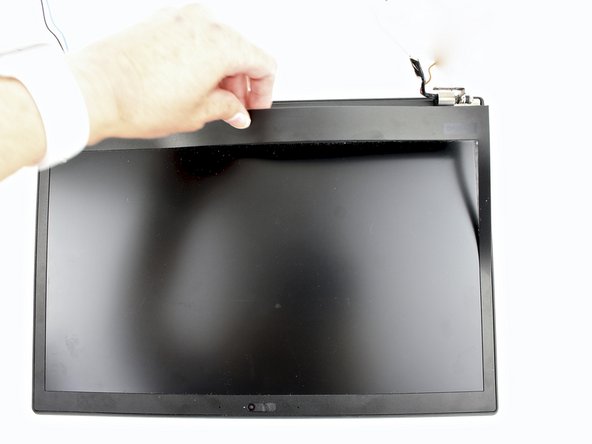
    • Use the spudger to remove the internal bezel.

    • Start at the corner by the hinge and lift the edge of the internal bezel up with the pointed end of the spudger.

    • Hold the internal bezel with your fingers and work your way around the perimeter of the screen carefully pulling the bezel up.

    • You will feel resistance and hear snapping as you remove the bezel because it is connected with clips. Be careful that you don't crack the bezel. The plastic is delicate in places.

Conclusion

To reassemble your device, follow these instructions in reverse order.

Take your e-waste to an R2 or e-Stewards certified recycler.

Repair didn’t go as planned? Try some basic troubleshooting, or ask our Answers community for help.

Sarah Westberg

Membre depuis le 03/11/19

29 642 Réputation

71 tutoriels rédigés

Équipe

iFixit Membre de l'équipe iFixit

Staff

118 membres

19 552 tutoriels rédigés

0 commentaires

Ajouter un commentaire

Nombre de vues :

Dernières 24 heures : 3

7 derniers jours : 16

30 derniers jours : 46

Total : 1,596