
Lenovo ThinkPad X1 Yoga 2nd Generation Keyboard Replacement
Introduction
Passez à l'étape 1The process to replace the keyboard on the Lenovo X1 ThinkPad Yoga 2nd Generation is a relatively complicated task. Through the next steps, the guide will explain the process to fully remove the keyboard.
Ce dont vous avez besoin


-
-
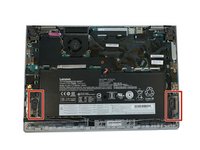
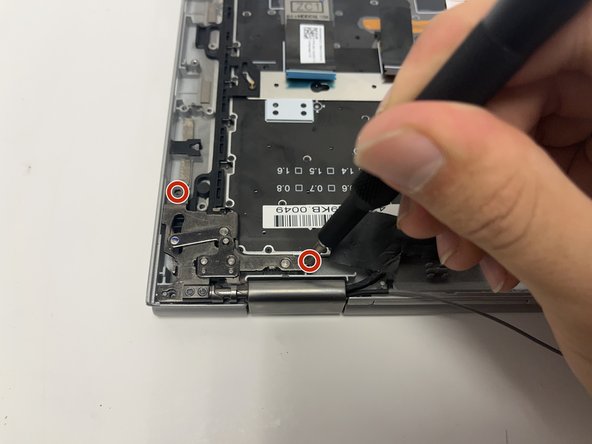
Use a Phillips #0 screwdriver to remove the eight 8 mm screws.
More pricesely, screws need to be unscrewed, but not removed, since they stay attached to the back cover. Trying to remove them may damage the small gaskets around the screw shaft.
-
-
-
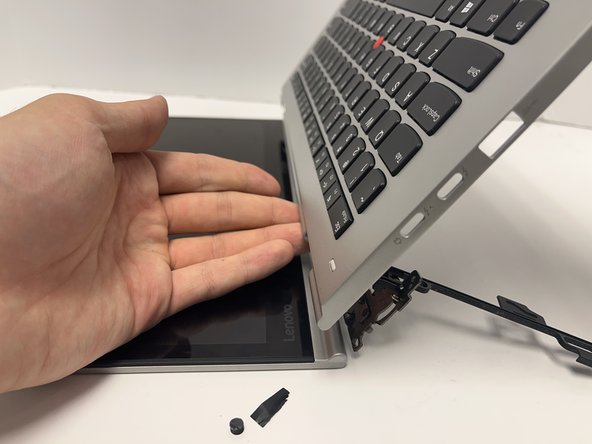
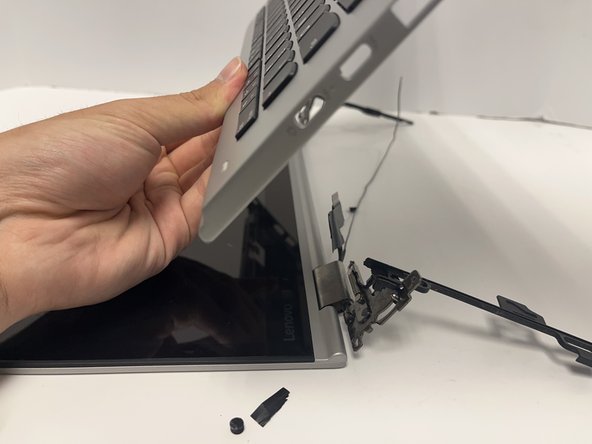
Remove the back cover.
-
-
Outil utilisé dans cette étape :Tweezers$3.99
-
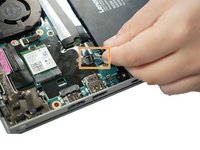
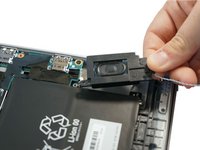
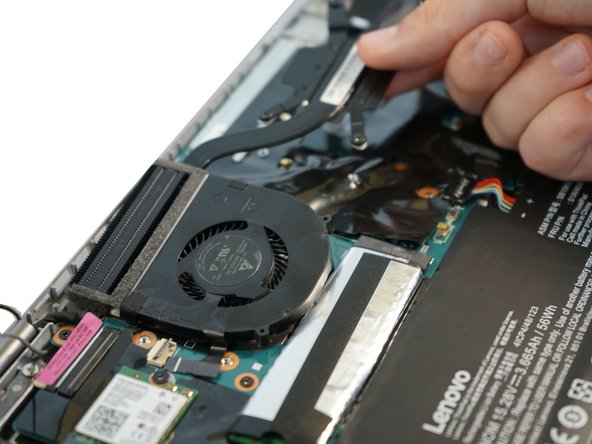
Follow the ribbon cable that runs from the left speaker to the motherboard.
-
Pull the black connector up and release the cable wire by hand.
-
-
-
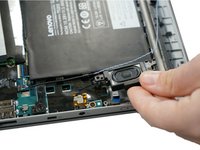
Use a spudger to pop the ribbon cable that runs from the upper-middle portion of the battery to the motherboard out of the motherboard.
-
-
Outil utilisé dans cette étape :Tweezers$4.99
-
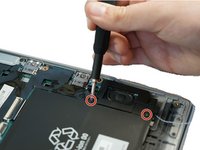
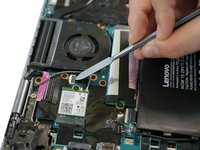
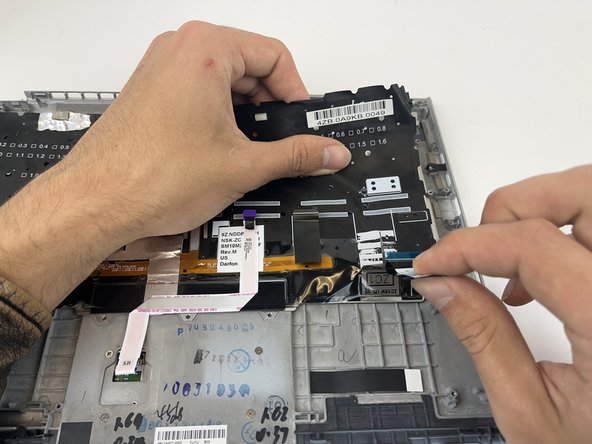
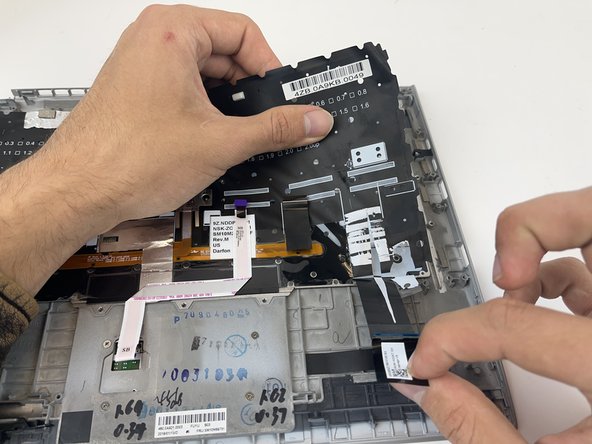
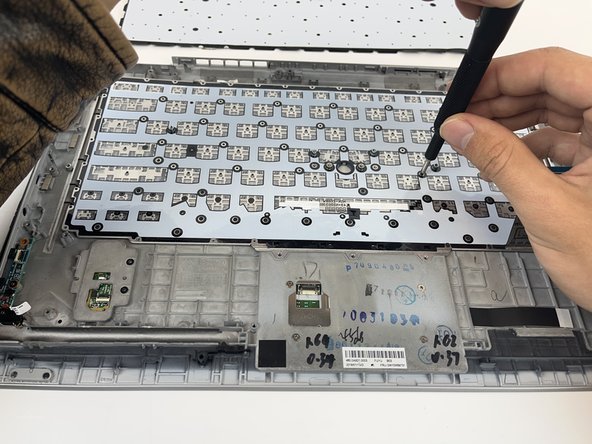
Lift up the small, metal tab using a spudger.
-
Gently lift the ribbon cable from its socket using nylon-tipped reverse tweezers.
-
-
-
-
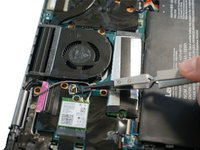
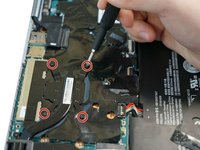
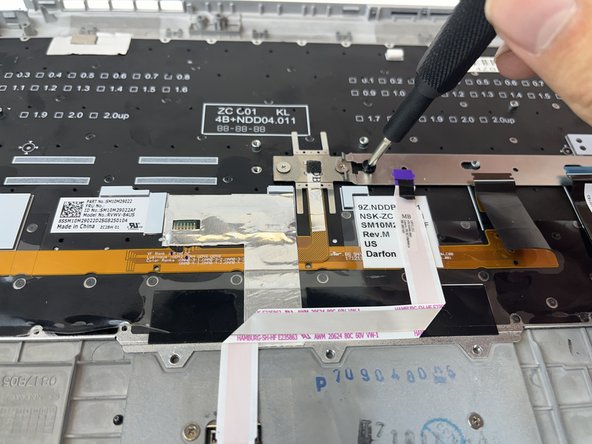
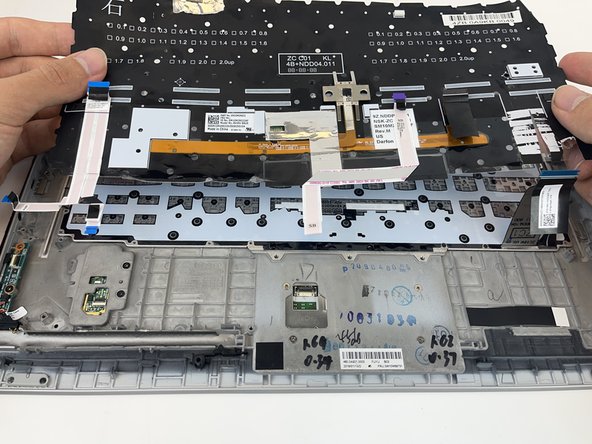
Using a Phillips #0 screwdriver, remove all 16 of the 6 mm screws connecting the motherboard to the computer.
-
-
-
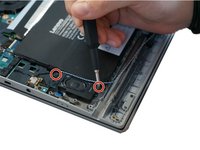
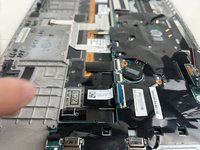
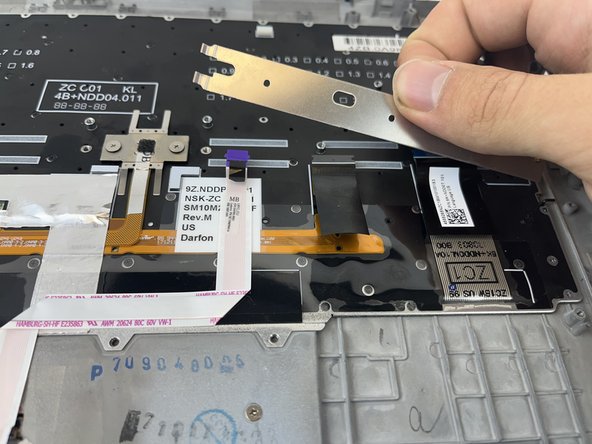
Lift the black flap with the plastic spudger.
-
Pull out the ribbon cable with the black tab.
-


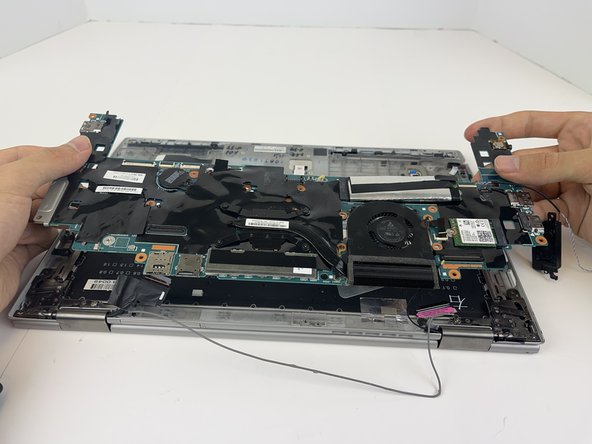


To reassemble your device, follow these instructions in reverse order.
To reassemble your device, follow these instructions in reverse order.
Annulation : je n'ai pas terminé ce tutoriel.
3 autres ont terminé cette réparation.
Équipe

Embry-Riddle Aeronautical University, Team 2-1, Rauch Spring 2022 Membre de l'équipe Embry-Riddle Aeronautical University, Team 2-1, Rauch Spring 2022
ERAU-RAUCH-S22S2G1
3 membres
2 tutoriels rédigés