
Remplacement des boutons du panneau frontal de la manette HTC Vive
Introduction
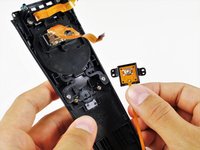
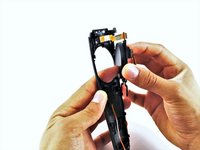
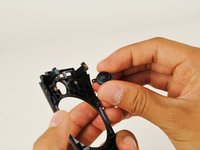
Passez à l'étape 1Les boutons du panneau frontal de la manette HTC Vive peuvent être usées et ne plus cliquer suite à un usage intensif. Cela peut causer des soucis de fonctionnalité lors de l'usage. Veillez à ne pas endommager les petits trous caoutchoutés lors du retrait des boutons. Suivez ce tutoriel pour remplacer les boutons du panneau frontal.


-
-
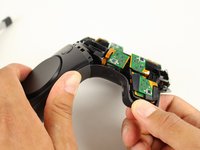
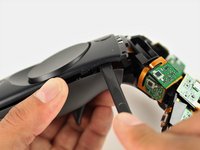
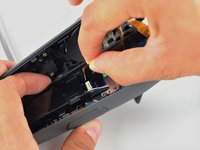
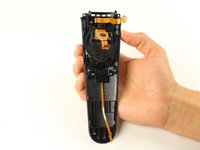
Retournez la manette Vive de façon à ce que la coque inférieure est tournée vers le haut.
-
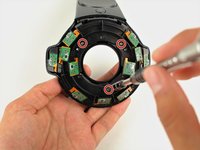
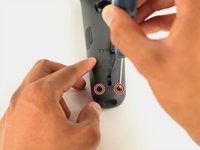
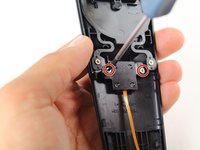
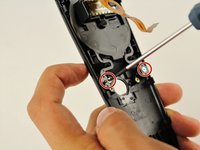
Utilisez un tournevis Torx T5 pour dévisser les trois vis noires de 21 mm de la coque circulaire inférieure.
-
-
-
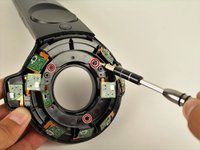
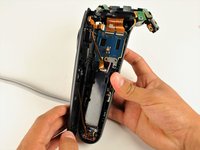
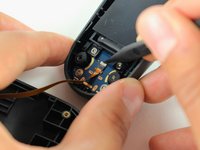
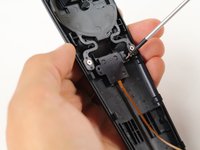
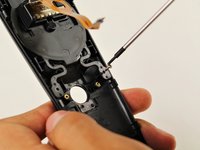
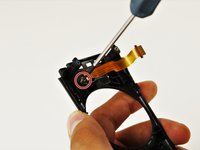
Utilisez un tournevis Torx T5 pour dévisser les deux vis noires de 5,2 mm sur la coque arrière grise.
-
-
-
-
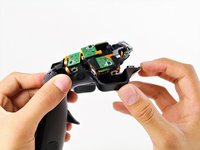
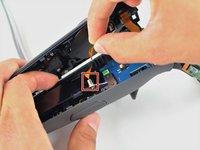
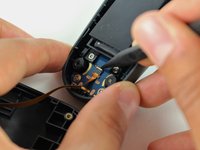
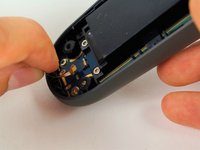
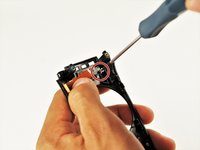
Utilisez un tournevis Torx T5 pour retirer les deux vis argentées de 4,2 mm du cache arrière en plastique du bouton système.
-


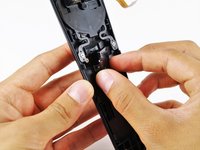


Pour remonter votre appareil, suivez ces instructions dans l'ordre inverse.
Pour remonter votre appareil, suivez ces instructions dans l'ordre inverse.
Annulation : je n'ai pas terminé ce tutoriel.
8 autres ont terminé cette réparation.
Merci à ces traducteurs :
100%


Ces traducteurs nous aident réparer le monde ! Vous voulez contribuer ?
Commencez à traduire ›
Équipe

Cal Poly, Team S15-G5, Livingston Fall 2017 Membre de l'équipe Cal Poly, Team S15-G5, Livingston Fall 2017
CPSU-LIVINGSTON-F17S15G5
4 membres
51 tutoriels rédigés
5 commentaires
Okay great! But where can I buy replacement parts?
Thanks for the guide! Even though iFixit doesn’t have the replacement parts, I was able to fix my button that was off-center and get my controller back up and running! The only issue is that with step 5, the T5 screwdriver that comes with the iFixit tool kits doesn’t work, as it’s too wide. I had to go out and buy a narrower driver, but still much less expensive than the controller. Thanks again!
I had my front panel TOUCHPAD STUCK, in the sense it could sense my thumb touch, but NOT my thumb press on the upper-right part (presses on the other directions were detected). I figured out how to fix it:
The touchpad presses are detected by a little sensor on the controller: it’s the little pink button we can see on the picture of Step 8 on the dark-blue board. This button is pressed when pressing the touchpad, via a little black round plastic thingy behind the very center of the touchpad : we can see it on the top of picture of Step 11, the little black circle. If this black circle is off-center or simply *too low*, the contact with the pink button will not happen properly. I personnaly got the black circle thingy off, placed another thin layer of material below it (of approximately the size of the thingy) and placed it back, so it would be more in contact with the pink button. Solved on my both controllers !
Thanks for this really good guide which helped me solve this !
Hi! My ribbon cable to the touchpad is damaged. Does anyonw know whre to buy a replacment? Seems like it’s soldered to the rumblepack also.