
SteelSeries Arctis Pro Plus GameDAC Microphone Cable Replacement
Introduction
Passez à l'étape 1When accessing the microphone, be careful of ripping the wire connections or breaking the plastic casing. Make sure to follow this guide attentively to ensure that these issues do not occur.
Ce dont vous avez besoin
-
-
Lift the edge of the cushion and pull out slightly.
-
Work your way around the cushion until it comes off completely.
-
Repeat for the other cushion.
-
-
-
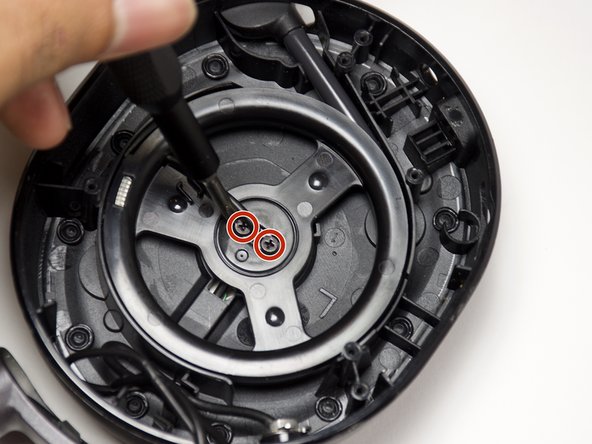
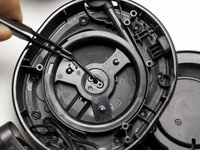
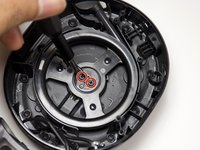
Remove the three 5mm screws with a Phillips #0 driver head on the headphone with the microphone.
-
-
-
-
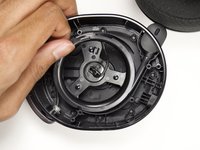
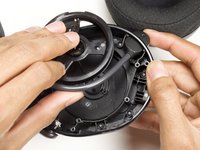
Lift the circuit board out of the plastic housing.
I am worried about damaging the board while lifting the board out, there is quite some resistance, do I apply more pressure?
-
-
Outil utilisé dans cette étape :Tweezers$4.99
-
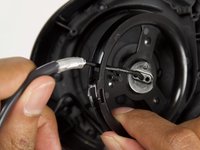
Pull up on the wires connected to the circuit board using tweezers to remove the circuit board from inside the headset.
-
-
-
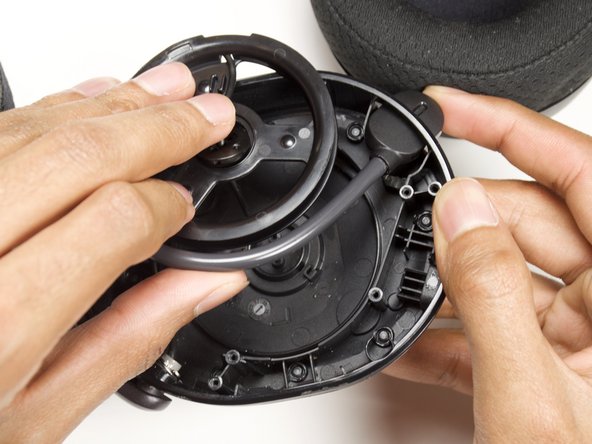
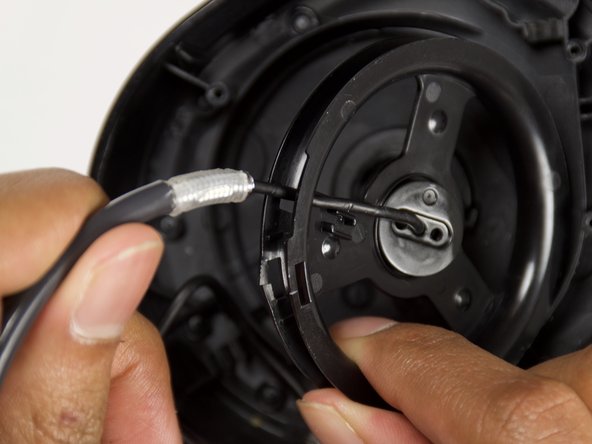
Pull the microphone wire out of the wheel.
-
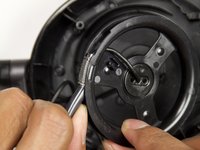
Pull the wire and wheel apart to remove the entire component.
-
To reassemble your device, follow these instructions in reverse order.
To reassemble your device, follow these instructions in reverse order.
Annulation : je n'ai pas terminé ce tutoriel.
8 autres ont terminé cette réparation.
9 commentaires de tutoriel
Is there any place where i can get this cable? I also need a new mic for the wireless pro but steelseries dont sell parts. Somehow it came off and i lost it.
The left earpiece on mine has a different screw type than phillips for some reason. I think it’s a kind of hex screw but I have hex heads and none worked. Strange that the left and right earpieces use different screws.
It's a security torx 6 (TR6)
You need a #7 tamper-proof torx bit. Hard to see it but there is a tiny bump which prevents regular hex bits from working.
ดี ครับ แม่งพังละเปลี่ยนยากชิปหาย




I do not believe that my Arctis 7 uses Phillips #0 it looks to be some kind of tamper proof start bit, do you know what kind that would be?
Jerrett Smith - Réponse