Introduction
Pour démonter un écran iMac, il est nécessaire de découper l'adhésif qui se trouve tout autour de l'écran. Une fois l'adhésif coupé, il ne peut plus être utilisé pour refixer l'écran. Vous devrez donc appliquer un nouveau jeu de bandes adhésives.
Ce tutoriel explique aussi comment découper une encoche dans une des bandes adhésives, afin que le microphone de l'iMac fonctionne correctement. Si la bande adhésive concernée a déjà une encoche, consultez plutôt ce tutoriel.
Certaines images de ce tutoriel montrent un ancien modèle d'iMac, qui présente quelques différences visuelles mineures. Ces différences n'ont aucune incidence sur la procédure de réparation iMac à suivre.
Ce dont vous avez besoin
-
-
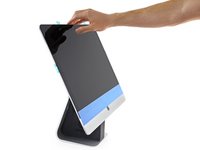
Si la charnière n'est pas coincée, l'iMac est instable et difficile à manipuler. Stabilisez-le avec une cale de maintien pour iMac.
-
-
-
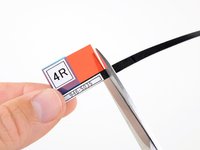
Si votre bande adhésive étiquetée 4R a déjà une encoche, consultez plutôt ce tutoriel.
-
-
Outil utilisé dans cette étape :Tweezers$4.99
-
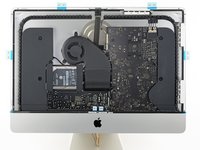
Si vous réutilisez votre ancien écran, vous devez aussi ôter les restes d'adhésif au dos de l'écran.
-
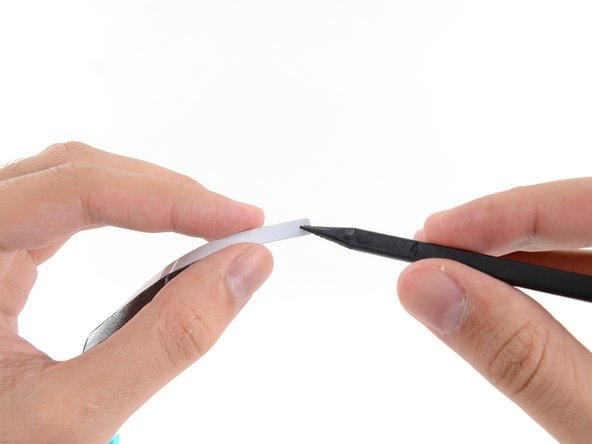
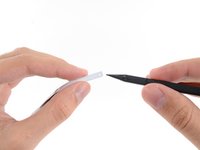
Décollez les vieux morceaux d'adhésif avec une pincette ou vos doigts. Décollez-les en commençant en bas et en tirant vers le haut de l'appareil.
-
Une fois que les résidus sont décollés, nettoyez soigneusement les zones d'adhérence avec de l'alcool isopropylique à haute concentration (90 % ou plus) et un chiffon non pelucheux. Frottez toujours dans la même direction.
-
-
-
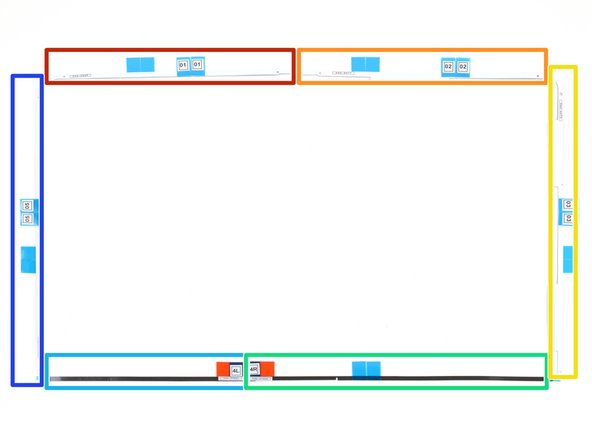
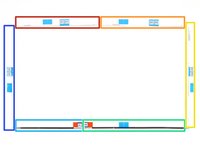
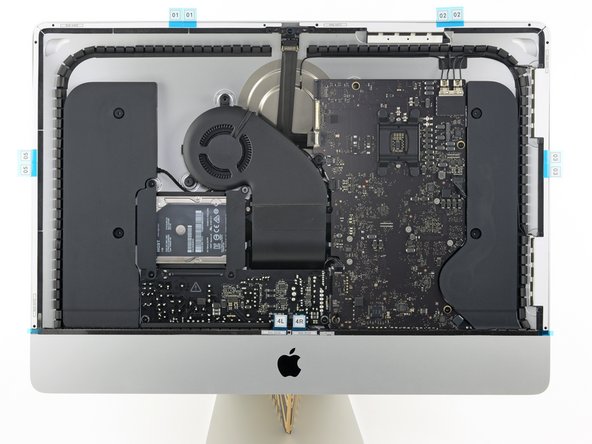
Disposez les bandes adhésives devant vous, afin de ne pas en mettre une au mauvais endroit :
-
Bande 01 en haut à gauche
-
Bande 02 en haut à droite
-
Bande 03 tout à droite
-
Bande 4R en bas à droite, côté foncé vers le haut
-
Bande 4L en bas à gauche, côté foncé vers le haut
-
Bande 05 tout à gauche
-
-
-
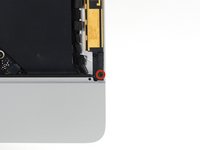
Commencez par la bande étiquetée 3 (03) qui se pose le long du bord droit du boîtier arrière.
-
Retirez le petit morceau de film à l'arrière de la bande.
-
-
-
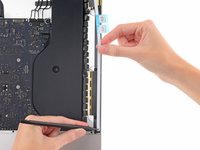
Insérez la pointe d'une spatule (spudger) dans le trou au bout de la bande, là où vous venez de retirer le film. Insérez votre spatule du côté encore recouvert d'un film de protection.
-
-
-
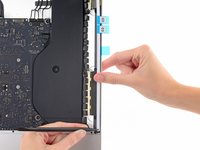
La spatule toujours enfilée dans le trou de la bande adhésive, enfoncez sa pointe dans le trou correspondant du châssis de l'iMac.
-
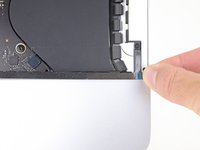
Servez-vous du trou et de la spatule pour ancrer la position la bande adhésive, alignez cette dernière le long du bord droit, tirez dessus pour qu'elle soit bien tendue et collez-la au châssis.
-
-
-
-
Progressez dans le sens inverse des aiguilles d'une montre autour de votre iMac en collant trois bandes supplémentaires de la même façon :
-
Bande 02 en haut à droite
-
Bande 01 en haut à gauche
-
Bande 05 tout à gauche
-
-
-
Afin d'éviter de bloquer le port du microphone avec de l'adhésif, la bande 4R doit être modifiée avant utilisation. Il faut découper une petite encoche dans le bord inférieur de la bande adhésive, afin de dégager le microphone.
-
-
-
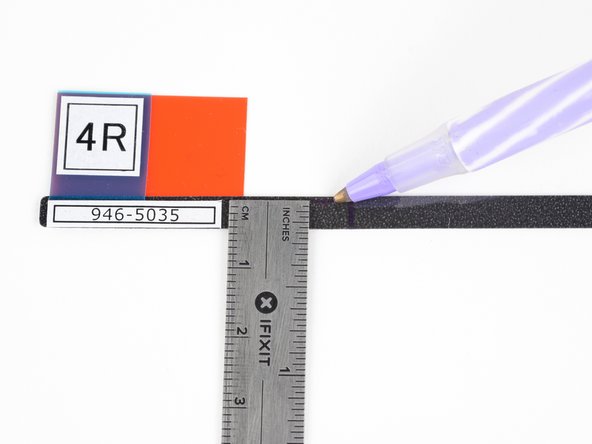
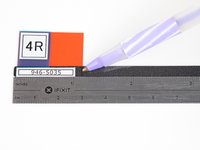
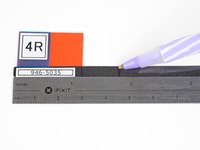
Mesurez à partir de l'extrémité gauche de la bande 4R (l'extrémité avec les étiquettes) et dessinez deux repères sur la bande.
-
Faites le premier repère à 28,6 mm (1⅛ pouce) du bord gauche.
-
Faites le repère suivant à 44,5 mm (1¾ pouce) du bord gauche.
-
En mesurant à partir du bord inférieur de la bande, faites un troisième repère entre les deux premiers, à 4 mm (5/32 pouce) du bord inférieur.
-
-
-
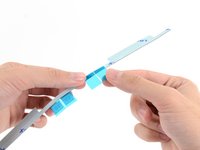
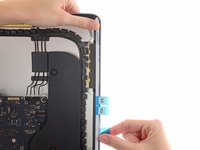
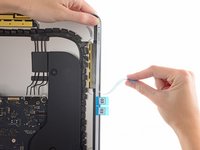
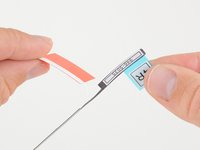
Saisissez la languette d'extraction rouge de la bande adhésive 4R et tirez pour décoller le film de protection.
-
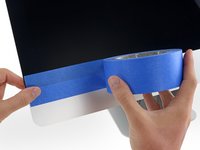
Alignez la bande sur le bord inférieur du boîtier arrière, de manière à ce que l'extrémité droite de la bande soit adjacente à la bande adhésive 3, sans toutefois la recouvrir.
-
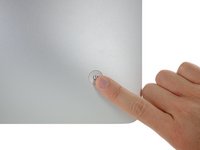
Passez votre doigt sur toute la longueur de la bande adhésive pour vérifier qu'elle est bien droite et ne fait pas de plis, en appuyant au fur et à mesure pour la faire adhérer à l'iMac.
-
-
-
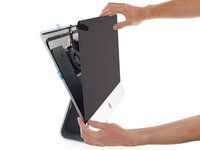
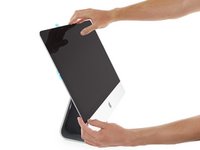
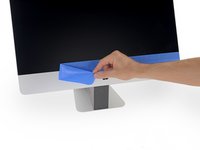
Posez délicatement l'écran sur l'iMac et alignez-le soigneusement.
-
-
-
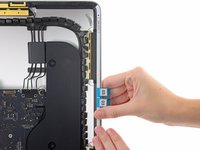
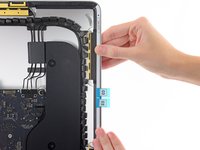
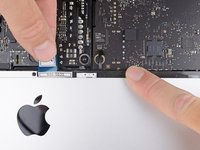
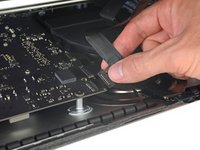
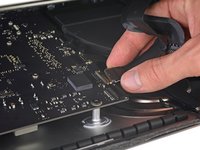
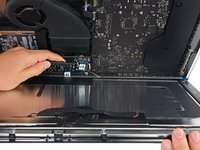
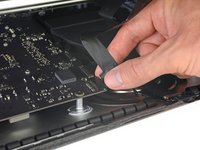
Insérez la nappe d'alimentation de l'écran dans sa prise sur la carte mère.
-
-
-
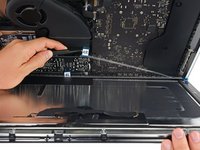
Une fois que le bon fonctionnement de votre iMac est confirmé, déconnectez les nappes d'écran et abaissez soigneusement l'écran vers l'avant.
-
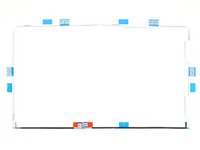
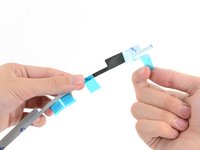
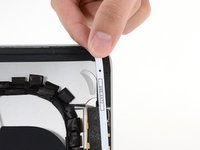
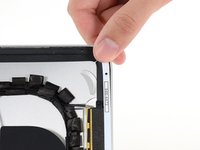
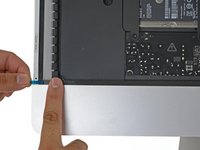
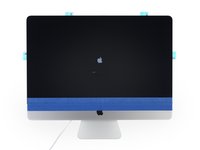
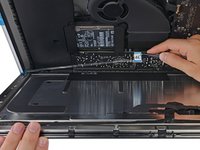
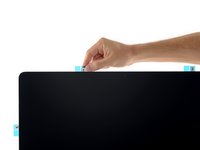
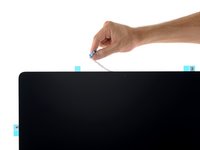
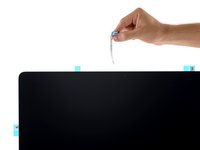
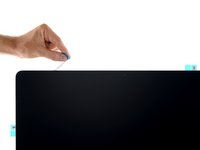
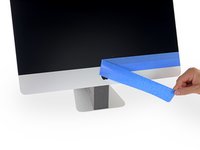
Décollez le film de chacune des deux bandes adhésives inférieures en attrapant les languettes bleues par le haut avec une pincette, puis en tirant dessus à la verticale.
-
-
-
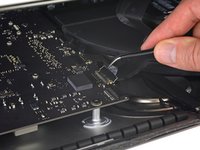
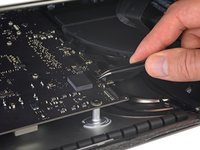
Rebranchez les nappes d'alimentation et de données de l'écran pour la dernière fois.
-
-
Outil utilisé dans cette étape :Microfiber Cleaning Cloths$3.99
-
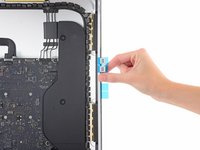
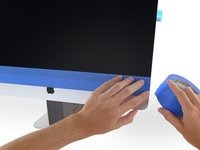
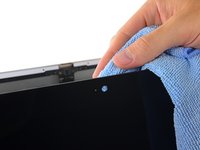
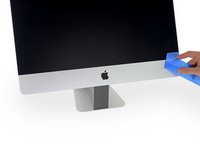
Maintenez l'écran d'une main ou inclinez-le légèrement contre le boîtier de l'iMac pendant que vous décollez les films de protection au cours des étapes suivantes.
-


Annulation : je n'ai pas terminé ce tutoriel.
24 autres ont terminé cette réparation.
Merci à ces traducteurs :
100%

Claire Miesch nous aide à réparer le monde ! Vous voulez contribuer ?
Commencez à traduire ›


4 commentaires de tutoriel
Thank you. Very detailed instructions. Very helpful.
This is a great guide!