Info : Vous modifiez un tutoriel prérequis. Toutes les modifications apportées affecteront les 11 tutoriels qui comprennent cette étape.
Traduction de l’étape 3
Étape 3


-
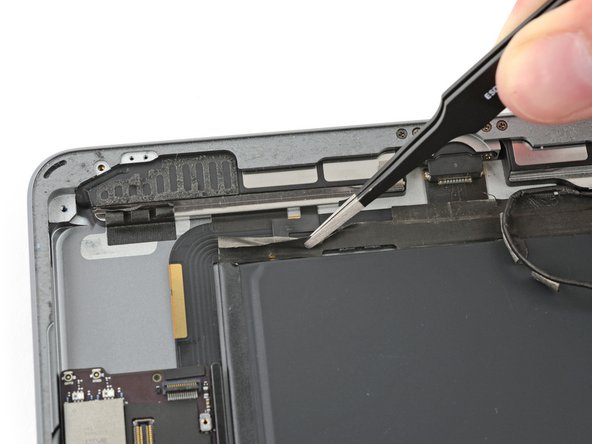
Instead, grip the tape just under the speaker and peel it down, away from the edge of the case.
| [* icon_note] A bend in the speaker cable makes it difficult to peel the tape up from the end. | |
| [* black] Instead, grip the tape just under the speaker and peel it down, away from the edge of the case. | |
| - | [* icon_note] Be careful with your tweezers—only grab and peel the tape, and not the cable beneath. |
| + | [* icon_note] Be careful with your [product|IF145-020|tweezers]—only grab and peel the tape, and not the cable beneath. |
Vos contributions sont faites dans le cadre de la licence open source Creative Commons.