Aller au contenu principal

Reemplazo del panel frontal del iPod Touch 5ª Generación

Info : Vous modifiez un tutoriel prérequis. Toutes les modifications apportées affecteront les 21 tutoriels qui comprennent cette étape.

Anglais
Espagnol

Traduction de l’étape 8

Étape 8
iPod Touch 5th Generation Front Panel Replacement: étape 0, image 1 de 3 iPod Touch 5th Generation Front Panel Replacement: étape 0, image 2 de 3 iPod Touch 5th Generation Front Panel Replacement: étape 0, image 3 de 3
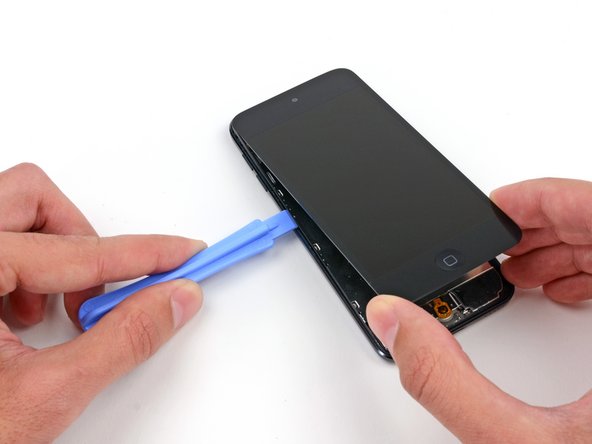
  • Moving on to the left side of the device, insert a plastic opening tool into the gap between the plastic frame and the aluminum rear case near the top.

  • Slide the tool down this crack, loosening the frame from the case.

Pasando al lado izquierdo del dispositivo, inserta una herramienta de apertura de plástico en el espacio entre el marco de plástico y la carcasa trasera de aluminio cerca de la parte superior.

Desliza la herramienta por esta grieta, aflojando el marco de la caja.

Vos contributions sont faites dans le cadre de la licence open source Creative Commons.