Wiki réalisé avec l'aide d'étudiants
Une formidable équipe d’étudiants de notre programme éducatif a créé ce wiki.
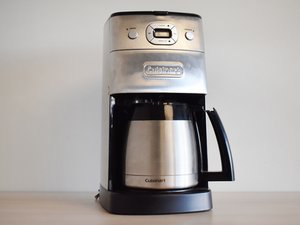
If your Cuisinart DGB-650 Grind & Brew™ Thermal 10-Cup Automatic Coffeemaker is leaking from its base, check out these steps to fix it.
Minor Crack in Plastic Reservoir
To gain access to the reservoir, open the top of the coffee maker, grasp the reservoir lid, and lift it to about 60° to gently pull towards yourself, shimmying it back and forth if needed. From there check for internal damage and attach a strip of Flex-seal tape, or waterproof duct tape found at general hardware stores, around the cracked portion on the outer layer of the crack. Test seal by filling the reservoir with water and check for additional leaks.
Leakage or Loose Seal from Water Lines
Use a Phillips Head Screwdriver and disassemble the four flathead screws located on the bottom of the Cuisinart DGB-650, from there you will find the orange water lines interconnected. Locate any source of leakage or moist spotting. From there, get a waterproof sealant and cover the leakage spot. If the water lines are still leaking, replace the water lines with new ones.
Coffee Pot Is Leaking
Remove the coffee pot from the coffee maker, empty it, and inspect the pot. If there are no visible openings for water to leak from, try filling the pot with water and check if and where it’s leaking from. If there is water leaking from it, replace the coffee pot itself.

Équipe

University of North Texas, Team 4-6, Harold Fall 2024 Membre de l'équipe University of North Texas, Team 4-6, Harold Fall 2024
UNT-HAROLD-F24S4G6
4 membres
10 tutoriels rédigés
0 commentaires