
Comment remplacer l'adhésif de votre Google Pixel 6a
Introduction
Passez à l'étape 1Ce tutoriel de réparation a été rédigé par l'équipe iFixit et n'a pas été approuvé par Google. Apprenez-en davantage sur nos tutoriels de réparation ici.
Utilisez ce tutoriel pour appliquer un nouvel adhésif sur votre téléphone après une réparation Google Pixel 6a. L'écran doit être retiré avant de suivre cette procédure. Suivez ce tutoriel pour retirer l'écran Google Pixel 6a si vous ne l'avez pas déjà fait.
Ce dont vous avez besoin
-
Outil utilisé dans cette étape :Microfiber Cleaning Cloths$3.99
-
Utilisez l'extrémité plate de votre spatule (spudger) pour gratter autant d'adhésif que possible du châssis.
-
Utilisez une pincette ou vos doigts pour décoller et retirer tout adhésif restant.
-
Nettoyez le contour du châssis avec une petite quantité d'alcool isopropylique fortement concentré (plus de 90 %) et un chiffon sans peluche ou en microfibre.
-
-
-
Si vous réutilisez votre écran, nettoyez-le comme vous l'avez fait pour le châssis.
-
-
-
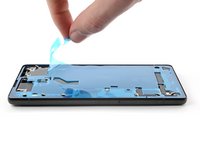
Avant de retirer les films protecteurs, positionnez l'adhésif avec le film transparent vers le bas sur le châssis, pour trouver la bonne orientation.
-
-
-
-
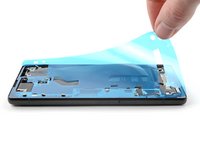
Posez l'adhésif sur le châssis, en commençant par le bord inférieur ou supérieur. Effectuez de petites corrections au fur et à mesure.
-
-
-
Attrapez la languette d'extraction située dans le coin supérieur droit du châssis et retirez le film protecteur principal.
-
-
-
Vérifiez le trou de la caméra frontale sur l'écran de remplacement et retirez tous les films protecteurs restants.
-
Vérifiez la découpe du capteur sur l'écran de remplacement et retirez tous les films protecteurs restants.
-
-
-
Revenez à votre tutoriel de réparation téléphone et reprenez le remontage.
-
Terminez ce tutoriel lorsque votre écran est installé et que vous êtes prêt à refermer votre téléphone.
This comment just saved me making the same mistake!! Thank you Alex!
Take your time. This is hands down the most difficult portion of the process. There's a very slight click when the cable is assembled again. Barely audible, if at all, but you can feel it under your finger. You can unfurl the cable a little to make the process easier, because it will try to bend back into it's folded position otherwise.
-
-
-
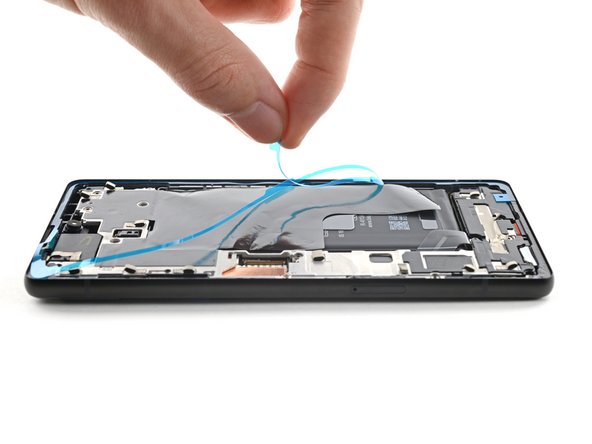
Saisissez la languette d'extraction située sur le bord inférieur du châssis et retirez le film protecteur restant.
-
-
-
Retournez l'écran et placez-le sur le châssis.
-
Appuyez tout autour du périmètre de l'écran pour le fixer en place.
After you remove the final liner, and the guide says to install the screen to lay it onto the frame and to secure it, are you done? like when you press the screen to lock it on the phone the work is done? because I haven't seen any of the guides explaining how exactly do you really finish, if you just lock the screen in place and you are ready to go or if you have to do some other things that I don't know.
You just kind of squeeze it together, really. Don't crush it, but press it together pretty tight. It's adhesive, after all. It likes pressure. I didn't really feel any sort of clicks when I was done. On the main page, there's a link and lots of comments regarding the fingerprint scanner.
The guide should also make mention of the fact that you need a computer with the chrome browser to recalibrate the fingerprint sensor after installing. Otherwise, great guide. Took about 15 minutes to remove the broken screen, 2 hours to get rid of all the old adhesive, 5 minutes to install the new screen, and 5 more to recalibrate the fingerprint sensor.
The video was very helpful alongside the written guide.
My new screen had a blue liner over the mesh at the lower part of the screen. Take this off before final assembly. (I hadn't realised it was a liner. It was only as I started putting it together I realised there was a blue tab sticking out at the bottom. Luckily the adhesive had only just started to catch so I was able to backtrack.)
-
Annulation : je n'ai pas terminé ce tutoriel.
127 autres ont terminé cette réparation.
Merci à ces traducteurs :
100%
Ces traducteurs nous aident réparer le monde ! Vous voulez contribuer ?
Commencez à traduire ›
22 commentaires de tutoriel
Yup. That worked, Don't rush it, and get a proper suction cup, but i have a perfectly repaired 6a, very happy, and thank you
Great advice, but there must be something I'm missing. Now my phone can't show the screen
When this happened to me, I went back and put the display cable in again. It wasn't done properly. I'm sure you got it fixed by now, but you should not forget the metal bracket too.
Will this provide the same water resistance as the original screen?
Depends on how well you seat the adhesive, but generally speaking, it's very hard to get to the same level of water resistance. It will probably be somewhat resistant.
Water resistance should be treated as an additional protection, not as a feature. Do not submerge your electronic device in water by purpose. (even if it's factory new)
magnifique! merci
Thanks guys :) It worked fine. Special thanks to all the warnings :)
Ruben, former Nokia developer :)
i can not get my clips in
I think it is important to mention that you need to recalibrate the fingerprint sensor, I tied to use the qr code on the sticker on the replacement screen, but it resulted in me havig to reset my phone, which was very annoying. A better way is to use this: https://pixelrepair.withgoogle.com/udfps
Nice guide! I was able to replace the display in about 2hrs and the recalibration of the fingerprint sensor also worked flawlessly! Removing the remaining glue from the frame was what took most of the time. Very happy with the outcome!
Am I supposed to lay the adhesive over the cable once the screen is plugged in? There is no hole in the adhesive for the cable to pass through once it’s on
If you watch the video, you'll see that you remove the outer plastic first. It's definitely a process you need to watch to understand, at least for me.
On mine the actual screen came out of the bezel. There seems to be a foam gasket in there, but no adhesive on it or the edges of the screen. Any suggestions how to reattach securely that won't damage the screen (which is working perfectly after I re-seated the loose connector)?
Ich habe das Display nach Anleitung getauscht, beim testen war auch noch alles soweit ok. Einziges Problem, der Fingerabdrucksensor funktioniert nicht mehr.
@stevenfritsche Vielleicht hilft das Kalibrieren des Fingerabdrucksensors?
Hallo, die Hilfe und richtiges lesen habe das Problem gelöst. Vielen Dank euch.


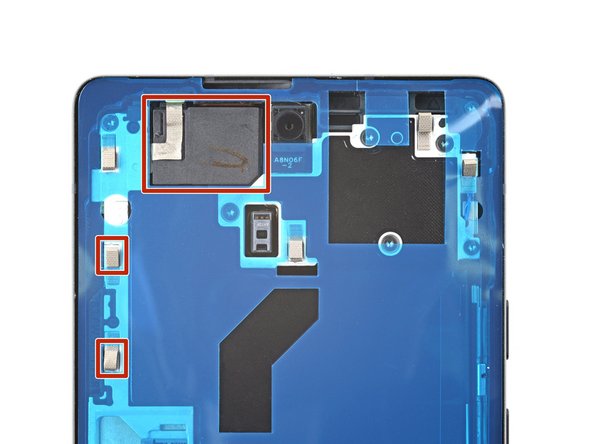
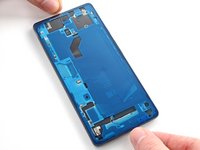
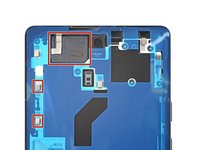


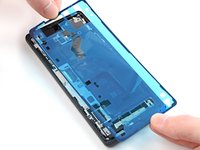
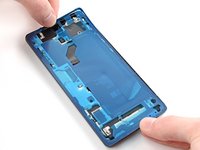
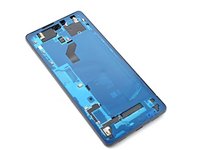


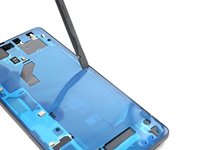
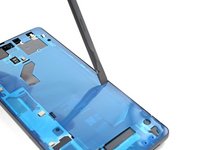




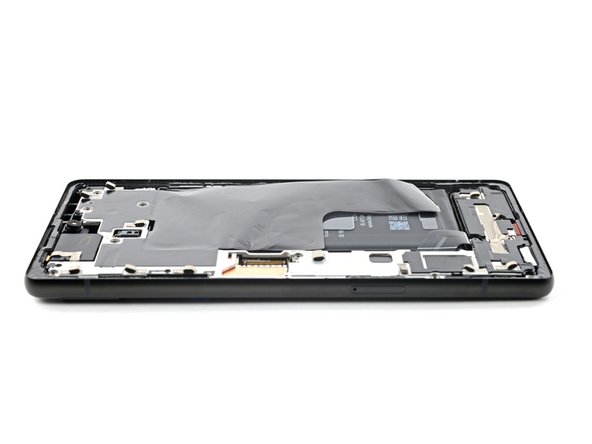

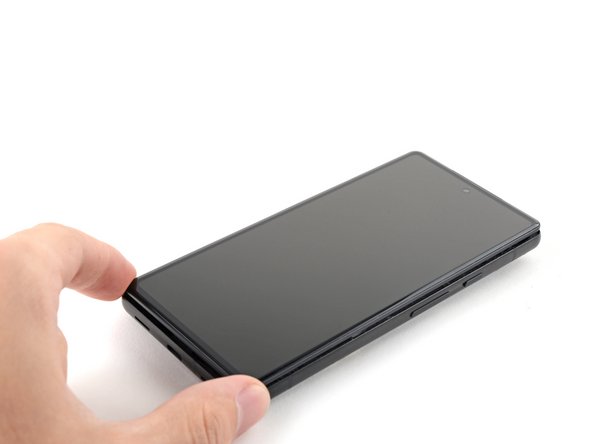


When I cleaned my frame I noticed I had dented 2 corners. I did not have my small file set so I had to improvise. I have a small set of electrical pliers with flat, ribbed sides and a 90 degree bend. I carefully ran these around the corners to get rid of the dents and used the ribbed edge to file them smooth. Would suggest getting a jewelers loop and a set of fine files if you at all suspect the frame/case may have a dent in the corner. Kind of obvious in hindsight - after all I dropped the thing and broke the glass, which got me here making this repair! My only other observation is to use plenty of alcohol - it only temporarily removes the stickiness of the adhesive so as it dries the adhesive re-sticks to the frame.
mark schneider - Réponse
fwiw - I found getting the original adhesive off the frame to be near impossible. But I pulled off any clumped up bits. Applying the new liner with adhesive went fine, as did placing the new glass and pressing around the edges to seal it. The seam looks as if brand new (i.e., it's not bigger or open because of too much adhesive). The phone is now in a case and it's not like I'm going swimming with it, so I'm confident the seal is adequate. Of course, YMMV.
Steve - Réponse
I found the adhesive very hard to remove. Tried Acertone, Methylated Spitits and Isopropyl Alcohol. I found the Metylated spirits worked best but it still took about 40 minutes to remove all of the adhesive.
Aaran Stent - Réponse
I couldn't remove all the adhesive, so just removed as much as I could. Placed the new adhesive on top and phone still seems to hold up well.
Leon - Réponse
Work one edge at a time.
Tilt phone so working edge is lowest.
Wet adhesive channel with isopropyl 90%. Tilt will keep it in channel. Wet, not soak.*
While wet, spudge from inner to outer edge, i.e. perpendicular to channel. Adhesive will pill up.
Repeat until adhesive pills are large enough to remove with tweezers or spudger.
When channel is mostly clean, finish by scraping spudger sideways into channel.
Repeat for all sides.
*Idea is that wetting will make adhesive less tacky on surface but remain tacky to the inside. Resulting pills are easier to remove because of the resulting structure
Andrew Olney - Réponse
I found tearing a little bit of the alcohol wipe, rolling it into a ball and using the pin head tweezers to rub it along the glue line quite vigorously helped break up the adhesive up.
Richard Collins - Réponse
After trying other things, I belatedly noticed the alcohol wipe in the fix kit and did as you said. Very effective, thanks.
Cambridge -
I removed some of the clumps using the tweezers as suggested by other people, given the adhesive is REALLY resistant. I didn't want to take the risk of spilling alcohol or something like that inside. The fit didn't seem to be affected by the new adhesive, which seemed a lot thinner than what was previously there. I wager that my phone will be much less water-resistant now.
YuropeCat - Réponse
This part is so difficult and took forever, easily 40 minutes. Here's what worked for me:
1) scrape with spudger a ton. So very much. so much spudging.
2) pull off balled up bits with tweezer.
3) Carefully apply 70% isopropyl alcohol (it's all I had) to edges with q tips.
4) More spudging.
5) Apply more alcohol with spudger tips.
6) Scrape up the adhesive with the plier tips, yeah it's super tedious because they're tiny but you can get a ball going, and then the adhesive starts to stick to itself better than the frame, so it will start pilling up more effectively. Then pull off.
7) Repeat until you want to cry. Eventually it will all come up!
EMC - Réponse
After trying other things, I belatedly noticed the alcohol wipe in the fix kit and did as you said. Very effective, thanks.
Cambridge - Réponse