
Google Pixel 9a Logic Board Replacement

Introduction
Passez à l'étape 1This repair guide was authored by the iFixit staff and hasn’t been endorsed by Google. Learn more about our repair guides here.
Follow this guide to replace the logic board in your Google Pixel 9a.
The logic board includes the USB-C charging port (which is soldered to the board) and SIM tray slot.
You'll need replacement rear cover adhesives and front camera copper foil to complete this repair. You may also need replacement logic board thermal pads if they get damaged during removal.
Note: Any repair can compromise the water resistance of your phone. Retaining water resistance after the repair depends on how accurately the new adhesives are applied and how clean the mating surfaces are.
Ce dont vous avez besoin
Pièces


Outils


Afficher plus…
-
-
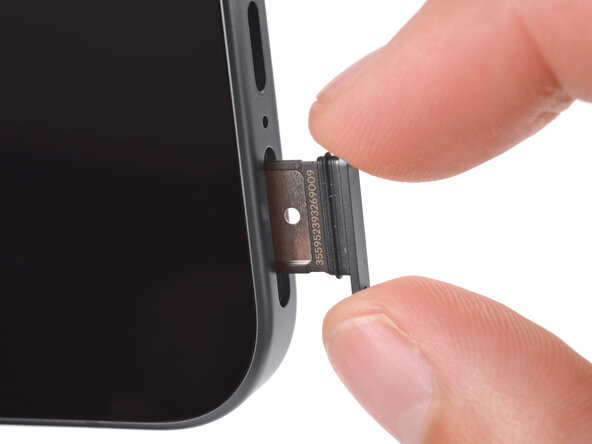
Firmly press a SIM eject tool, bit, or straightened paper clip into the SIM card tray hole on the bottom edge of your phone until the tray ejects.
-
Remove the SIM card tray.
-
-
-
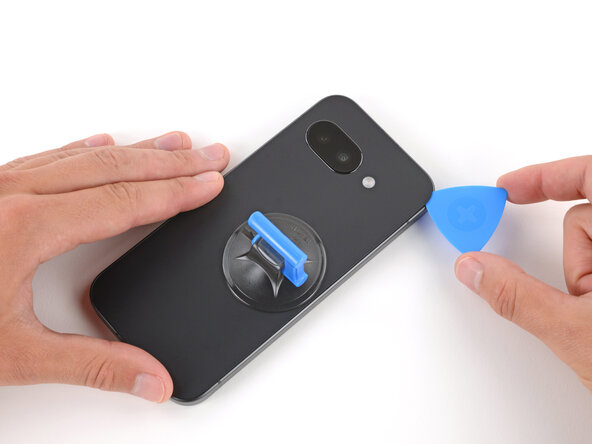
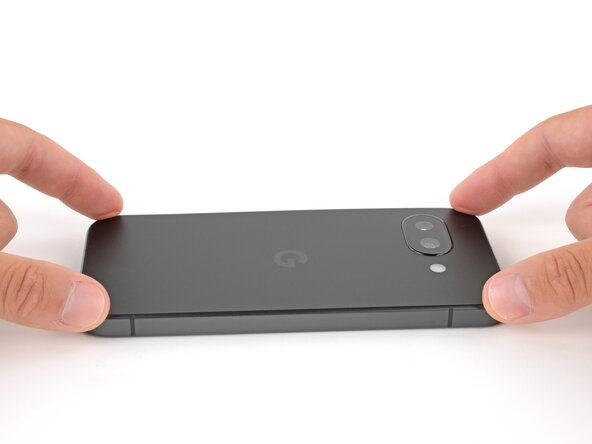
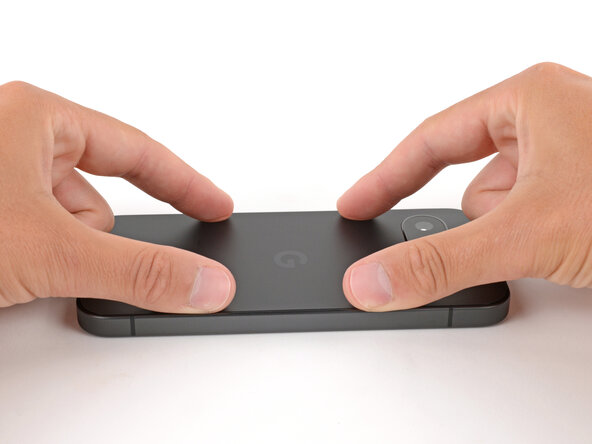
Apply a suction handle near the center of the rear cover's right edge, as close to the edge as possible.
-
-
-
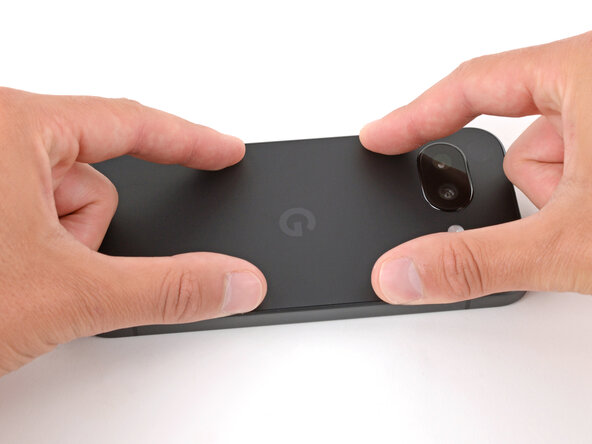
Pull up on the suction handle with strong, steady force until a gap forms between the cover and frame.
-
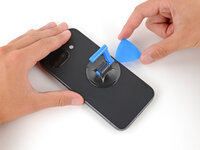
Insert the tip of an opening pick into the gap.
-
-
-
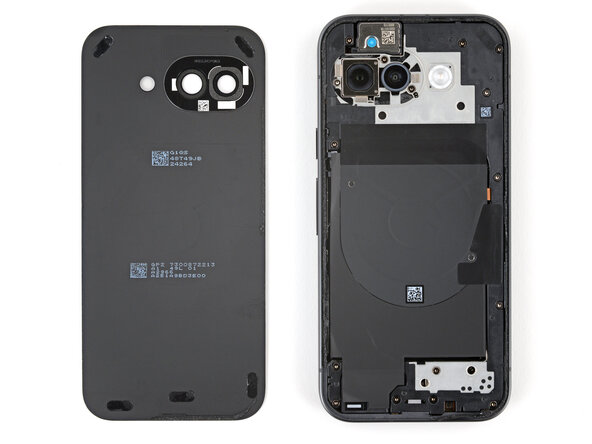
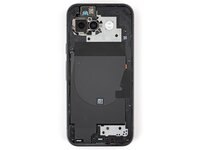
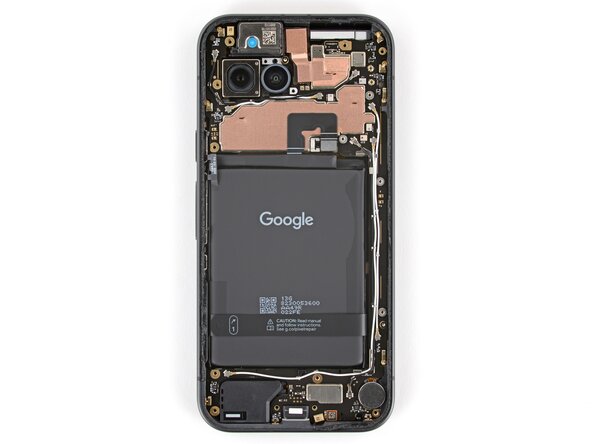
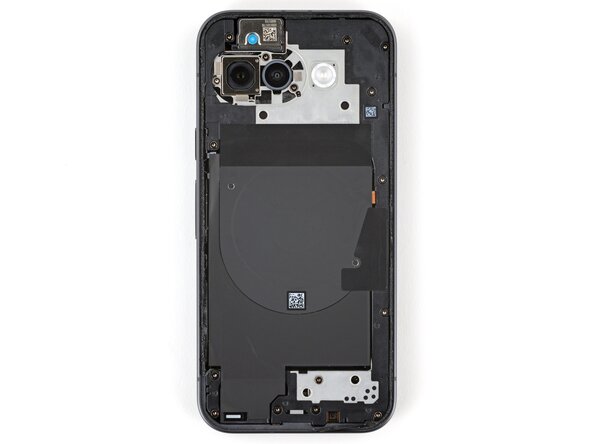
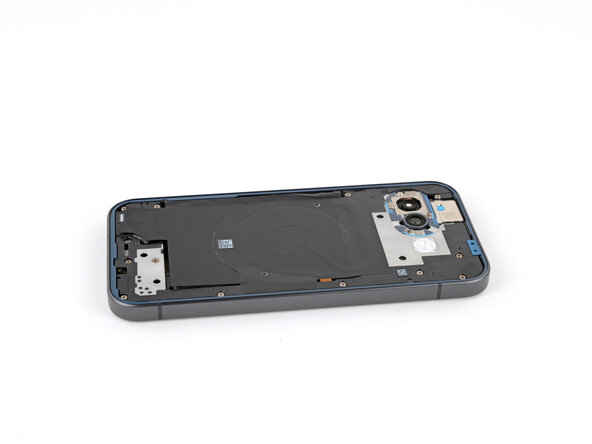
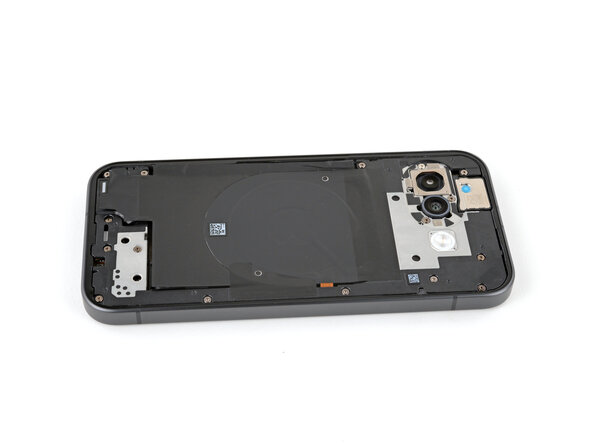
The rear cover is secured with adhesive around the perimeter of the frame and near the cameras. Use this picture as a reference while you separate the adhesive.
-
-
-
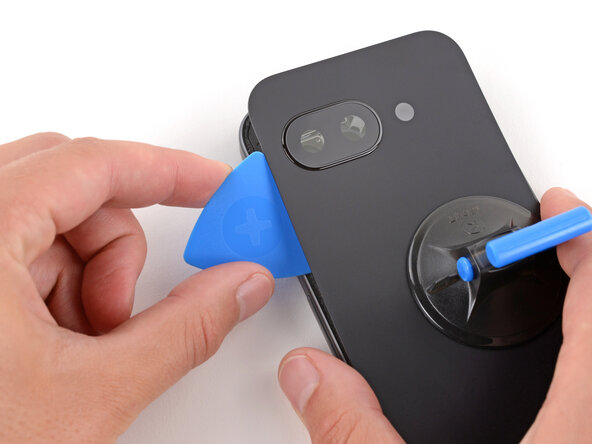
Slide the opening pick up the right edge, around the top right corner, and along the top edge to separate the adhesive securing the rear cover.
-
-
-
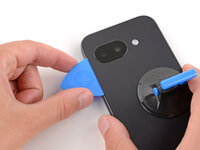
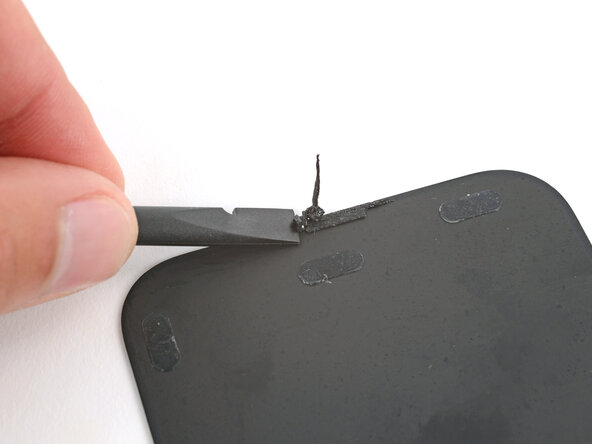
Insert the flat edge of an opening pick under the top of the rear cover's left edge, near the camera bezel.
-
Twist the pick and apply constant pressure to separate the adhesive around the camera bezel.
-
-
-
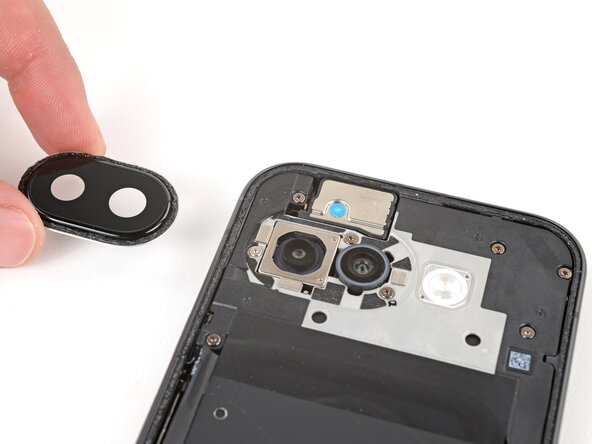
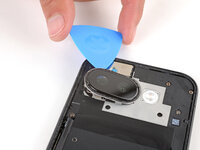
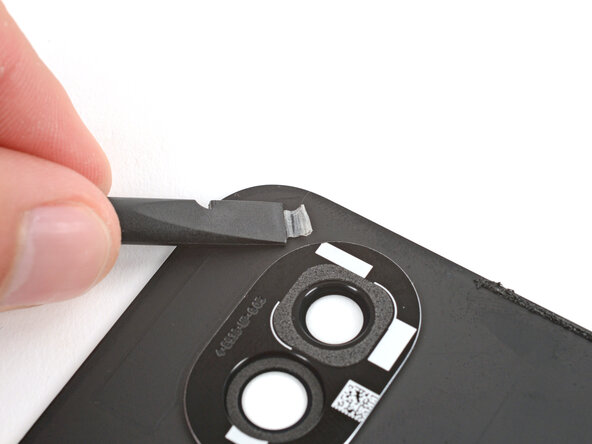
Slide an opening pick under the camera bezel and pry up to remove it.
-
-
Outil utilisé dans cette étape :Magnetic Project Mat$19.95
-
Use a Torx Plus 3IP screwdriver to remove the 16 screws securing the wireless charging assembly:
-
Thirteen 5.0 mm‑long screws
-
Three 2.2 mm‑long screws
-
Throughout this repair, keep track of each screw and make sure it goes back exactly where it came from to avoid damaging your phone.
-
-
-
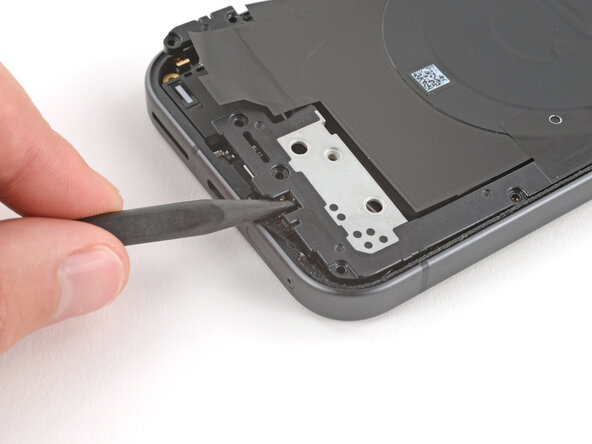
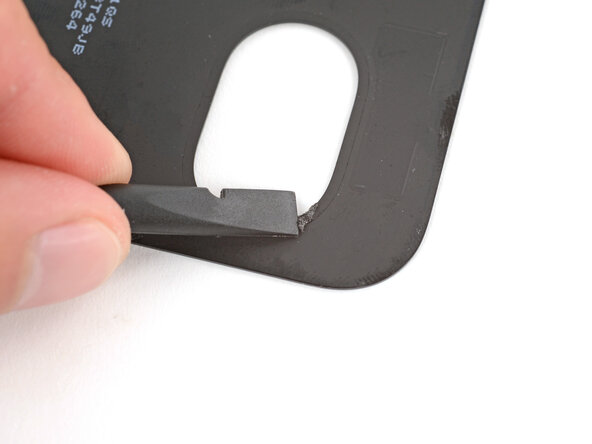
Use the point of a spudger to pry up and unclip the wireless charging assembly from the two cutouts—one to the right of the charge port, and another on the left edge just below the camera.
-
-
-
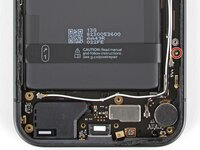
Use a Torx Plus 3IP screwdriver to remove the 1.7 mm‑long screw securing the battery connector cover.
-
-
-
Use tweezers to lift and remove the battery connector cover.
-
-
-
Use a spudger to pry up and disconnect the battery cable press connector.
-
-
-
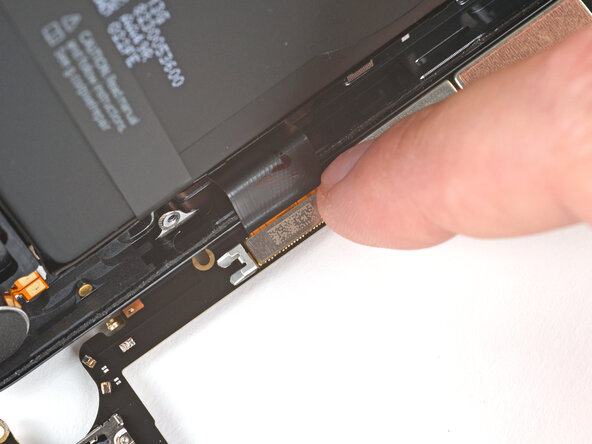
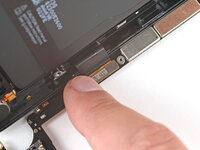
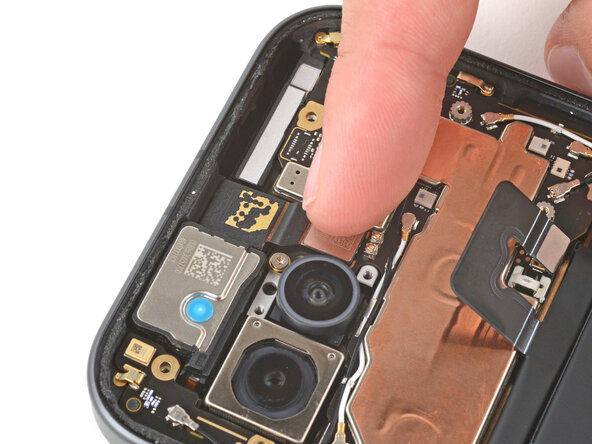
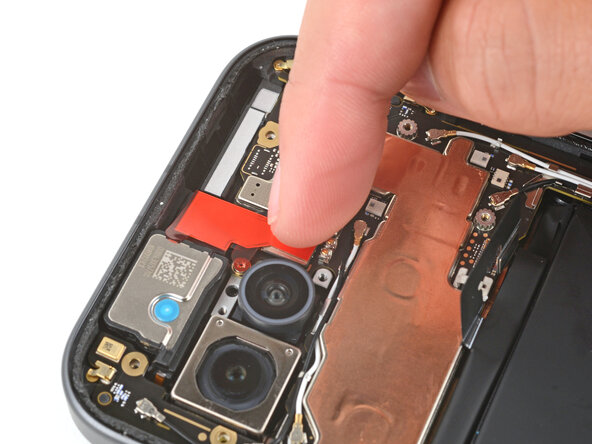
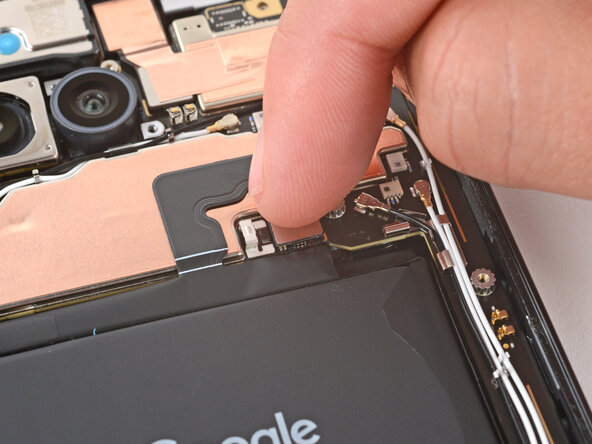
Use the point of a spudger to pry up and disconnect the front camera press connector, prying under the top left corner.
-
-
-
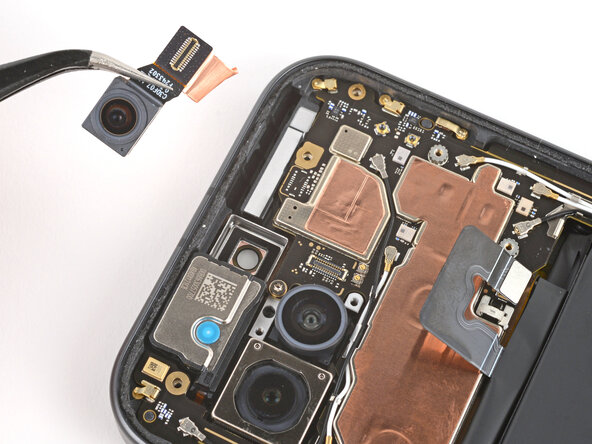
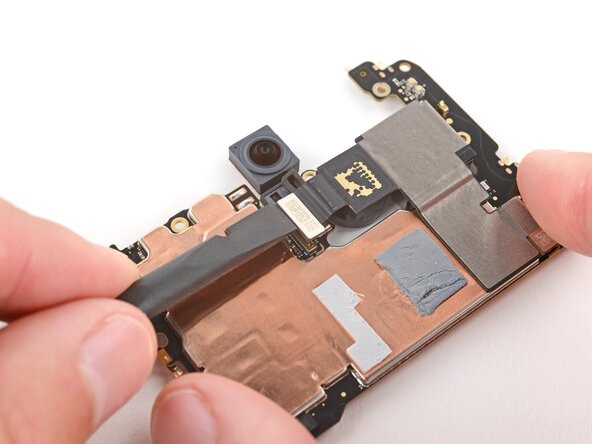
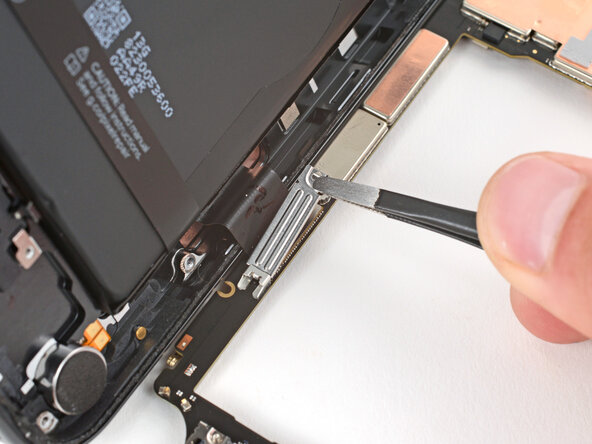
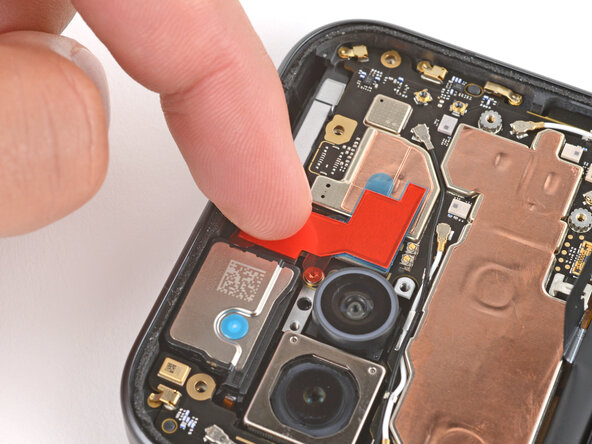
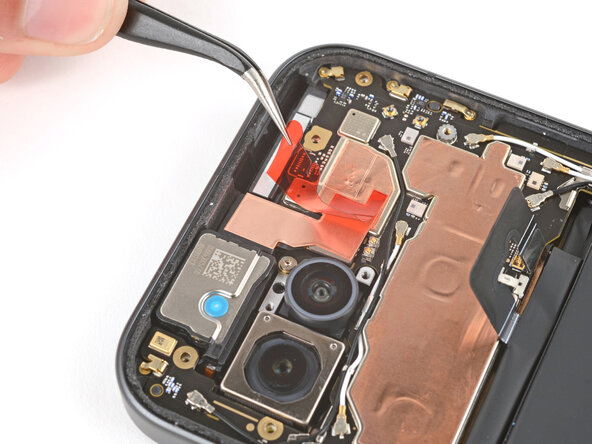
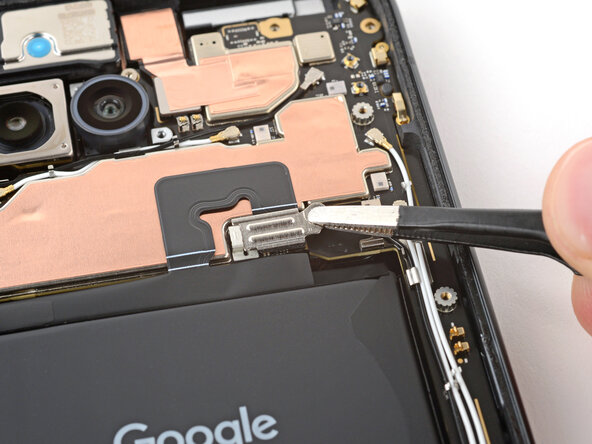
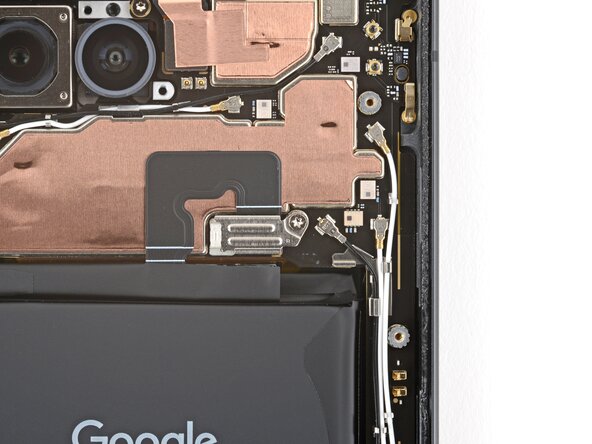
Use tweezers to grip the center of the front camera, between the press connector and the camera itself.
-
Flip the camera towards the right edge and gently peel it off the copper foil.
-
-
-
Use a 3IP Torx Plus screwdriver to remove the two 2.8 mm‑long screws securing the logic board.
-
-
-
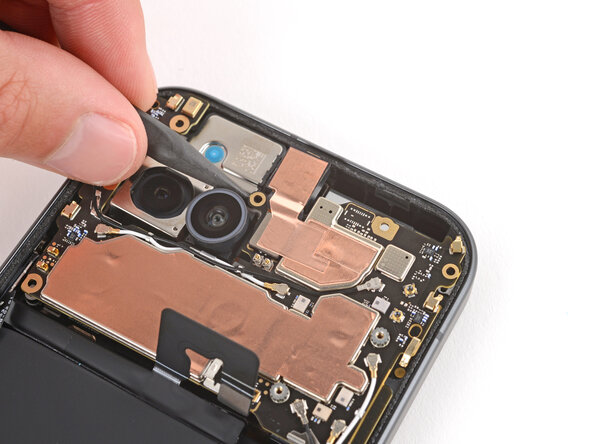
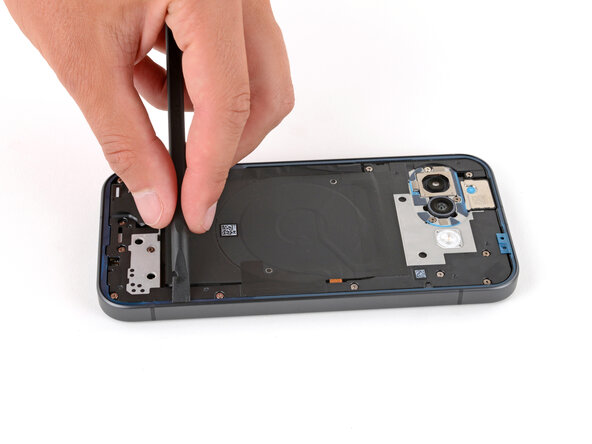
Insert the point of a spudger under the screw hole near the cameras and lift the board until you can grip it with your fingers.
-
-
-
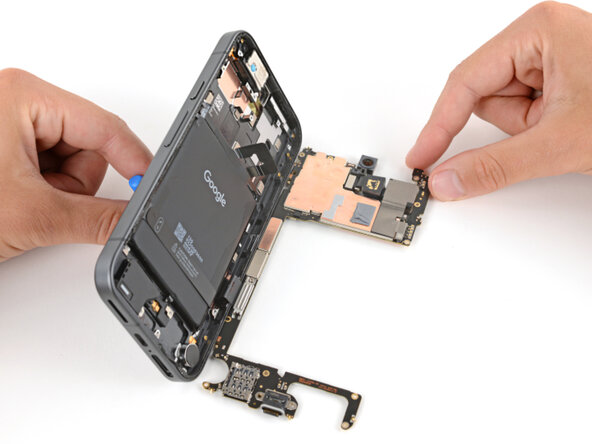
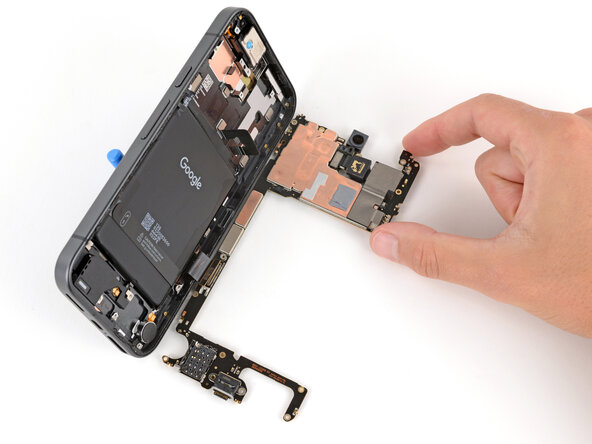
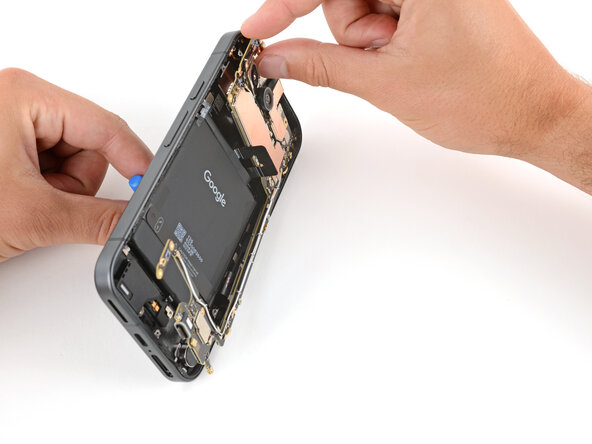
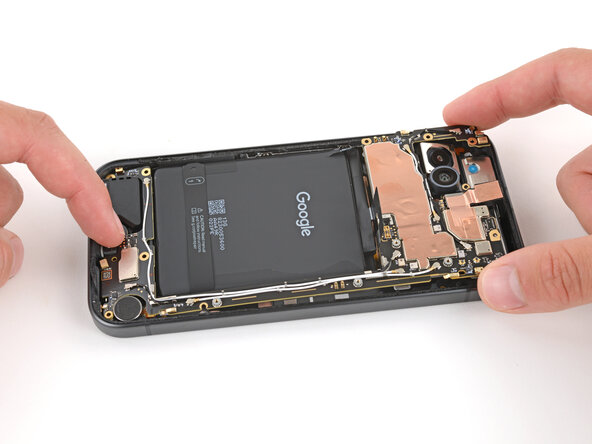
Grip the skinny section of the board with your fingers and lift until the clip near the bottom edge of the battery releases.
-
Pull the top edge of the board to the right of the frame until the charge port slides fully out of its recess.
-
-
-
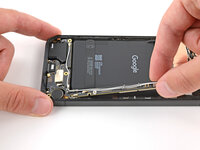
Apply a suction handle to the screen and use it to prop up your phone.
-
Gently lay the logic board down flat against your work surface, being careful not to strain the screen cable.
-
-
-
Use a Torx Plus 3IP screwdriver to remove the 1.7 mm‑long screw securing the screen cable cover.
-
-
-
Use tweezers to lift and remove the screen cable cover.
-
-
-
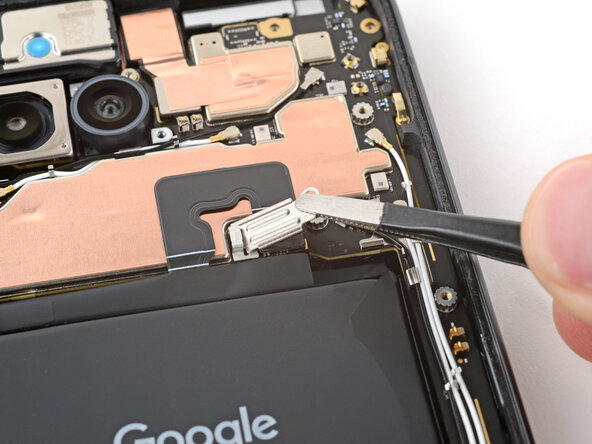
Use the flat end of a spudger to pry up and disconnect the screen cable press connector.
-
-
-
-
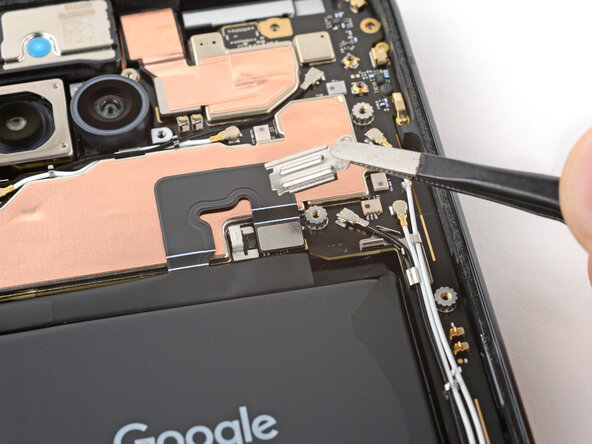
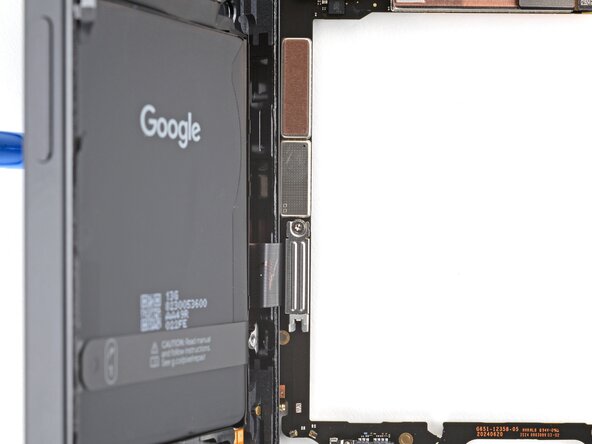
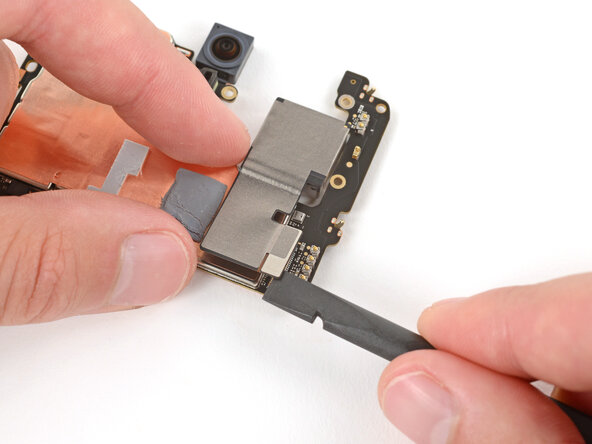
Use the flat end of a spudger to pry up and disconnect the ultrawide camera press connector.
-
Remove the ultrawide camera.
-
-
-
Put the wide camera into place on the logic board, being careful not to smudge the lens.
-
Align the press connector over its socket and press down with your fingertip—first on one side, then the other—until it clicks into place.
-
-
-
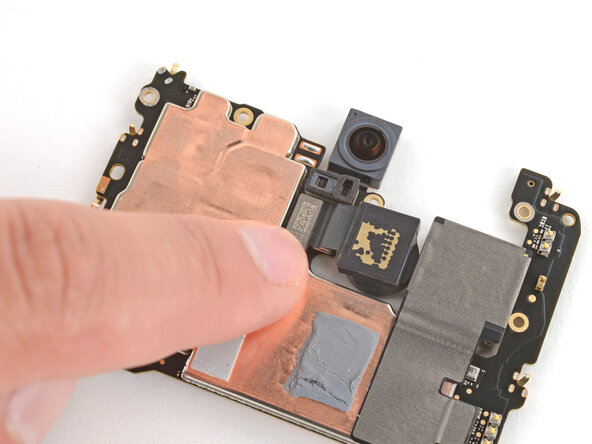
Check the condition of the logic board thermal pads—they'll either be on the bottom of the board or stuck to the corresponding spot on the frame.
-
If the pads are ripped, torn, or otherwise damaged, follow the next five steps to replace them. If they aren't, skip ahead five steps.
-
-
-
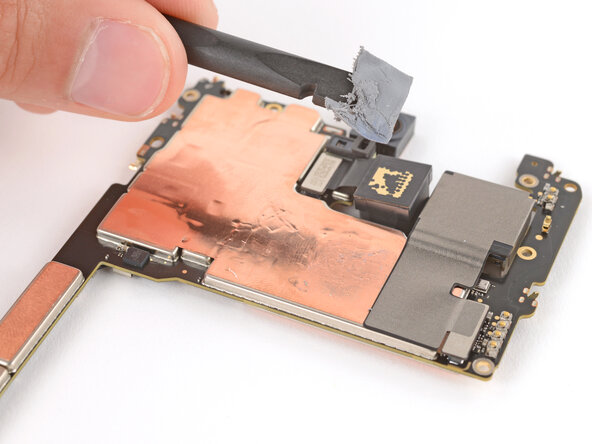
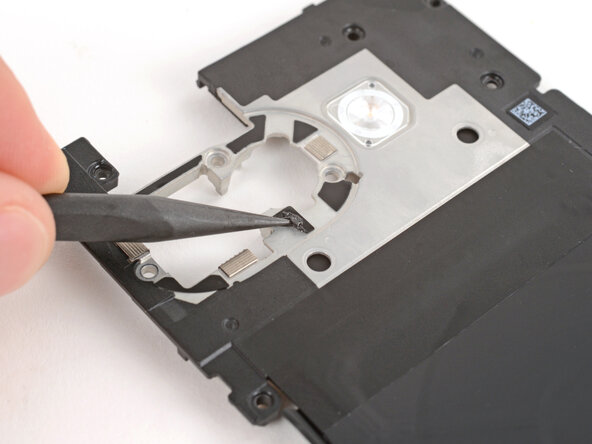
Use the flat end of a spudger to scrape up and remove the damaged thermal pads.
-
-
-
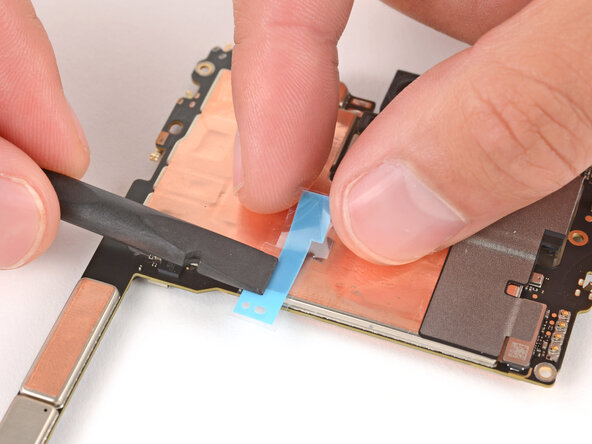
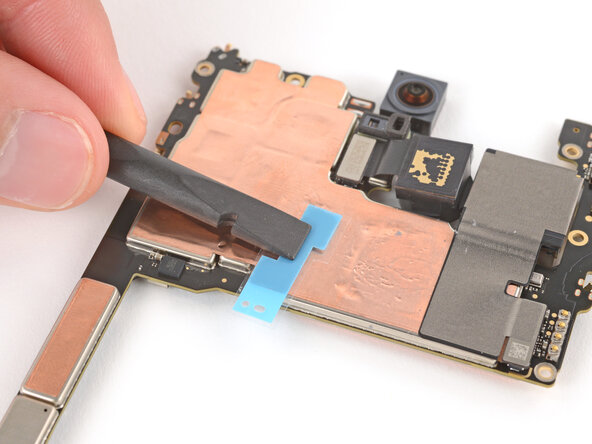
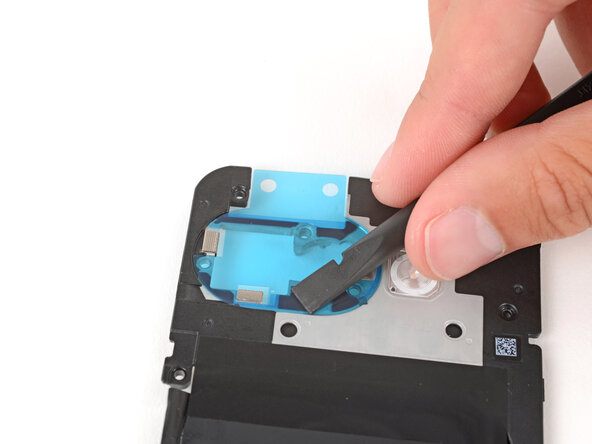
Remove the textured liner from the smaller thermal pad.
-
Carefully place the pad onto the board.
-
Use the flat end of a spudger or your finger to press down lightly on the entire surface of the thermal pad, securing it in place without deforming it.
-
-
-
Slide the logic board up against the frame so the screen cable is near its connector.
-
-
-
Align the screen cable press connector over its socket and press down with your fingertip—first on one side, then the other—until it clicks into place.
-
-
-
Use tweezers to hook the bottom edge of the screen cable cover into place, then lay the cover down flat.
-
-
-
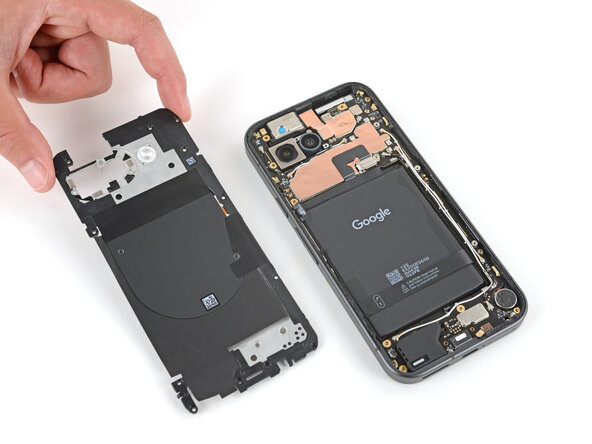
Flip the logic board up so it's gently resting in its recess in the frame.
-
Remove the suction cup and lay your phone screen-side down.
-
-
-
Push the logic board toward the bottom of the frame and press the charging port down until it snaps into its cutout.
-
Press down on the center of the logic board's bottom edge until the clip near the battery engages.
-
-
-
Use a 3IP Torx Plus screwdriver to install the two 2.8 mm‑long screws securing the logic board.
-
-
-
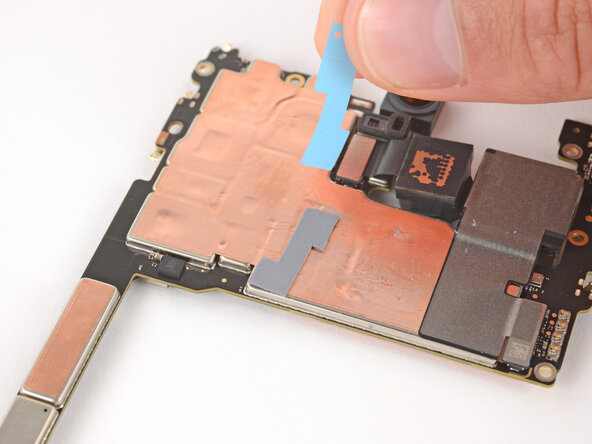
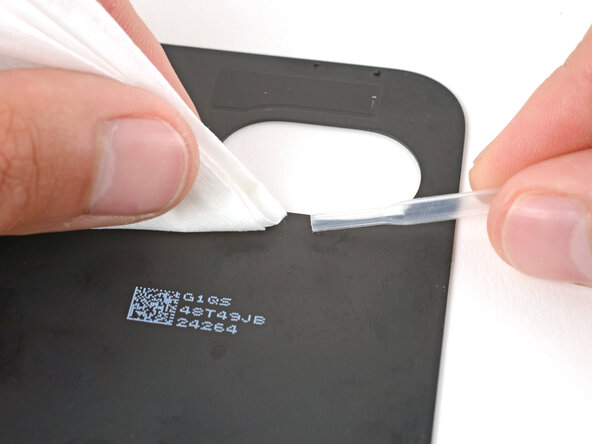
Carefully peel up and remove the old copper foil from your front camera.
-
Place the camera into its recess.
-
Use your finger to press down and reconnect the camera press connector.
-
-
-
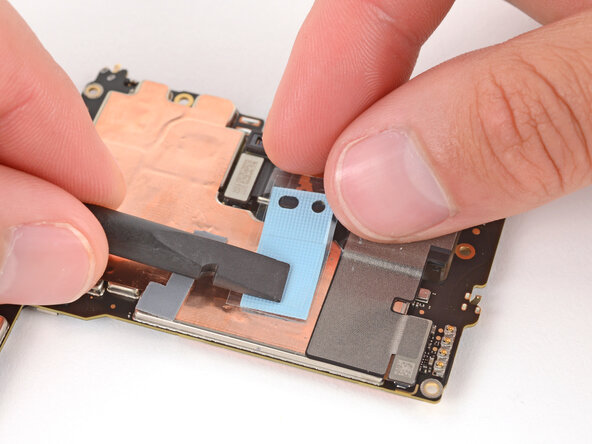
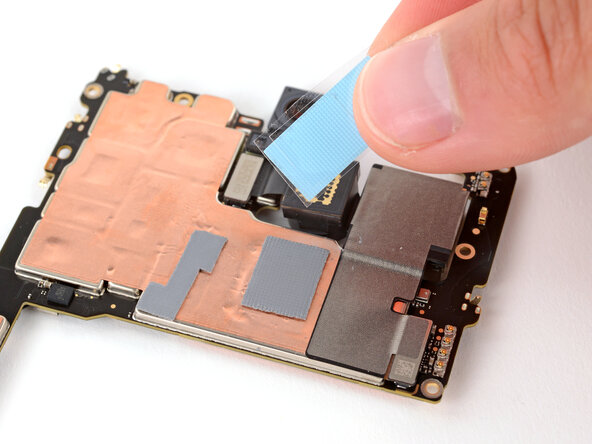
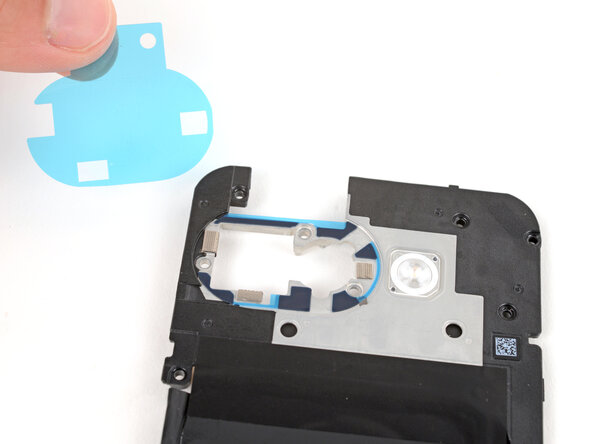
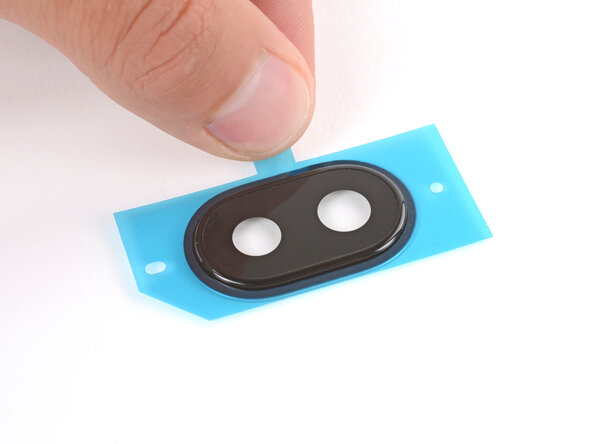
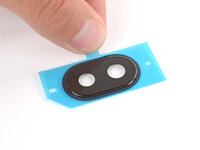
Remove the copper foil from its large clear liner and place it onto the front camera.
-
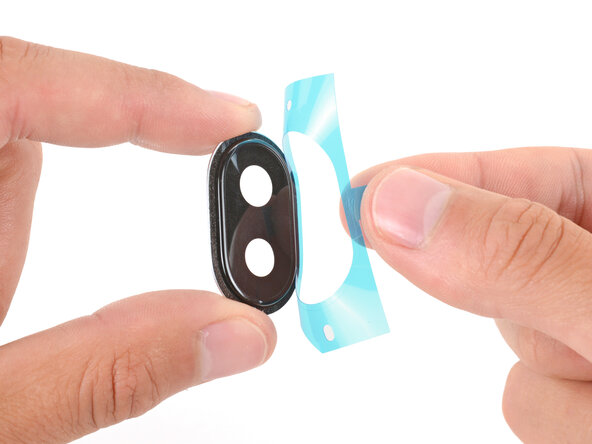
Gently press down on the top section of the foil to secure it to the camera (the bottom section still has a plastic liner under it).
-
-
-
Use a spudger to scrape up and remove the six small pieces of adhesive around the rear cameras.
-
Use high‑concentration (>90%) isopropyl alcohol and a lint‑free cloth (or coffee filter) to clean up and remove any residue from the adhesives that were removed.
-
-
-
Remove the larger, clear liner from the inner housing adhesive and lay it in place around the camera holes.
-
Use the flat end of a spudger to firmly push down on each piece of adhesive, securing them in place.
-
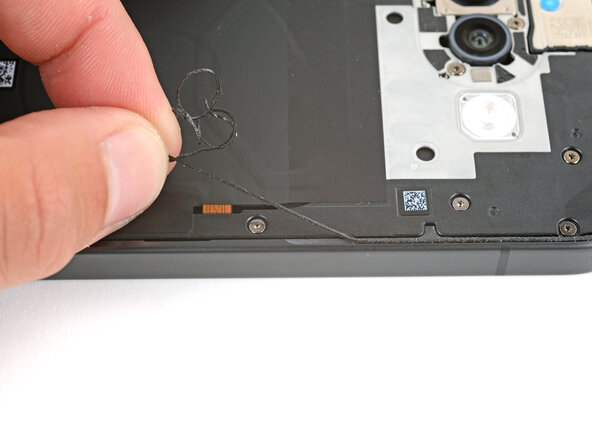
Remove the colored liner using the pull tab on the top edge.
-
-
-
Use a spudger to firmly press down on each of the six pieces of inner housing adhesive to secure them.
-
-
-
Use your finger to align the battery press connector over its socket and press down to connect it.
-
-
-
Use tweezers to hook the left edge of the battery connector cover into place, then lay the cover down flat.
-
-
-
Place the wireless charging assembly onto the frame.
-
-
-
Use a Torx Plus 3IP screwdriver to install the 16 screws securing the wireless charging assembly:
-
Thirteen 5.0 mm‑long screws
-
Three 2.2 mm‑long screws
-
-
-
Use a spudger and tweezers to scrape up and remove all the old rear cover adhesive from the perimeter of your phone.
-
-
-
Using some high-concentration (>90%) isopropyl alcohol and a lint‑free cloth (or coffee filter), clean the areas of the frame where the adhesive was.
-
-
-
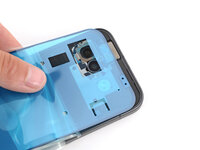
Hold the adhesive above the frame to find its orientation. Use the camera cutout in the liner to help visualize how it will lay on the frame.
-
-
-
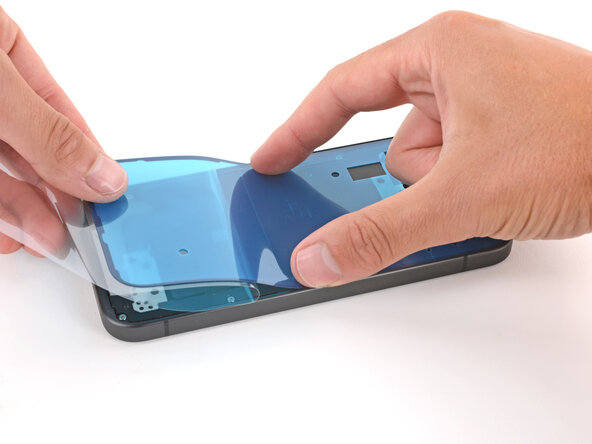
Peel down the top half of the large, clear liner to expose the adhesive—don't fully remove the liner yet.
-
-
-
With the larger, clear liner folded towards the bottom of the phone, lay the exposed top edge of the adhesive onto the frame.
-
Once the top edge is properly aligned, gently press down on the top corners with your fingers to secure the adhesive.
-
-
-
Use a spudger to press down firmly on the adhesive around the perimeter of your phone to secure it to the frame.
-
-
-
Use a spudger to scrape up and remove any of the old adhesive from the camera bezel and its corresponding spot on the rear cover.
-
-
-
Use high-concentration (>90%) isopropyl alcohol and a lint‑free cloth (or coffee filter) to clean up and remove any adhesive residue from the camera bezel and its corresponding spot on the rear cover.
-
-
-
Remove the large, clear liner from the camera bezel adhesive.
-
Put the adhesive over the top of the camera bezel and set it in place.
-
-
-
Align the camera bezel such that the square foam is closest to the edge.
-
Use your fingers to press the camera bezel into place on the rear cover, squeezing firmly around the perimeter to secure it with the adhesive.
-
-
-
Use the flat end of a spudger to scrape up and remove any all the old adhesive that stayed on the back cover, including the five pieces of small, oval‑shaped adhesive.
-
-
-
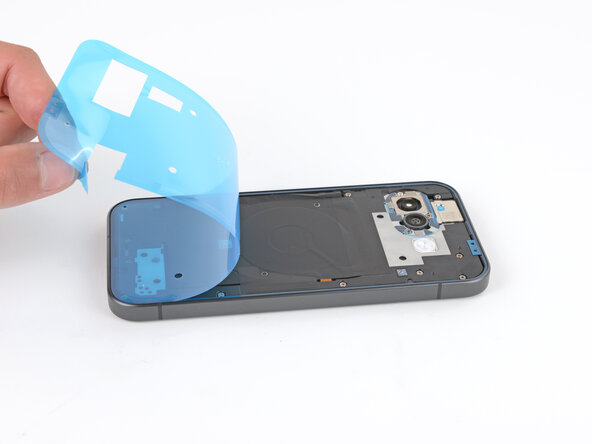
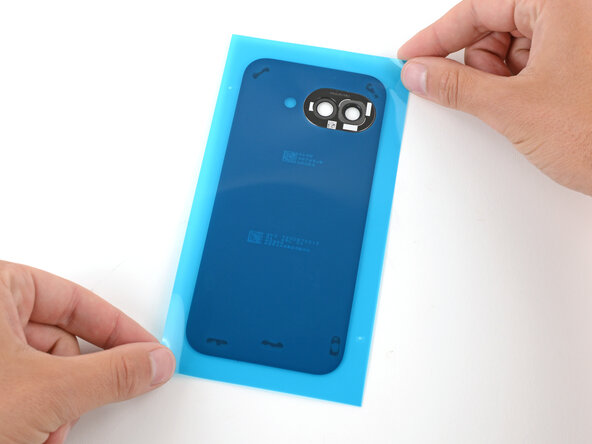
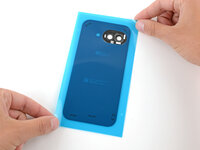
Remove the larger, clear liner from the back cover inner adhesive.
-
Lay the adhesive onto the bottom of the back cover, making sure the cutout goes around the camera bezel.
-
-
-
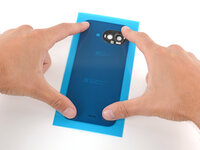
Use your fingers or a spudger to firmly push down on the five small adhesives to secure them to the back cover.
-
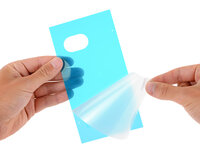
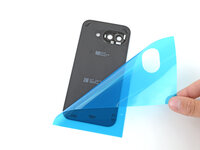
Slowly peel up and remove the remaining liner.
-
-
-
Use the point of a spudger to lift and remove the plastic liners from the adhesive around the rear cameras.
-
-
-
Align the rear cover over the frame and press it into place.
-
-
-
Firmly press down around the perimeter of the rear cover and near the camera bezel to bond all the rear cover adhesives.
-
-
-
Push the SIM card tray completely into its slot on the bottom edge of your phone.
-


Congratulations on completing your repair!
Replacing the logic board requires calibrating the fingerprint reader. To do this, use Google’s Pixel Update and Software Repair tool.
Take your e-waste to an R2 or e-Stewards certified recycler.
To run a diagnostics test with the built-in Pixel Diagnostic tool, click here.
Repair didn’t go as planned? Try some basic troubleshooting, or ask our Answers community for help.

