
How to Open a Google Pixel Watch

Introduction
Passez à l'étape 1Use this guide to open your Google Pixel Watch for repairs.
For your safety, discharge the battery below 25% before disassembling your device. This reduces the risk of fire if the battery is accidentally damaged during the repair. If your battery is swollen, take appropriate precautions.
You’ll need replacement adhesive to reattach the screen when reassembling the device.
Retaining water resistance after the repair will depend on how precisely the adhesive is reapplied, but your device will lose its IP (Ingress Protection) rating.
Note: This guide was written using a GBZ4S LTE model. If you have the non-LTE version, you can still use this guide—but there might be slight visual discrepancies.
Ce dont vous avez besoin


-
-
Remove the watch band by pressing the band release button and sliding the band over the button while pulling it away from the watch.
-
Repeat for the other watch band.
-
-
-
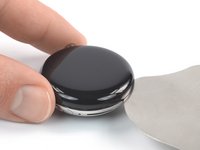
Heat an iOpener and apply it to the screen for about two minutes to soften the adhesive securing the screen.
-
-
-
Outil utilisé dans cette étape :iFlex Opening Tool$11.99
-
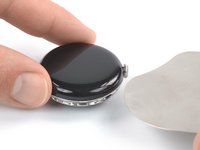
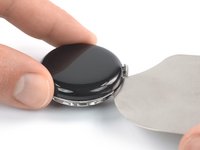
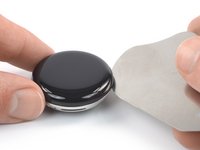
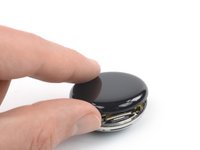
Insert an iFlex into the thin gap between the screen and frame, left of the digital crown.
-
-
-
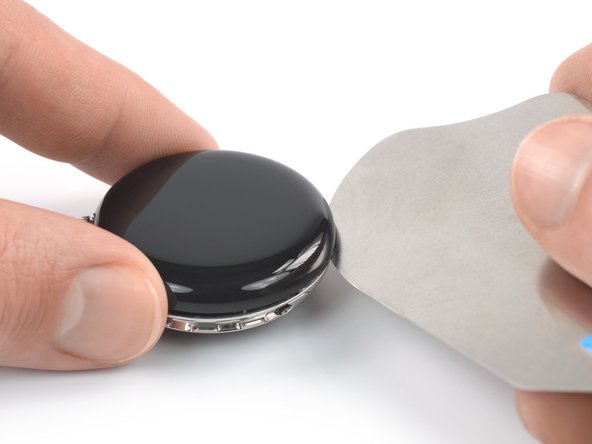
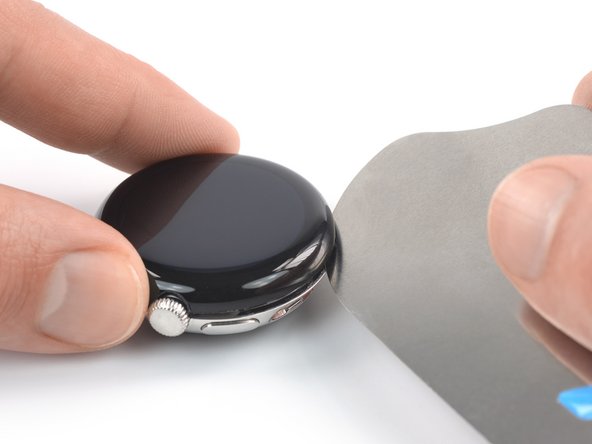
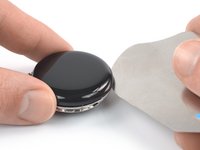
Slide the iFlex around the entire perimeter of the watch to slice all of the screen adhesive.
-
-
-
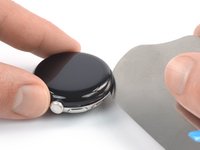
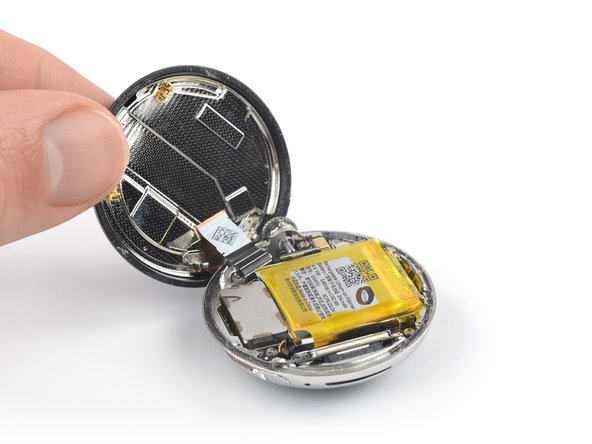
Remove the iFlex and reinsert it under the screen, to the right of the speaker grille.
-
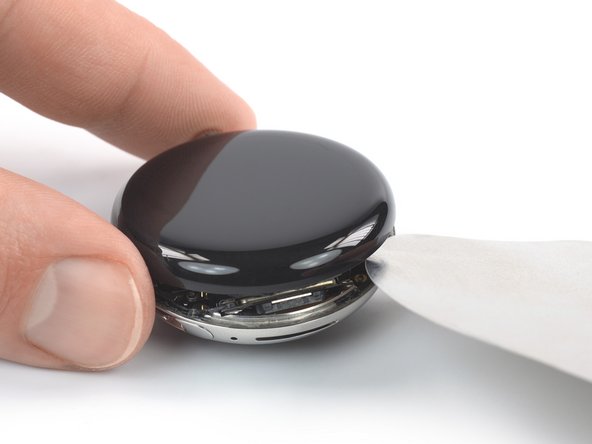
Twist the iFlex to pry the screen up.
-


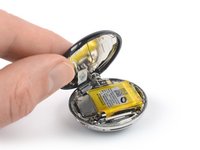
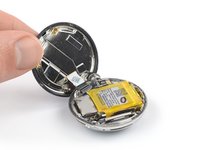
To reassemble your device, follow these instructions in reverse order.
During reassembly, apply new adhesive where it's necessary after cleaning the relevant areas with isopropyl alcohol (>90%).
Take your e-waste to an R2 or e-Stewards certified recycler.
Repair didn’t go as planned? Try some basic troubleshooting, or ask our Answers community for help.
Annulation : je n'ai pas terminé ce tutoriel.
2 autres ont terminé cette réparation.

