
Huawei Mate 8 Display Replacement

Introduction
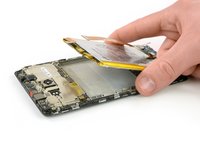
Passez à l'étape 1Use this guide to replace the defective display of your Huawei Mate 8.
Ce dont vous avez besoin
Kit de réparation
Ce kit contient toutes les pièces et tous les outils nécessaires à la réalisation de ce tutoriel.

Pièces

Outils


Afficher plus…
-
-
Remove the liquid indicator sticker.
-
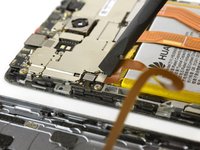
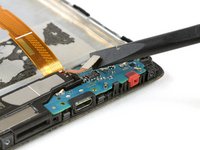
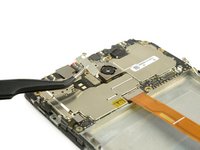
Remove the Phillips #00 screw that holds down the metal shield.
-
Use a spudger to remove the metal shield.
-
-
-
-
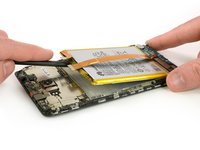
Get a good grip on the pull tab near the power button and peel out the adhesive strip by steadily pulling at the tab in a flat angle.
-
-
-
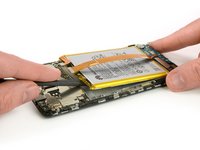
Heat an iOpener and place it on the phone for about a minute to loosen the remaining adhesive.
-
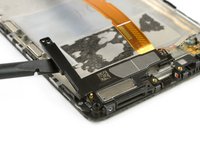
Carefully insert the flat end of a spudger to separate any remaining adhesive at the top of the battery.
-
-
-
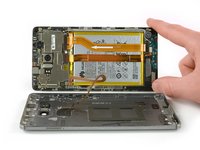
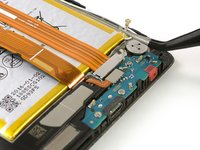
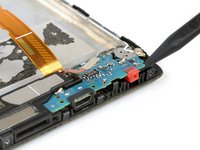
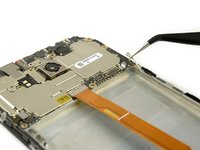
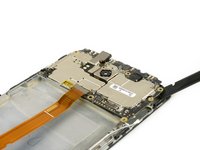
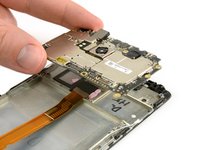
Remove the four Phillips #00 screws holding the daughterboard and loudspeaker to the phone.
-
-
Outil utilisé dans cette étape :Tweezers$4.99
-
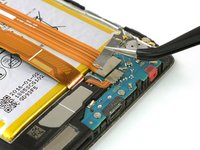
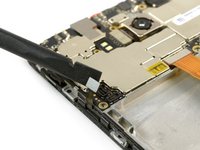
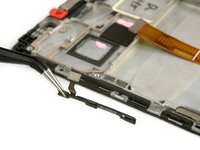
Insert the flat end of a spudger under the loudspeaker at the gap on the left side.
-
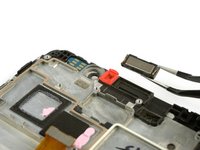
Work the spudger under the loudspeaker to seperate it from the adhesive and remove the loudspeaker.
-
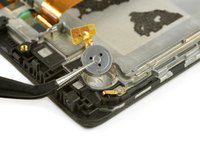
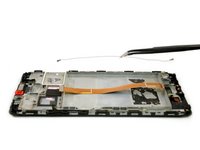
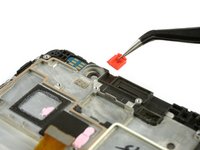
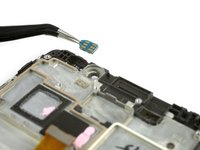
Use tweezers to take the vibration unit out of its housing.
-


To reassemble your device, follow these instructions in reverse order.
To reassemble your device, follow these instructions in reverse order.
Annulation : je n'ai pas terminé ce tutoriel.
9 autres ont terminé cette réparation.

