
Lenovo ThinkPad X270 Heatsink and Fan Replacement

Introduction
Passez à l'étape 1Use this guide to replace the heatsink and fan in your Lenovo ThinkPad X270 laptop.
You may need to replace the heatsink and fan if your laptop is overheating.
Note: The heatsink and fan are connected and must be replaced as one assembly.
Ce dont vous avez besoin
Pièces

Outils


Afficher plus…
-
-
Unplug all cables and fully shut down your laptop.
-
-
-
Insert a straightened paper clip into the micro SIM card tray hole on the right edge of the laptop.
-
Press the paper clip firmly into the hole to eject the tray.
-
Remove the tray.
-
-
-
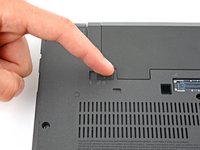
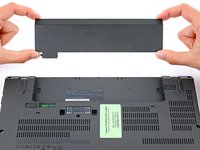
Lay your laptop upside down to access the external battery.
-
Two sliding tabs secure the battery.
-
-
-
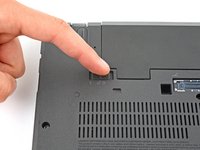
Slide the left tab, labeled 1, to the unlocked position—it'll click into place and release the left side of the battery.
-
-
-
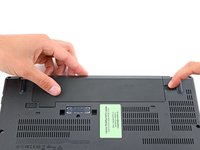
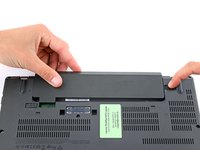
Hold the right tab, labeled 2, in the unlocked position and slide the battery out of its recess.
-
-
-
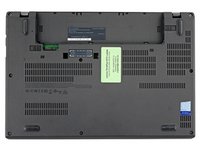
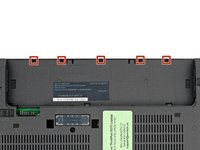
Use a Phillips screwdriver to loosen the eight captive screws securing the back cover.
-
-
-
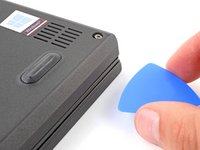
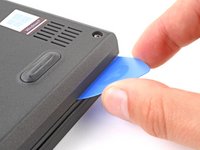
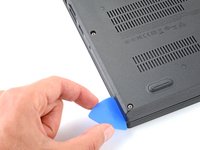
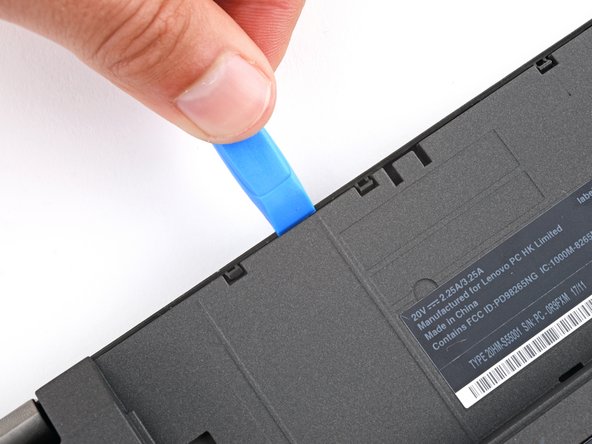
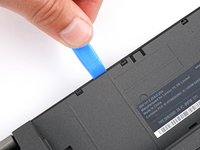
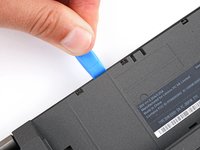
Insert the flat side of an opening pick between the bottom right edge of the back cover and frame.
-
Pry up the back cover to release the bottom right clips.
-
Leave the pick inserted in the bottom right corner.
-
-
-
-
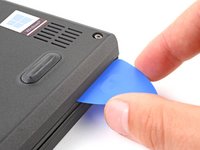
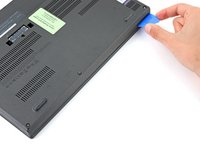
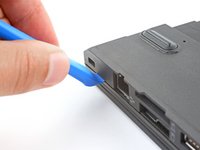
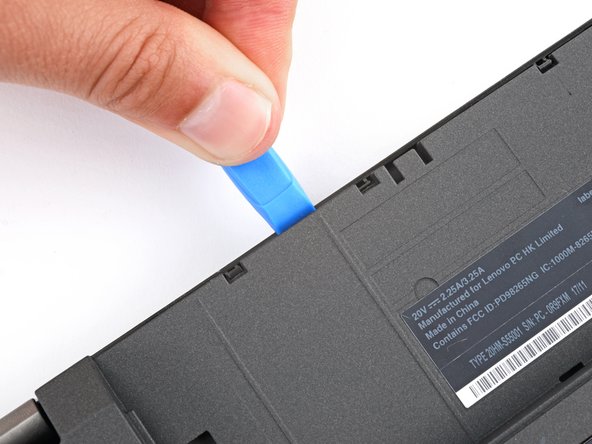
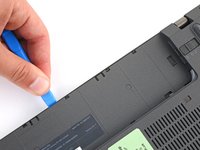
Slide the pick to the bottom left corner to release the bottom clips.
-
-
-
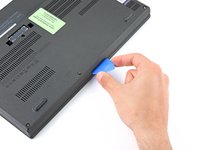
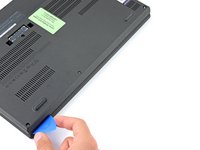
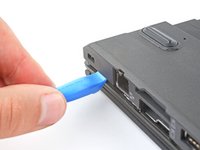
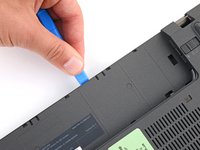
Insert your pick in the bottom left corner and slide the pick to the first USB port to release the left clips.
-
-
-
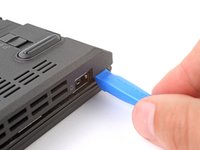
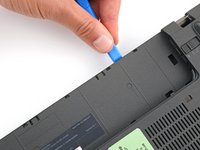
Insert an opening tool between the top left corner of the back cover and frame.
-
Pry the back cover up to release the clips securing its top left corner.
-
Repeat the process on the top right corner.
-
-
-
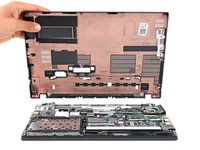
Five clips secure the top edge of the back cover.
-
Insert an opening tool in the gap between the back cover and frame, next to one of the clips.
-
Push the opening tool into the gap until the clip releases.
-
-
-
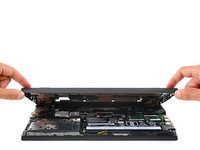
Push on alternating sides of the internal battery connector with a spudger to "walk" it out of its socket.
-
-
-
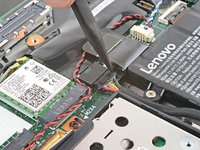
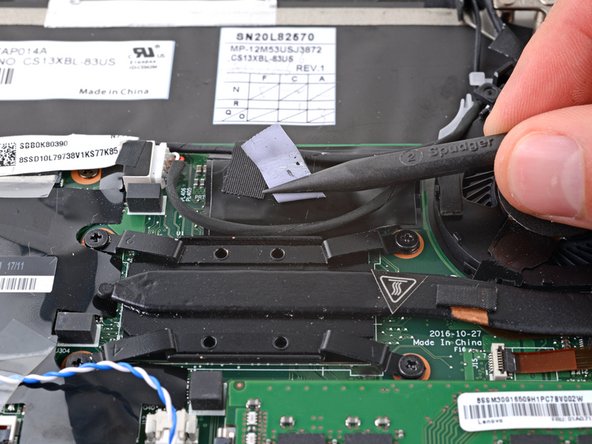
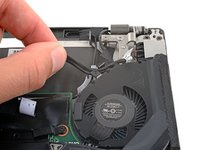
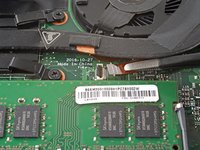
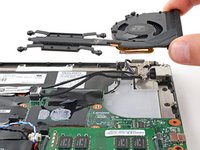
Use a spudger or your fingers to peel up the tape securing the display cable to the top of the heatsink.
-
-
-
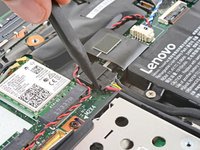
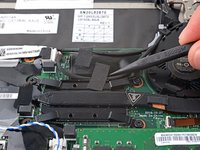
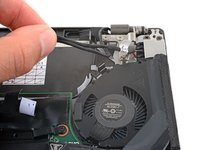
Guide the display cables out of their clips on the upper edge of the fan.
-
-
Outil utilisé dans cette étape :Tweezers$4.99
-
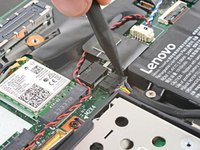
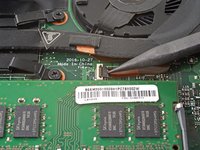
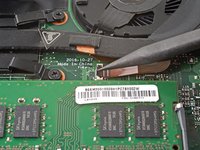
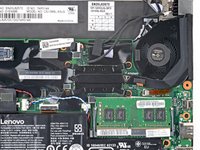
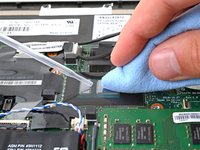
Use the tip of a spudger or a clean fingernail to flip up the small, hinged locking flap on the fan cable ZIF connector.
-
Use a pair of blunt nose tweezers or your fingers to gently slide the fan cable out of its socket.
-
-
-
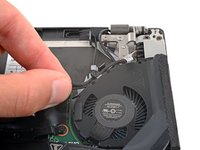
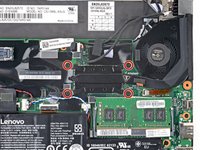
Use a Phillips screwdriver to loosen the four captive screws securing the heatsink and fan.
-


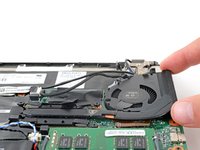


To reassemble your device, follow these instructions in reverse order.
Check your repair by running hardware tests with Lenovo Diagnostics.
Take your e-waste to an R2 or e-Stewards certified recycler.
Repair didn’t go as planned? Try some basic troubleshooting, or ask our Answers community for help.

