
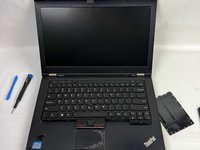
Lenovo Thinkpad T430 Fan and Heat Sink Replacement

Ce dont vous avez besoin


-
-
Place the laptop so that the bottom is facing up.
-
Slide the battery unlock lever to the right.
-
Gently pull the battery outwards from the body of the device.
-
-
-
Remove the two screws that hold the RAM door in place using a Phillips #000 screwdriver.
-
Remove the back panel.
-
-
-
-
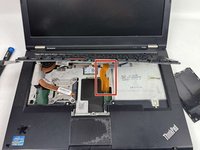
Returning to the underside of the device, remove the six screws that hold the palm rest in place.
-
-
-
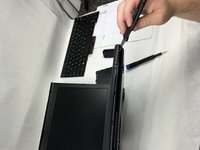
With the top of the device facing you, tilt the device 45 degrees upward to access the clips that keep the palm rest in place.
-
Using a Jimmy, gently unclip the palm rest from the body of the device.
-
Starting from the hinge of the device, gently lift the palm rest from the body of the device. Before completely removing the palm rest, unclip the ribbon band underneath the mouse pad.
-
-
-
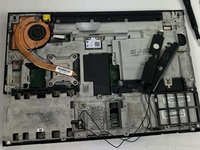
Return to the front of the device.
-
Remove the screws holding each of the speakers in place on the left and right sides of the device.
-
Lift the speakers from the body of the device.
-
-
-
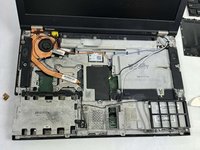
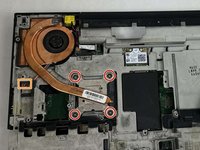
Remove the four screws holding the heat sink in place.
-
Unplug the fan cable.
-
Gently lift the heat sink from the body of the device.
-


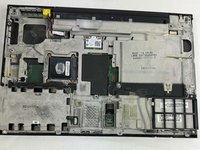
To reassemble your device, follow these instructions in reverse order.
To reassemble your device, follow these instructions in reverse order.

