
MacBook Pro 15" Retina Display Early 2013 Microphone Replacement

Introduction
Passez à l'étape 1Webcam charades getting to be too much work? Get your voice back by replacing the microphone in your MacBook Pro 15" Retina Display Early 2013.
Ce dont vous avez besoin


-
-
Remove the following P5 pentalobe screws securing the lower case to the MacBook Pro:
-
Eight 3.0 mm
-
Two 2.3 mm
-
-
Outil utilisé dans cette étape :Tweezers$4.99
-
Use a spudger or tweezers to pry the three AirPort antenna cables straight up off of their sockets on the AirPort board.
-
-
-
Using the flat end of a spudger, pry the I/O Board connector straight up out of its socket on the logic board.
-
In a similar fashion, remove the I/O Board cable connector from its socket on the I/O Board.
-
Remove the I/O Board cable from the MacBook Pro.
-
-
-
Remove the single 2.9 mm T5 Torx screw securing the AirPort card to the logic board.
-
-
-
-
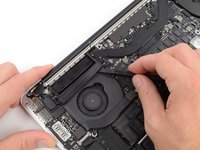
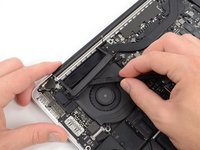
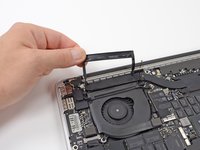
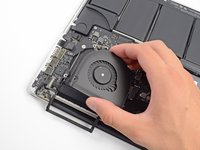
Use the flat end of a spudger to lift the rubber heat sink cover up off the left fan.
-
-
-
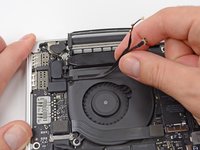
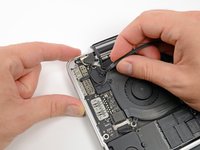
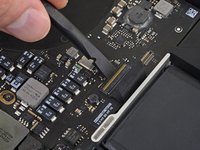
Use the tip of a spudger to flip up the I/O board data cable lock and rotate it toward the battery side of the computer.
-
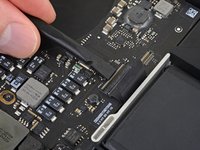
Use the flat end of a spudger to slide the I/O board data cable straight out of its socket on the logic board.
-
-
-
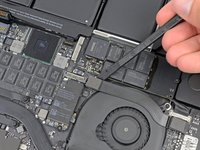
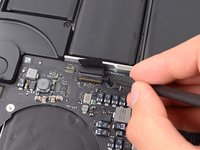
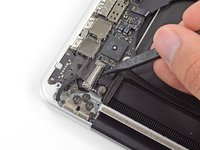
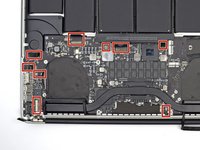
Use the flat end of a spudger to pry the headphone jack connector up from its socket on the logic board.
-
-
-
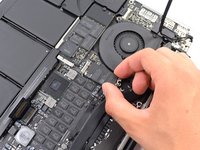
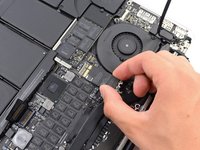
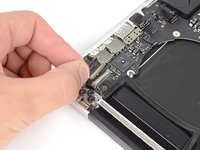
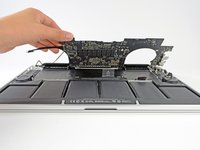
Lifting from the side nearest the battery, rotate the logic board toward the top of the MacBook Pro.
-
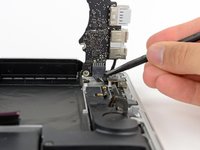
Using the flat end of a spudger, carefully push the MagSafe 2 connector out of its socket on the bottom of the logic board.
-
Clockwise from top: keyboard, trackpad, battery, right speaker, keyboard backlight, display, microphone, headphone jack, left speaker.
-
-
-
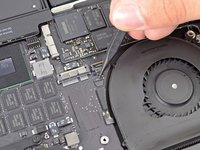
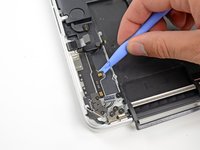
Insert the edge of a plastic opening tool underneath the upper microphone.
-
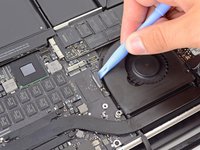
Slide the blade of a plastic opening tool along the bottom of the upper microphone, releasing the adhesive.
-
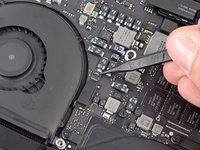
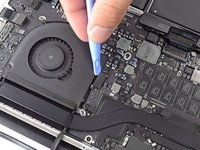
In a similar manner, release the adhesive underneath the lower microphone.
-


To reassemble your device, follow these instructions in reverse order.
To reassemble your device, follow these instructions in reverse order.
Annulation : je n'ai pas terminé ce tutoriel.
3 autres ont terminé cette réparation.


1 commentaire de tutoriel
Scary... make one mistake with one of these fragile connectors and the MacBookPro is history... you'll be a braver man than me Gonga Din to tackle a job like this...