Il est possible que cette traduction ne reflète pas les dernières mises à jour du tutoriel source. Aidez à mettre à jour la traduction ou bien consultez le tutoriel source.
Introduction
Consultez ce tutoriel pour remplacer l'écran de votre Moto G6, y compris le châssis central collé à l'écran.
Vérifiez que votre pièce de remplacement inclut l'écran et le châssis interne. Ce tutoriel n'explique pas comment séparer l'écran du châssis central.
Cette procédure inclut le retrait de la batterie qui risque d'être abîmée au passage. Nous recommandons fortement de ne pas réutiliser la batterie, car cela pourrait être dangereux. Remplacez-la par une neuve.
Ce dont vous avez besoin
-
-
Insérez un trombone ou un outil éjecteur de carte SIM dans le petit trou du tiroir de carte SIM, à droite du bord supérieur du téléphone.
-
Appuyez l'outil dans le trou pour éjecter le tiroir.
-
-
-
Si possible, éteignez la batterie avant le démontage. Une batterie chargée risque plus de déclencher un incendie dangereux si vous la surchauffez ou endommagez pendant la réparation.
-
Préparez un iOpener et chauffez la partie inférieure du dos du téléphone pendant environ deux minutes ou bien jusqu'à ce qu'elle soit légèrement trop chaude au toucher.
At what temperature shold the glass be heated to? My heat gun goes from 250 up to 1350.
START LOW.
These plastics can be almost endlessly remelted, held at temp, etc., if done gently.
With a heat gun, I'd hesitate to go too far past 250°F/115°C too quickly until I was comfortable with the material.
Plastic WILL begin to burn and permanently deteriorate at 350-400°F or so.
Silicone can handle up to 400-500°F.
(Get a cast iron pot or pan to roughly 250°F/110°C, then invert and put a silicone cookie sheet on it to make a work surface that will make life waaaaaay easier. Preheat the device along with the pan for a few minutes, too.)
-
-
-
Posez une ventouse sur le bord inférieur de la coque arrière.
-
Tirez fermement et constamment sur la ventouse pour ouvrir un léger interstice entre la vitre arrière et le châssis.
-
Si vous avez du mal, refaites chauffer pour continuer à ramollir l'adhésif, puis réessayez. L'adhésif refroidit rapidement, il vous faudra peut-être vous y reprendre à plusieurs reprises.
-
Insérez un médiator dans l'espace que vous avez créé sous la vitre arrière.
My back delaminated at this point. That is, the clear plastic started to come away leaving the paint layer behind. Mine is (was) the indigo blue one.
-
-
-
Si la vitre adhère encore, refaites chauffer et recoupez l'adhésif autant que nécessaire.
-
Soulevez soigneusement la coque arrière en vérifiant qu'elle est complètement décollée.
-
Enlevez-la.
When cleaning old adhesive off the back glass, be careful not to scratch the inner coating of the glass. If you scratch this coating with tweezers, it will leave visible “nicks” on the back glass.
-
-
-
-
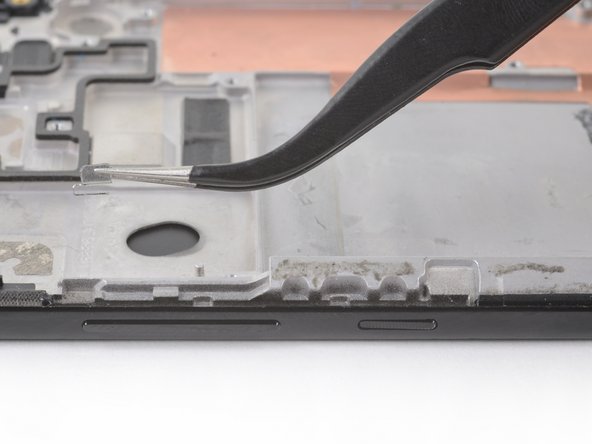
Prenez une pincette pour décoller soigneusement le ruban adhésif noir qui recouvre la batterie.
-
Enlevez le ruban adhésif.
Yes, there's the NFC tag that isn't mentioned, with its connection to the left. Thanks for the tip, Stuart; I gently lifted mine to the left and it seems to be intact. I guess I won't know until I try to pay for something.
-
-
-
Prenez un tournevis cruciforme pour dévisser les dix-sept vis qui fixent le cache en plastique :
-
Onze vis grises de 3 mm de long
-
Cinq vis noires de 2,5 mm de long
-
Une vis argentée de 3,5 mm de long
The holes for the black screws are marked with a small triangle to differentiate them from the holes for the gray ones. I found this super helpful when reassembling!
-
-
-
Insérez la pointe d'une spatule dans l'encoche du coin inférieur gauche du cache en plastique.
-
Faites levier pour soulever le bord supérieur du cache et défaire les clips qui fixent le cache.
-
Ôtez le cache en plastique.
When reinstalling plastic cover, alignment is critical for underlying contacts to line up. Test all functions before sealing up the phone. If camera or speaker don’t work, recheck plastic cover installation and correct until all phone functions operate.
-
-
-
Avec la pointe de la spatule, soulevez et débranchez le connecteur de la batterie.
What is the black part the battery is connects to called? The black part connected to the body of the phone.
Be very careful on this step! If you pry it out too roughly the connector will break. If you aren't very precise when putting the plug back in you will smash either the tiny tabs on the plug or the connector itself.
-
-
-
Préparez un iOpener et posez-le sur la moitié droite de l'écran pendant au moins deux minutes, afin de ramollir l'adhésif de la batterie. Refaites chauffer et réappliquez l'iOpener autant que nécessaire.
-
-
-
Avec un médiator, faites fermement levier sur la batterie, en commençant par le bord extérieur de la batterie.
-
Ôtez la batterie.
I found it easier to remove the battery after I removed the mother board.
It’s much easier to remove the battery after the motherboard is removed from the opposite side
Merci. La batterie est difficile À décoller Mais tout été parfait.
-
-
-
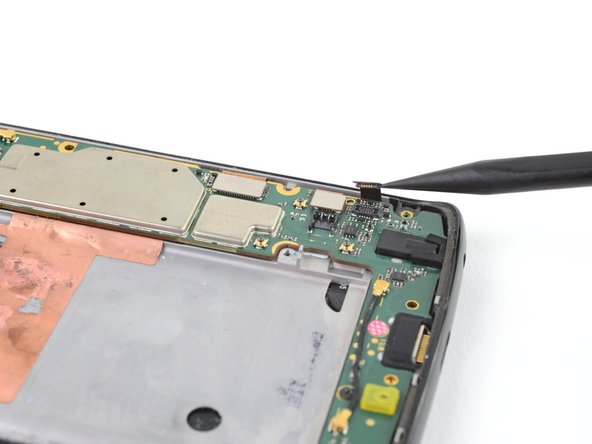
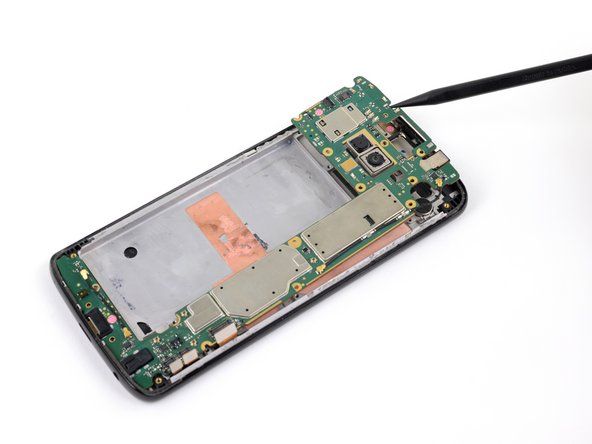
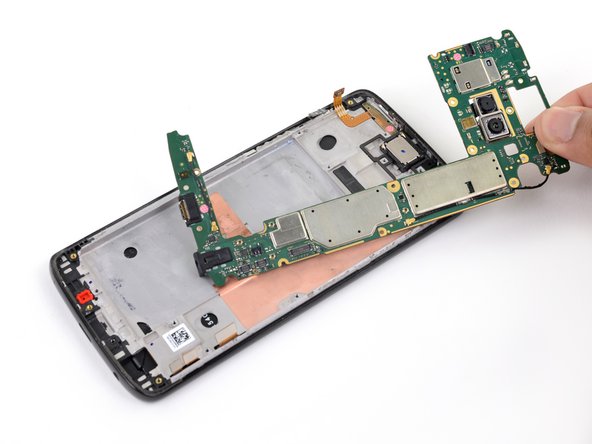
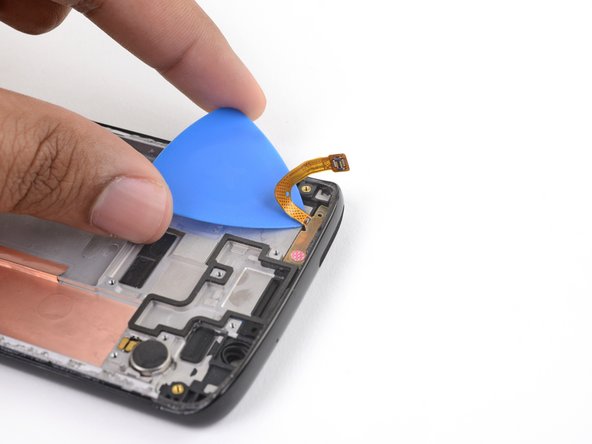
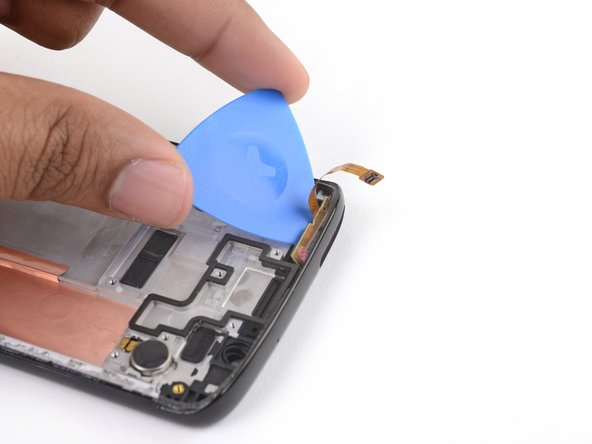
Faites levier sur les trois nappes dans le coin inférieur droit de la carte mère avec la pointe d'une spatule pour les débrancher.
-
-
-
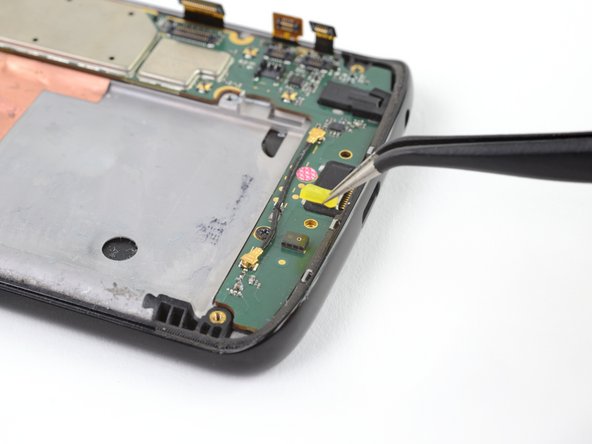
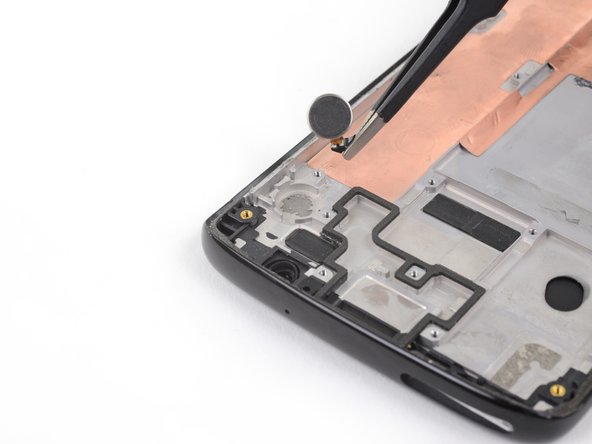
Prenez une pincette pour retirer le joint jaune du microphone.
It's not entirely necessary to remove this gasket if you're replacing the screen, as the motherboard will lift out just fine with it attached. The important part is to make sure it doesn't fall off and get lost!
-
-
-
Toujours avec la pointe de la spatule, retournez le clapet de verrouillage du connecteur ZIF de la nappe du bouton.
-
À l'aide d'une pincette, faites glisser la nappe du bouton hors de sa prise.
-
-
-
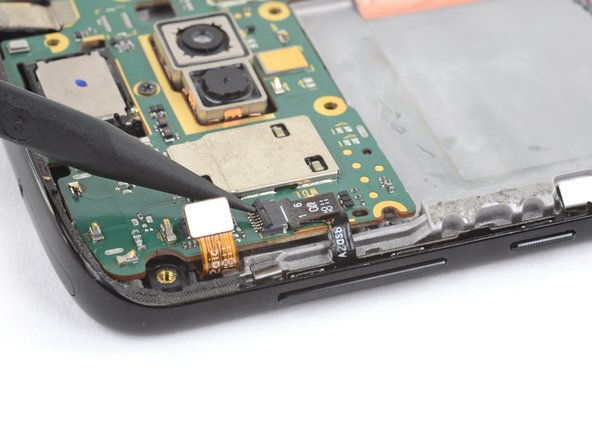
Prenez un tournevis cruciforme #000 pour dévisser les deux vis de 2,5 mm qui fixent la carte mère.
-
-
-
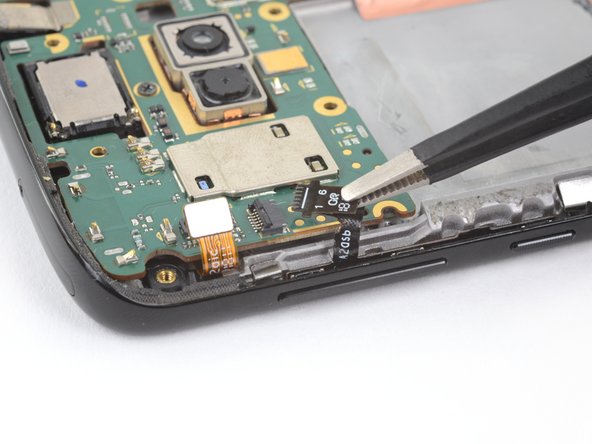
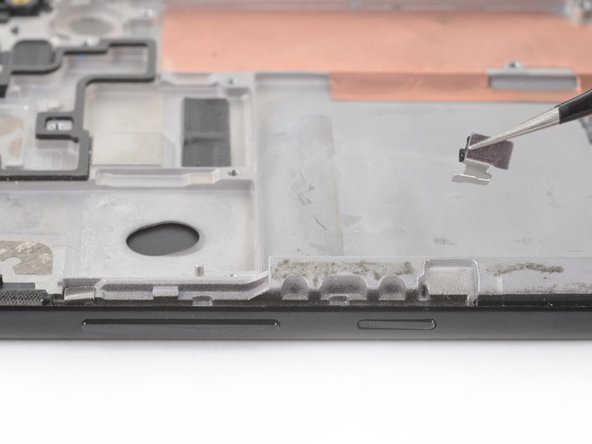
Avec une pincette, soulevez le joint rouge du microphone hors de son emplacement dans le châssis.
-
-
-
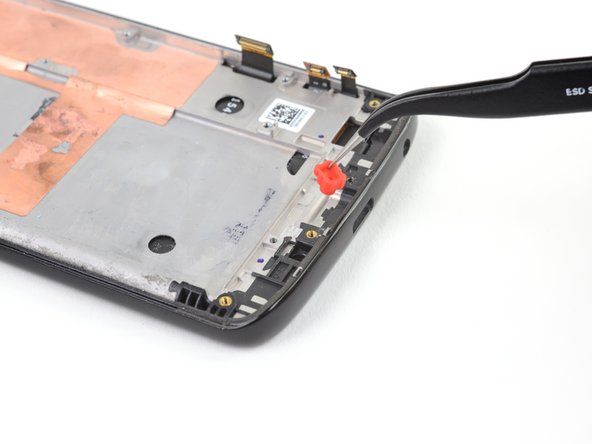
Avec une pincette, soulevez les dispositifs d'attache argentés qui flanquent chacun un côté des boutons de volume et de marche et retirez-les du téléphone.
In my phone these were adhered to the frame. I thought I was doing something wrong at first when they didn't lift as I expected, but they just needed a bit of prying to lift!
-
-
-
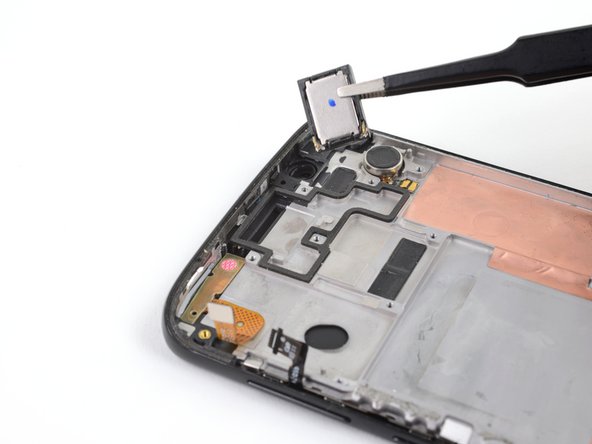
Avec la pointe de la spatule, appuyez au dos du bouton de marche, derrière son extrémité inférieure, de façon que cette partie du bouton glisse hors du téléphone.
-
À l'aide de la spatule, retirez délicatement le bouton de marche en le saisissant par le bas.
I thought this button was symmetrical when I removed it. It's not. The slightly larger hook goes towards the bottom to hook around the retaining bracket
-


Pour remonter votre appareil, suivez les instructions ci-dessus en sens inverse.
Apportez vos déchets électroniques à un recycleur certifié R2 ou e-Stewards.
Une fois que vous avez fini, calibrez votre nouvelle batterie pour des performances optimales.
La réparation ne s’est pas déroulée comme prévu ? Consultez nos conseils basiques de diagnostic ou la section Motorola Moto G6 de notre communauté de réponses pour obtenir de l’aide.
Annulation : je n'ai pas terminé ce tutoriel.
29 autres ont terminé cette réparation.
Merci à ces traducteurs :
91%

Claire Miesch nous aide à réparer le monde ! Vous voulez contribuer ?
Commencez à traduire ›

8 commentaires
Nice instructions. I suggest adding that around step 24 or 25 removal of the rubber gasket/boot around the selfie camera be included. I didn’t see this anywhere in the instructions but found the part rolling around my table shortly after these steps. Also, as a general suggestion, and ice cube tray make organizing all the screws and little parts pretty easy.
Thanks for identifying the selfie gasket.
This can be done more quickly and easier by removing the front glass too. Then unplugging the 3 cables from the motherboard, and feeding your new screen cables through the front into the back.
I followed this guide and it worked like a charm to replace my broken screen. However, now the phone won’t get a cell signal. Does anyone have any ideas what might have happened?
Very helpful, thanks!
I found it helpful to remove the motherboard first, then the battery, as it gave me more room to work when loosening the battery adhesive, and then reinstall the motherboard first to help with positioning the battery during reassembly.
The sim card eject tool has snapped inside the ejector hole,is there another way to get the sim card out ?.
Amanda Ashley - Réponse
You can try to carefully push the snapped pin with another ejector tool to eject the tray. Otherwise, lightly tap the phone edge to try to get the snapped pin out.
Arthur Shi -